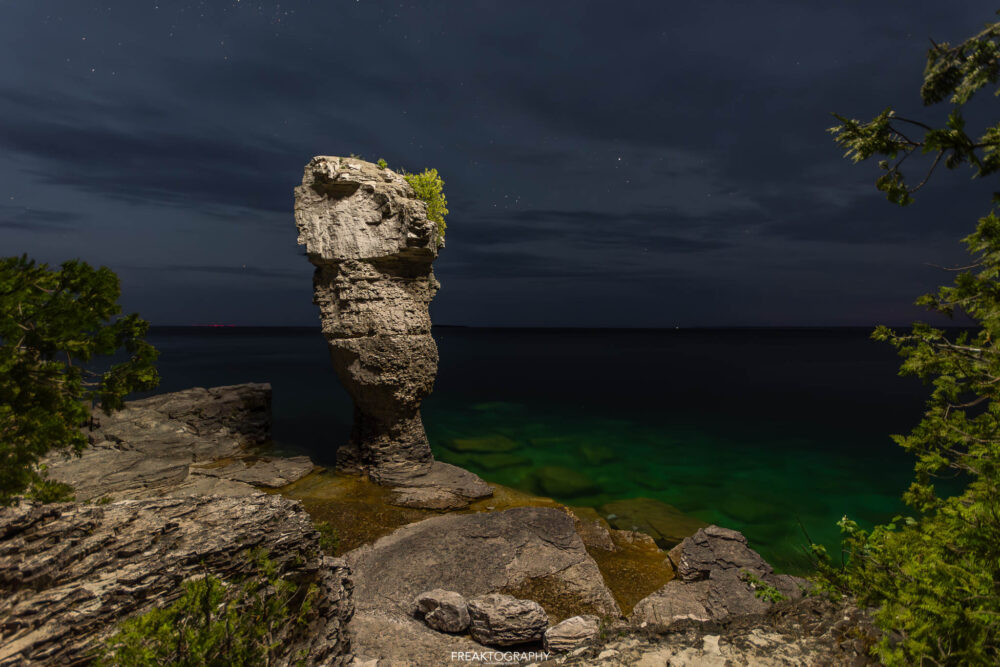
A photo shoot at night or dusk is the biggest challenge for beginners. In sunny weather, it’s also difficult to shoot outdoors: you often get overlighting and ugly black shadows, people squint and sweat. But in such conditions, you can see the model, and there is no noise in the pictures.
Let’s find out what technique you need for shooting a portrait at night, how to minimize noise and what to do to get a beautiful photo as easily as winning the Reactoonz game.
Research the Location in Advance
If you rely solely on street lighting, you’ll have to plan your photo walk in advance and spend the evening exploring the area. Pay attention to brightly colored signs, the height and number of streetlights, and whether there are large windows on the first floors of commercial buildings.
Take a Fast Lens
At night, outside of a photo studio, with constant light; there’s no place to go without a fast lens. Optics are considered to be fast when the aperture opens to f/2.8 and wider: f/2.0, f/1.8, f/1.4, f/1.2, f/0.95. But that’s the theory. From personal experience, even on a full-frame camera, it’s better to get a lens with an aperture of f/1.4 or more. Remember that “larger” in aperture talk means “more aperture opening,” and the maximum aperture opening is equal to one.
It’s not enough to just get a fast lens. In order for the sensor to take in maximum light, you need to open the aperture as wide as possible. That is, if you have a 50mm f/1.4, shoot at f/1.4. If you set it to f/3.5, f/5.6, the lens’ potential as a fast lens won’t be realized. The images will be dark.
Put the Model Close to the Light
Sometimes, to make a shot bright enough, the model must stand close to the window of a restaurant, from which the light shines brightly, or to a neon sign. Think back to all those popular neon portraits that were floating around the web a couple years ago. In all of them, the model was facing the sign, getting close to it.
Shoot With a Full-Frame Camera
Yes, this is the case when cropped really loses to full-frame. The fact is that the larger the sensor and the light-sensitive elements on it, the higher you can raise the ISO, the less noise. During the day on the street or in a photo studio with pulse light, this does not affect much, but here, we are talking about Spartan conditions, night and constant light.
Get a Speed Booster
A speed booster is an attachment that reduces the cropped factor. With it, the picture from a full-frame camera lens looks the same on cropped as it does on full-frame. Or close to it. But the plus side of speed boosters is that some of these attachments also increase the aperture of the lens by one stop. So, instead of f/2.8, you get f/1.8 with a speed booster. A great solution if you don’t want to change from cropped to full frame, and there is no need to hit a fortune at Big Bass Bonanza to get it.
Capture Led Light
Led light is a constant light that can change color temperature and light color in the RGB spectrum. It’s great for cinematic portraits, neon-inspired photo shoots. Besides a bright frame with beautiful color, you will get a safety net against the fact that there is little light outside at night.
Led lights are as diverse as the characters at Rise of Olympus; they can be in the form of panels, small pocket lights, elongated round sticks, and square swords.
Remember an External Flash and Synchronizer
If you want studio quality outside at night, you are a strobist at heart. It’s not a swear word or a form of deviance. Some photographers prefer to shoot with regular external flash units on stands. To connect them to the camera, you need a synchronizer. Moreover, you can buy light-forming attachments for the flashes. And now you’ve got a whole offsite studio with you!
