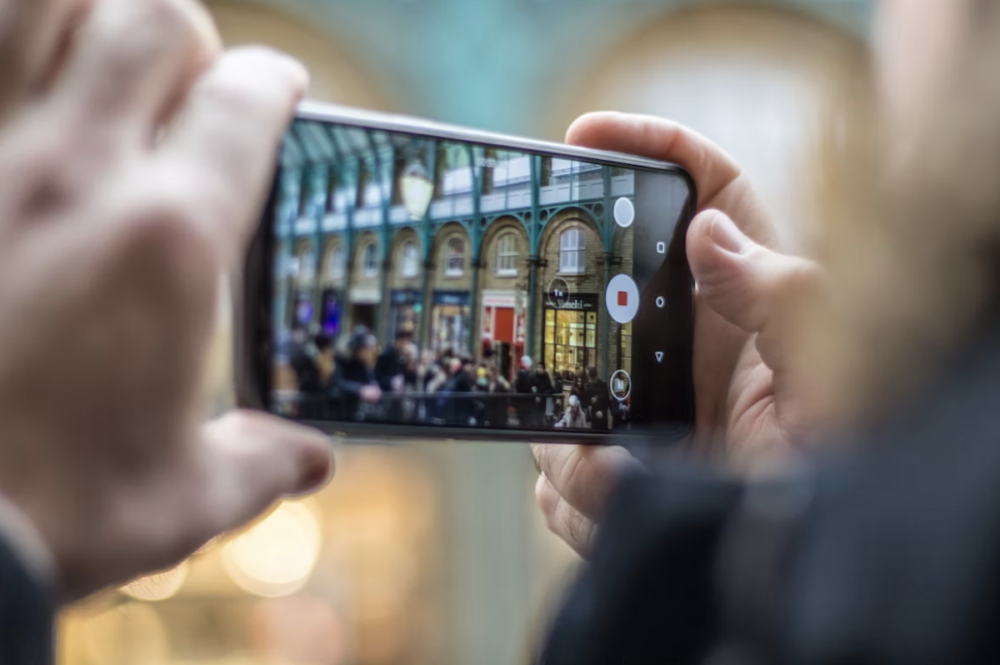
Over the past decade, there has been significant advancement in smartphone cameras. The Google Pixel 7 Pro, in particular, boasts one of the finest cameras we have ever come across. However, it is important to note that a flagship phone is not a necessity for capturing the perfect shot. Many budget-friendly phones also offer capable cameras. If you are an Android photographer, you should know this. With these tips, you can take better photos and edit them. You need to understand that if you immediately took a photo well, then you will have to edit it less or not at all.
#1 Adjust focus
Smartphone cameras have made significant advancements in a relatively short period. Nowadays, most handsets offer control over the focus and exposure of your shots. To activate manual focus, simply tap on the screen where you want the camera to focus.
Additionally, remember to explore the settings of your phone’s camera app Look for the face recognition option, which automatically detects faces, ensuring your friends’ faces won’t end up as a blurry mess in your photos.
#2 Exposure
Exposure, or the amount of light entering the frame, is another crucial aspect to consider. In the default iPhone camera app (shown above), you can tap once to focus, then adjust the exposure by holding and dragging. Similarly, in the camera app for stock Android, tap once to focus and use the slider that appears on the side or top of the screen to adjust the exposure. For more tips on nighttime photography, be sure to check out this guide on capturing celestial objects in the night sky.
Once you’ve taken the perfect shot, you’ll want to post it. Friendly advice, use a VPN on Android for this. If you set up a VPN, you will be protected. A good VPN like VeePN will protect your Android device from hackers, scammers, and all kinds of cyber threats.
#3 Zoom into your subject
Until a few years ago, smartphones did not have cameras equipped with optical zooms. Consequently, it was advised against zooming in while taking photos, since digital zoom would introduce noise and compromise the overall image quality.
However, the situation has changed significantly, as most top-tier smartphones now incorporate a dedicated camera with optical zoom. Take the Galaxy S22 Ultra, for instance, which boasts two telephoto sensors offering 3x and 10x optical zoom capabilities. This allows you to zoom in on subjects with minimal impact on image quality. Additionally, the telephoto sensor enables capturing photos with a tighter frame, effectively focusing solely on the subject.
#4 Photo editing
Phone photo apps have come a long way, thanks to AI and ML. They now offer powerful features to enhance your photos, including color adjustments, contrast tweaks, and highlight enhancements. These apps even include a convenient one-touch enhancer to automatically improve your pictures.
Furthermore, these photo editing apps can effortlessly remove unwanted objects from your photos. Google’s Magic Eraser is especially effective, but if you don’t have a Pixel, there are plenty of alternative options available for your Android phone.
#5 Get the lenses and angles
Smartphones are equipped with a variety of cameras: wide, ultrawide, macro, and telephoto sensors. Instead of always using the primary camera, try getting creative with different camera lenses and angles. The ultrawide camera can capture a wider scene, resulting in stunning photos. Also, remember that not every photo needs to feature direct eye contact with the camera. Experiment by flipping your phone or changing your position to capture unique angles. This simple adjustment can lead to more captivating and dramatic final results.
#6 Use HDR mode
HDR, or High Dynamic Range, has become a standard feature in smartphone camera apps. In simple terms, it enhances the details in both the darkest and lightest parts of your photos, resulting in better color balance overall. However, activating HDR mode may slightly prolong the photo processing time as your smartphone optimizes the image.
This feature is particularly suitable for landscape and portrait shots, especially when there is a significant contrast between the darkest and lightest areas of the photo. However, it is advisable to avoid using HDR mode for fast-moving subjects or situations where it is difficult to keep the phone steady.
#7 Apply the rule of thirds
This photography trick has stood the test of time, and it can still be applied to smartphones. The rule of thirds divides an image into a three-by-three grid, with nine equal blocks. By placing the most interesting elements, like a treeline or a group of faces, near the corners where the gridlines intersect, you can enhance your shot composition. Whether you’re capturing moments with friends or focusing on landscapes, the rule of thirds is a simple and effective technique.
With the convenience of instant smartphone photography, you don’t need to imagine the grid lines anymore. Most camera apps display the grid for you. On the stock Android camera app, you’ll find the grid icon at the edge of the screen, and on iOS, the grid option can be found under Photos & Camera in Settings.
Conclusion
Photography is about capturing your perspective and showcasing how you perceive the world. Smartphone photography has gained immense popularity too, with over a trillion photos taken each year globally — and a striking 92% of them captured using smartphones, as studies reveal. However, you have the power to make your photos stand out. It simply requires practice and honing your skills. With these tips, you will see progress in photo quality.

