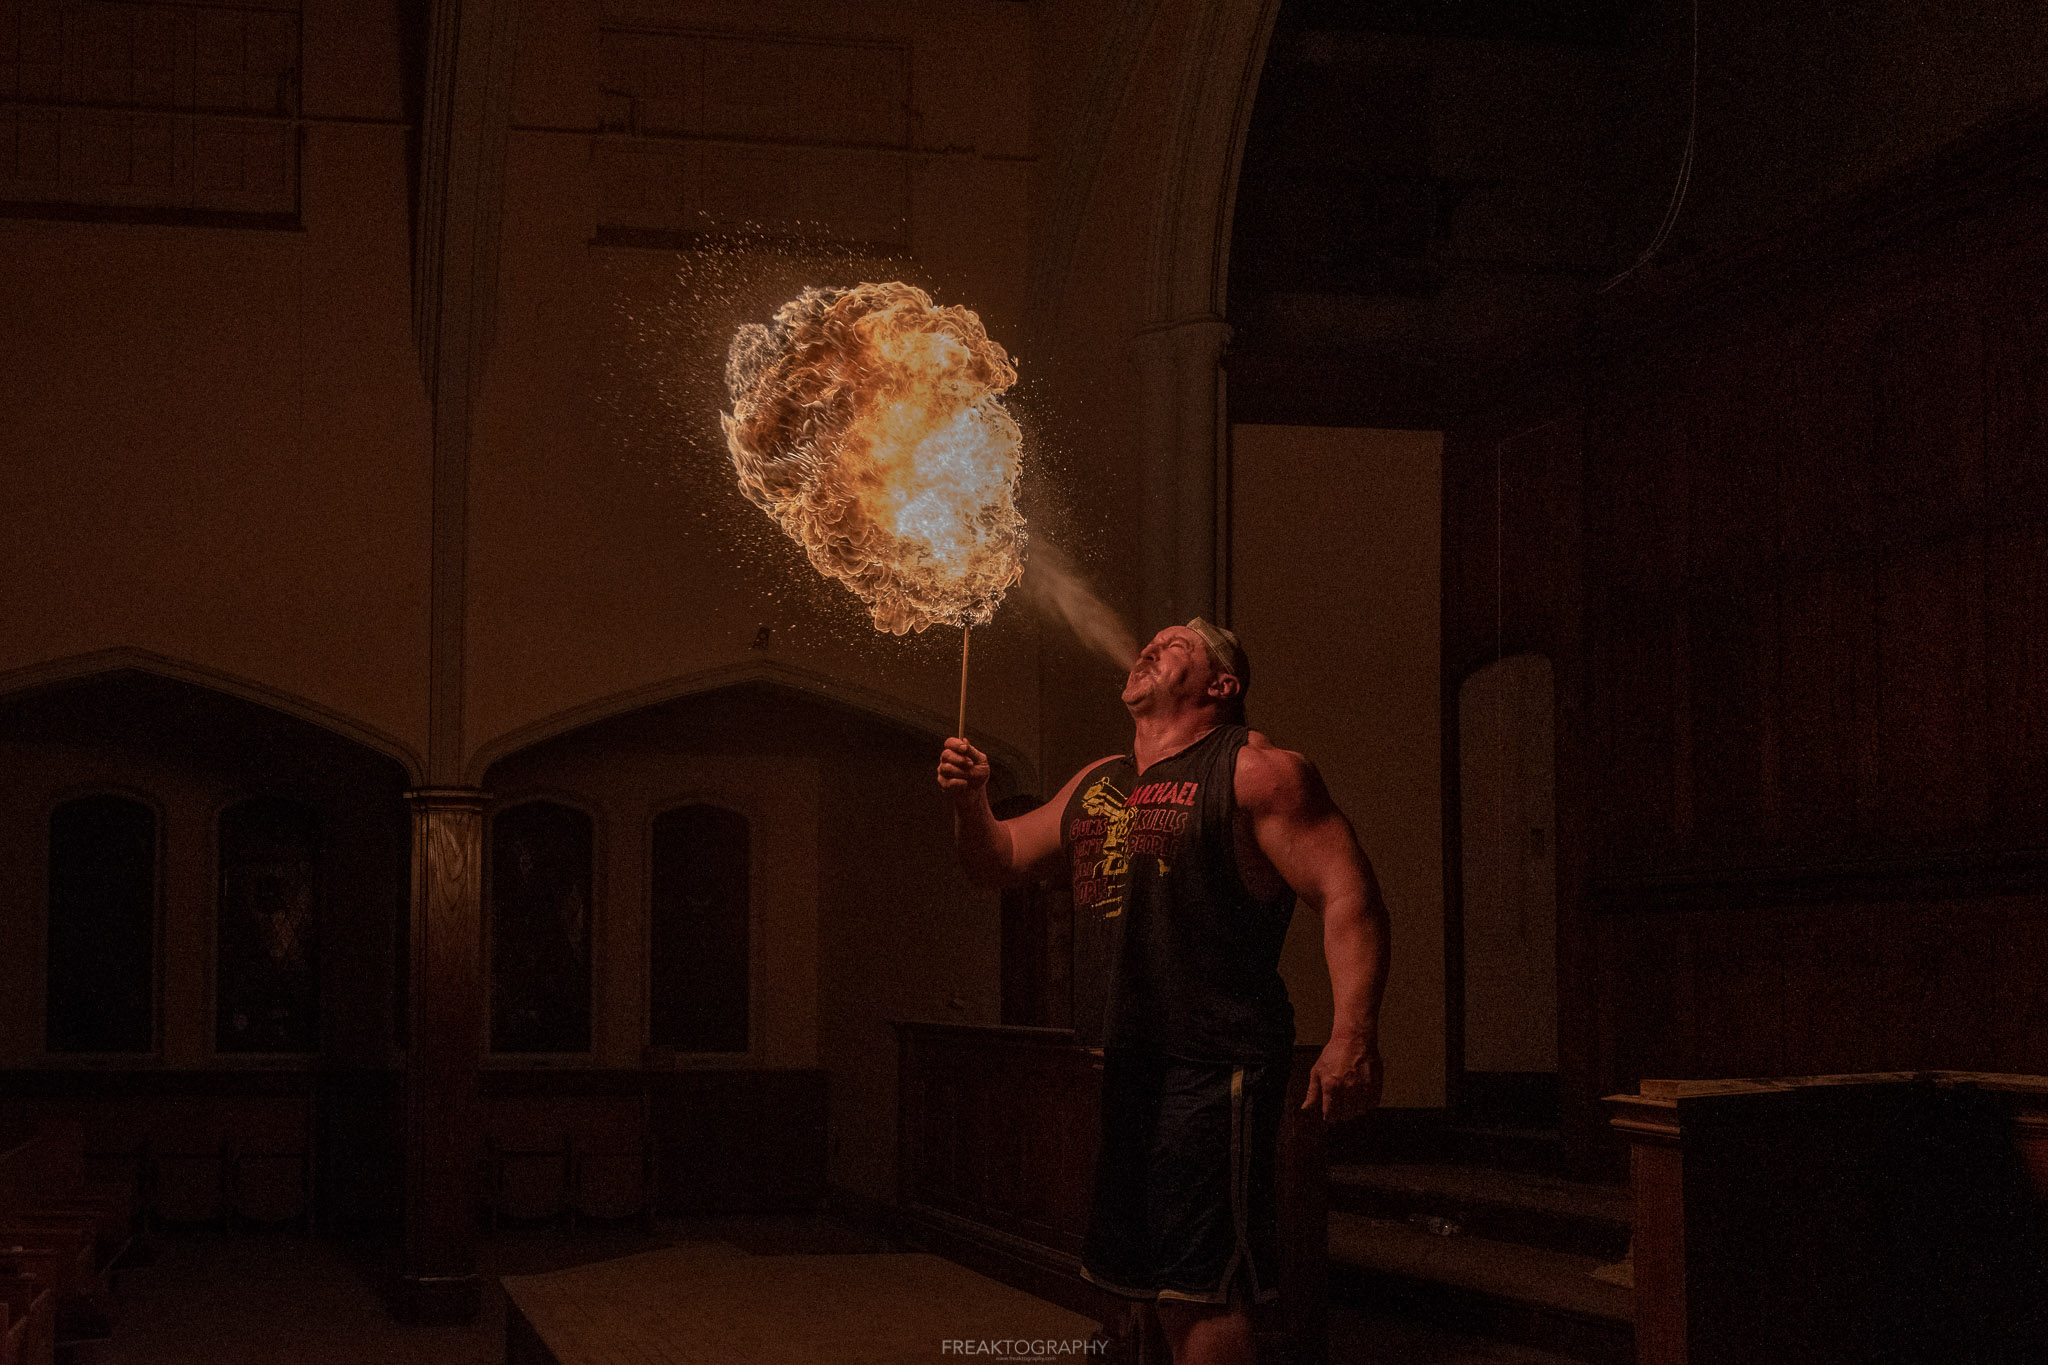
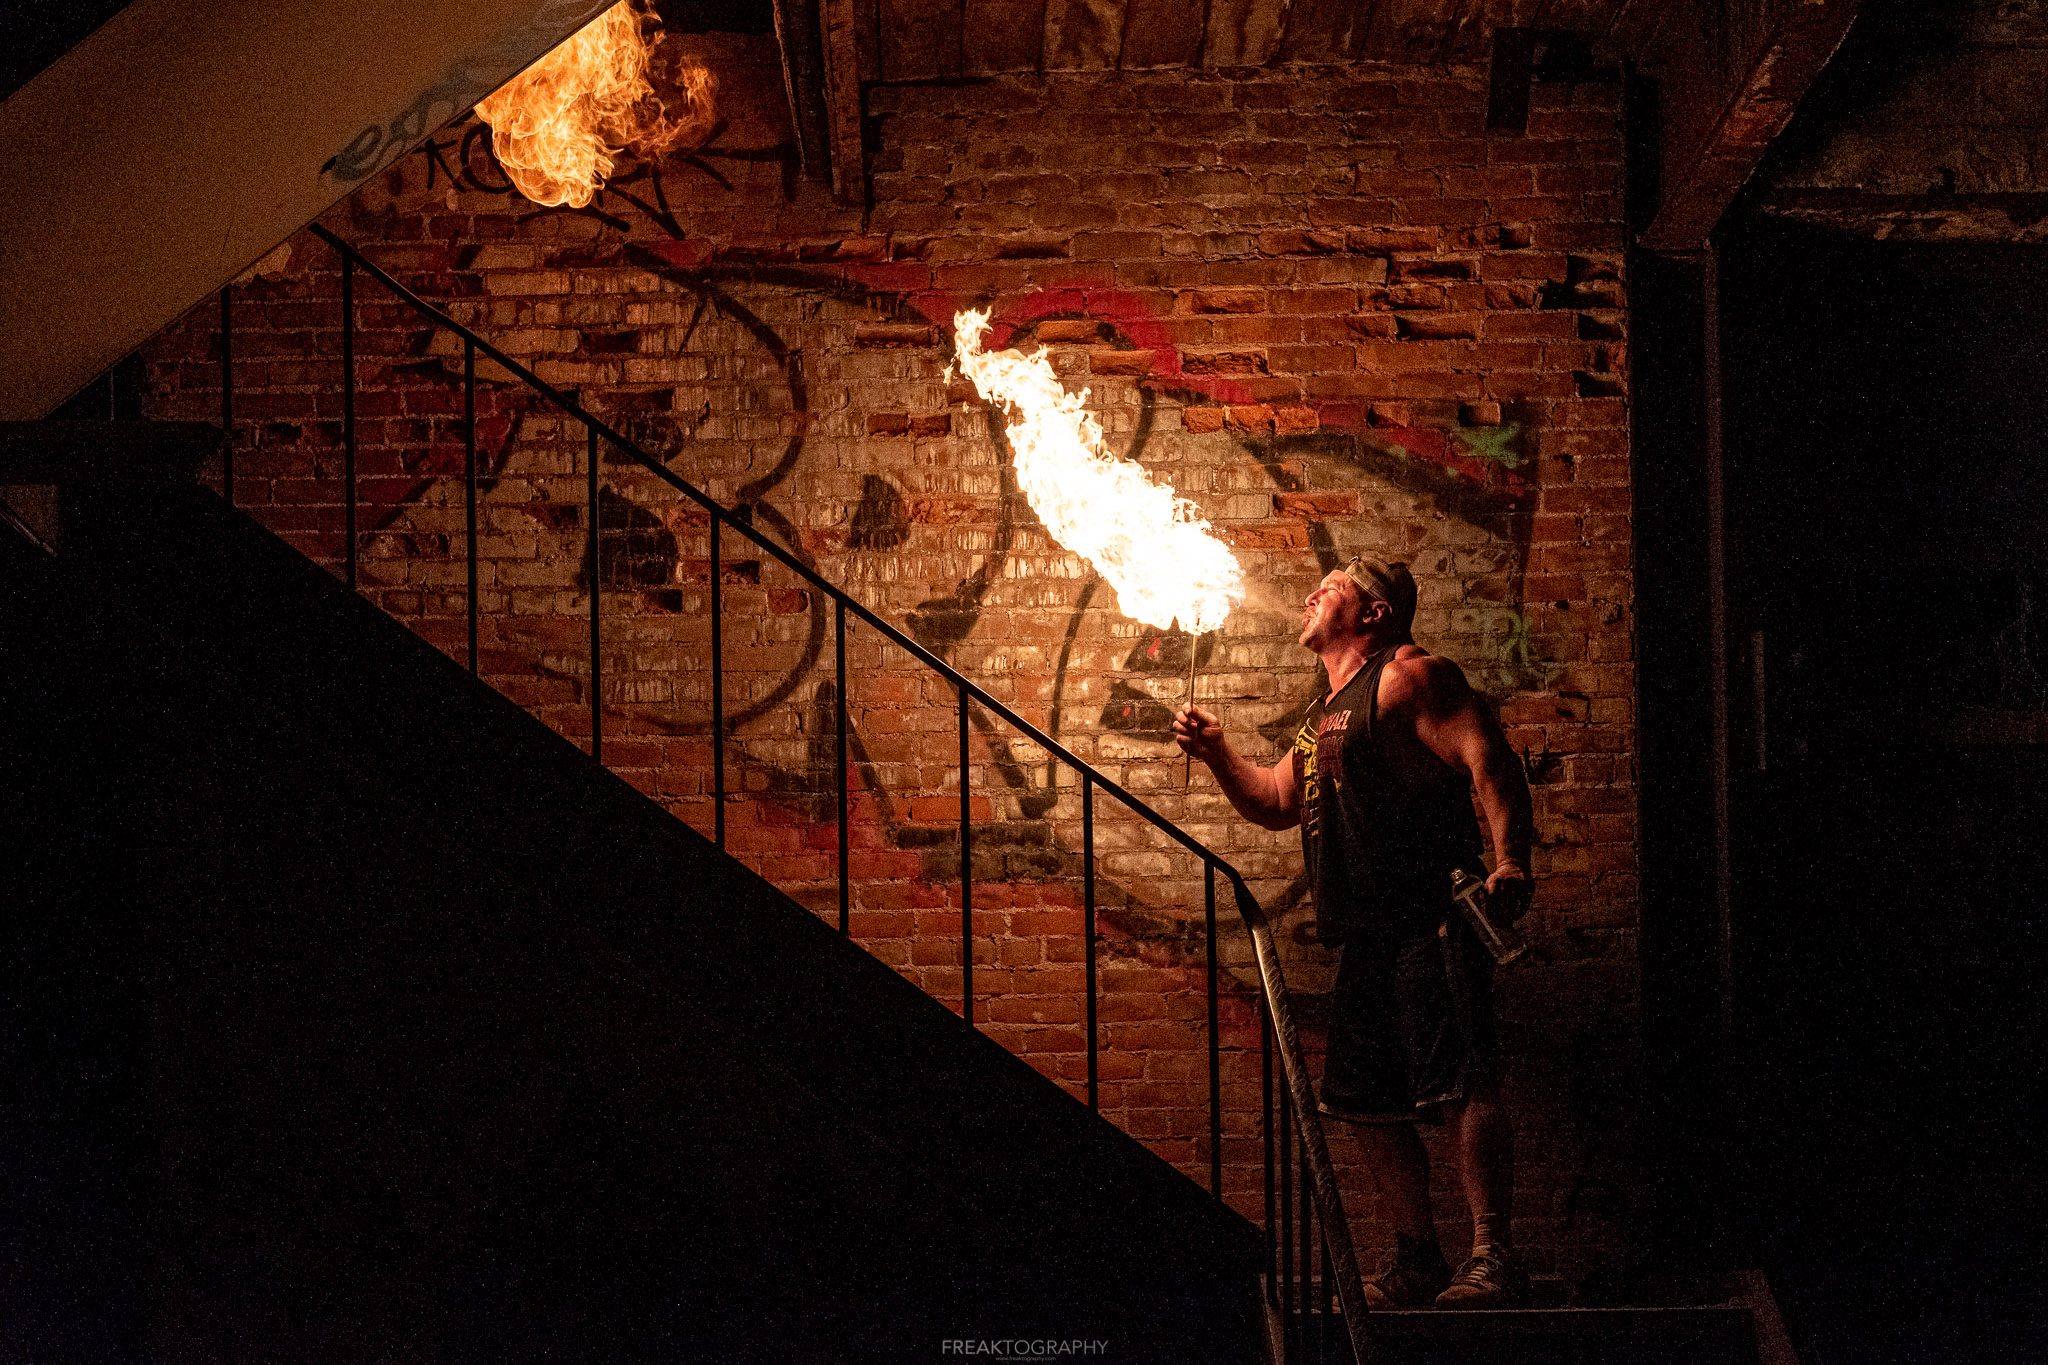
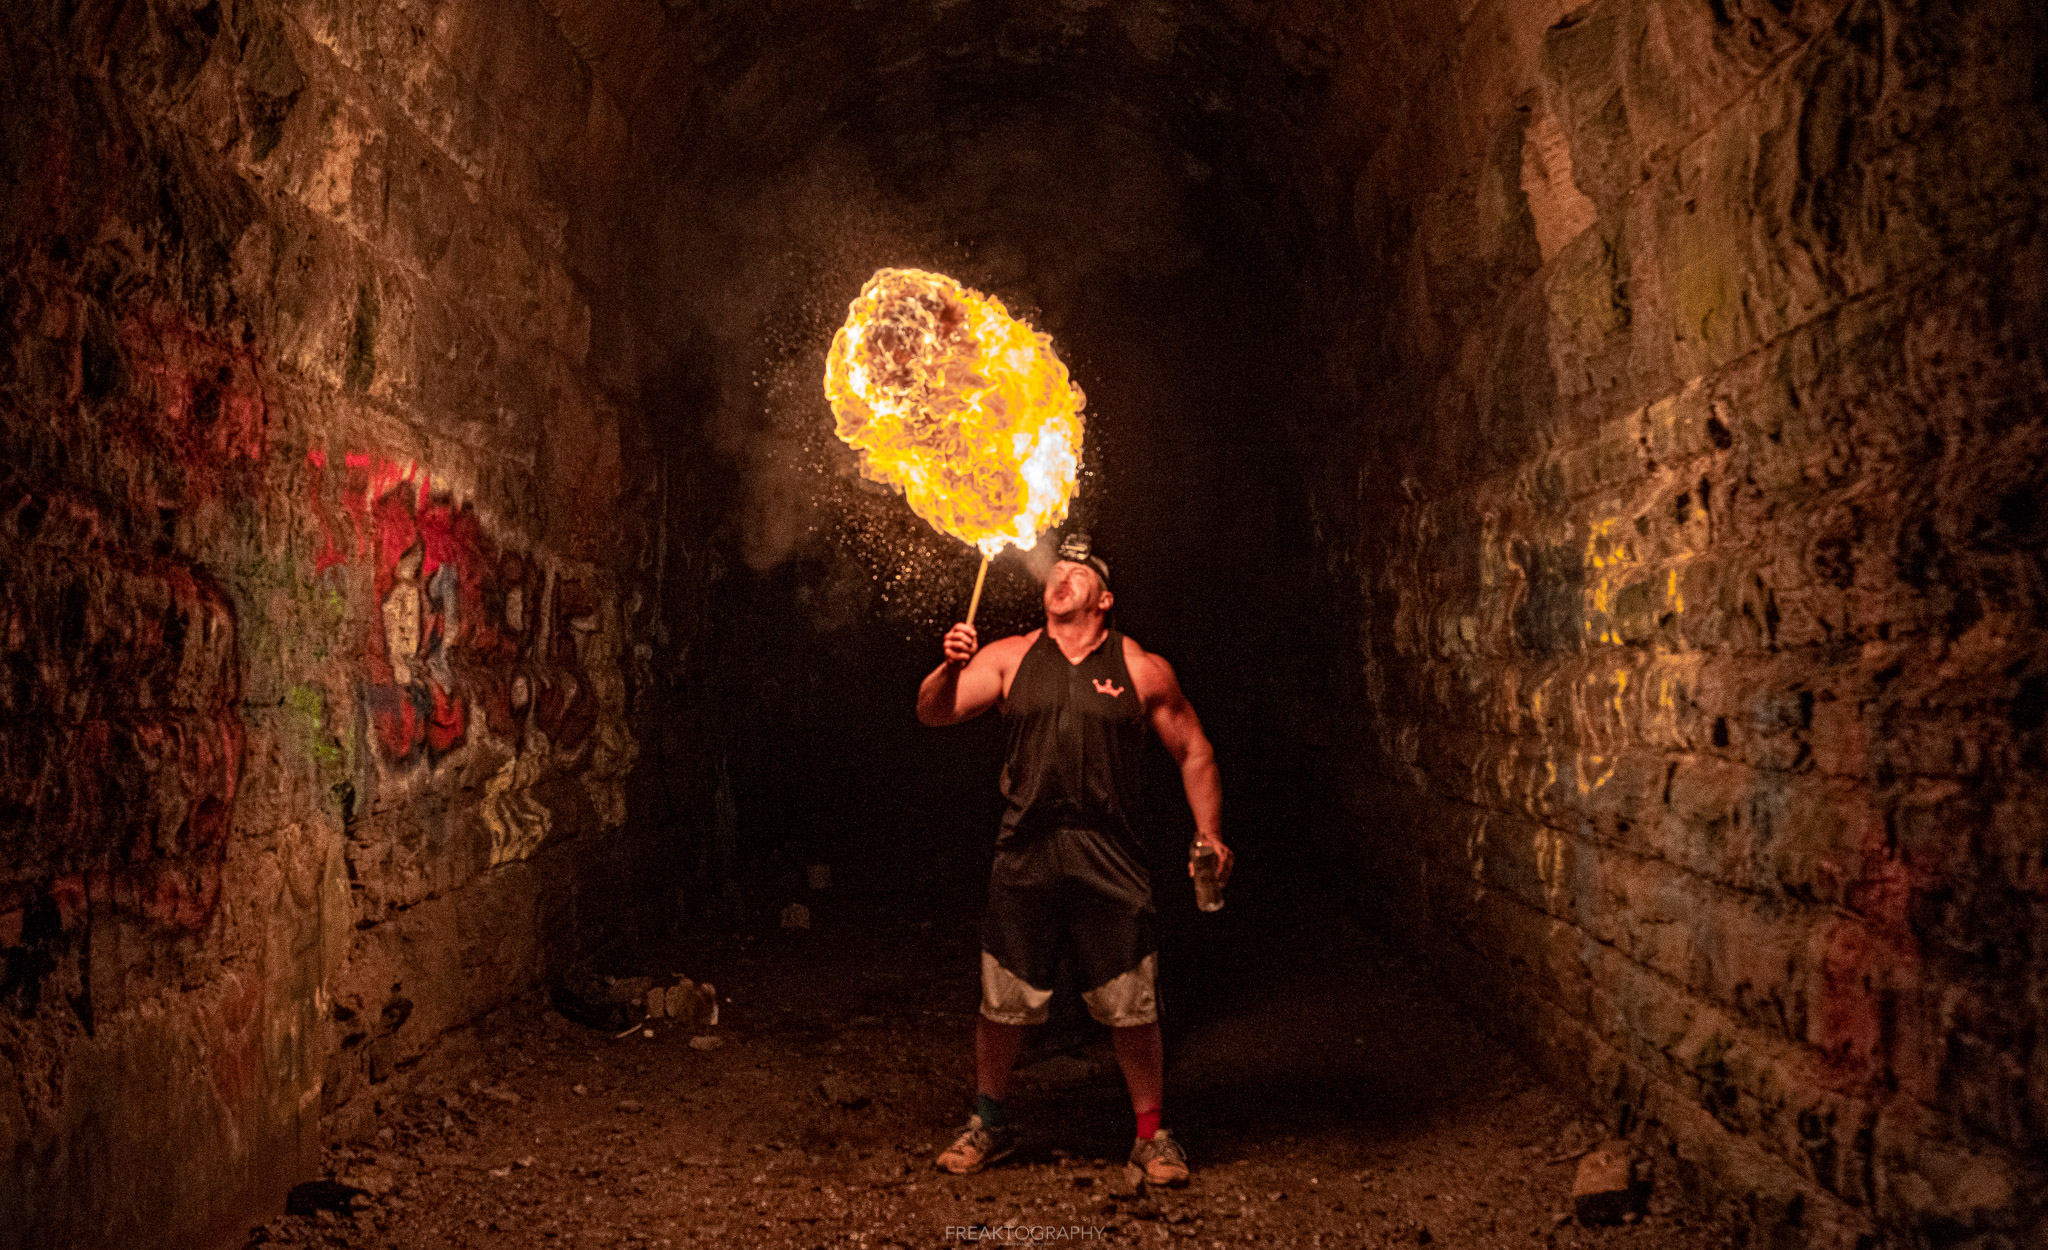
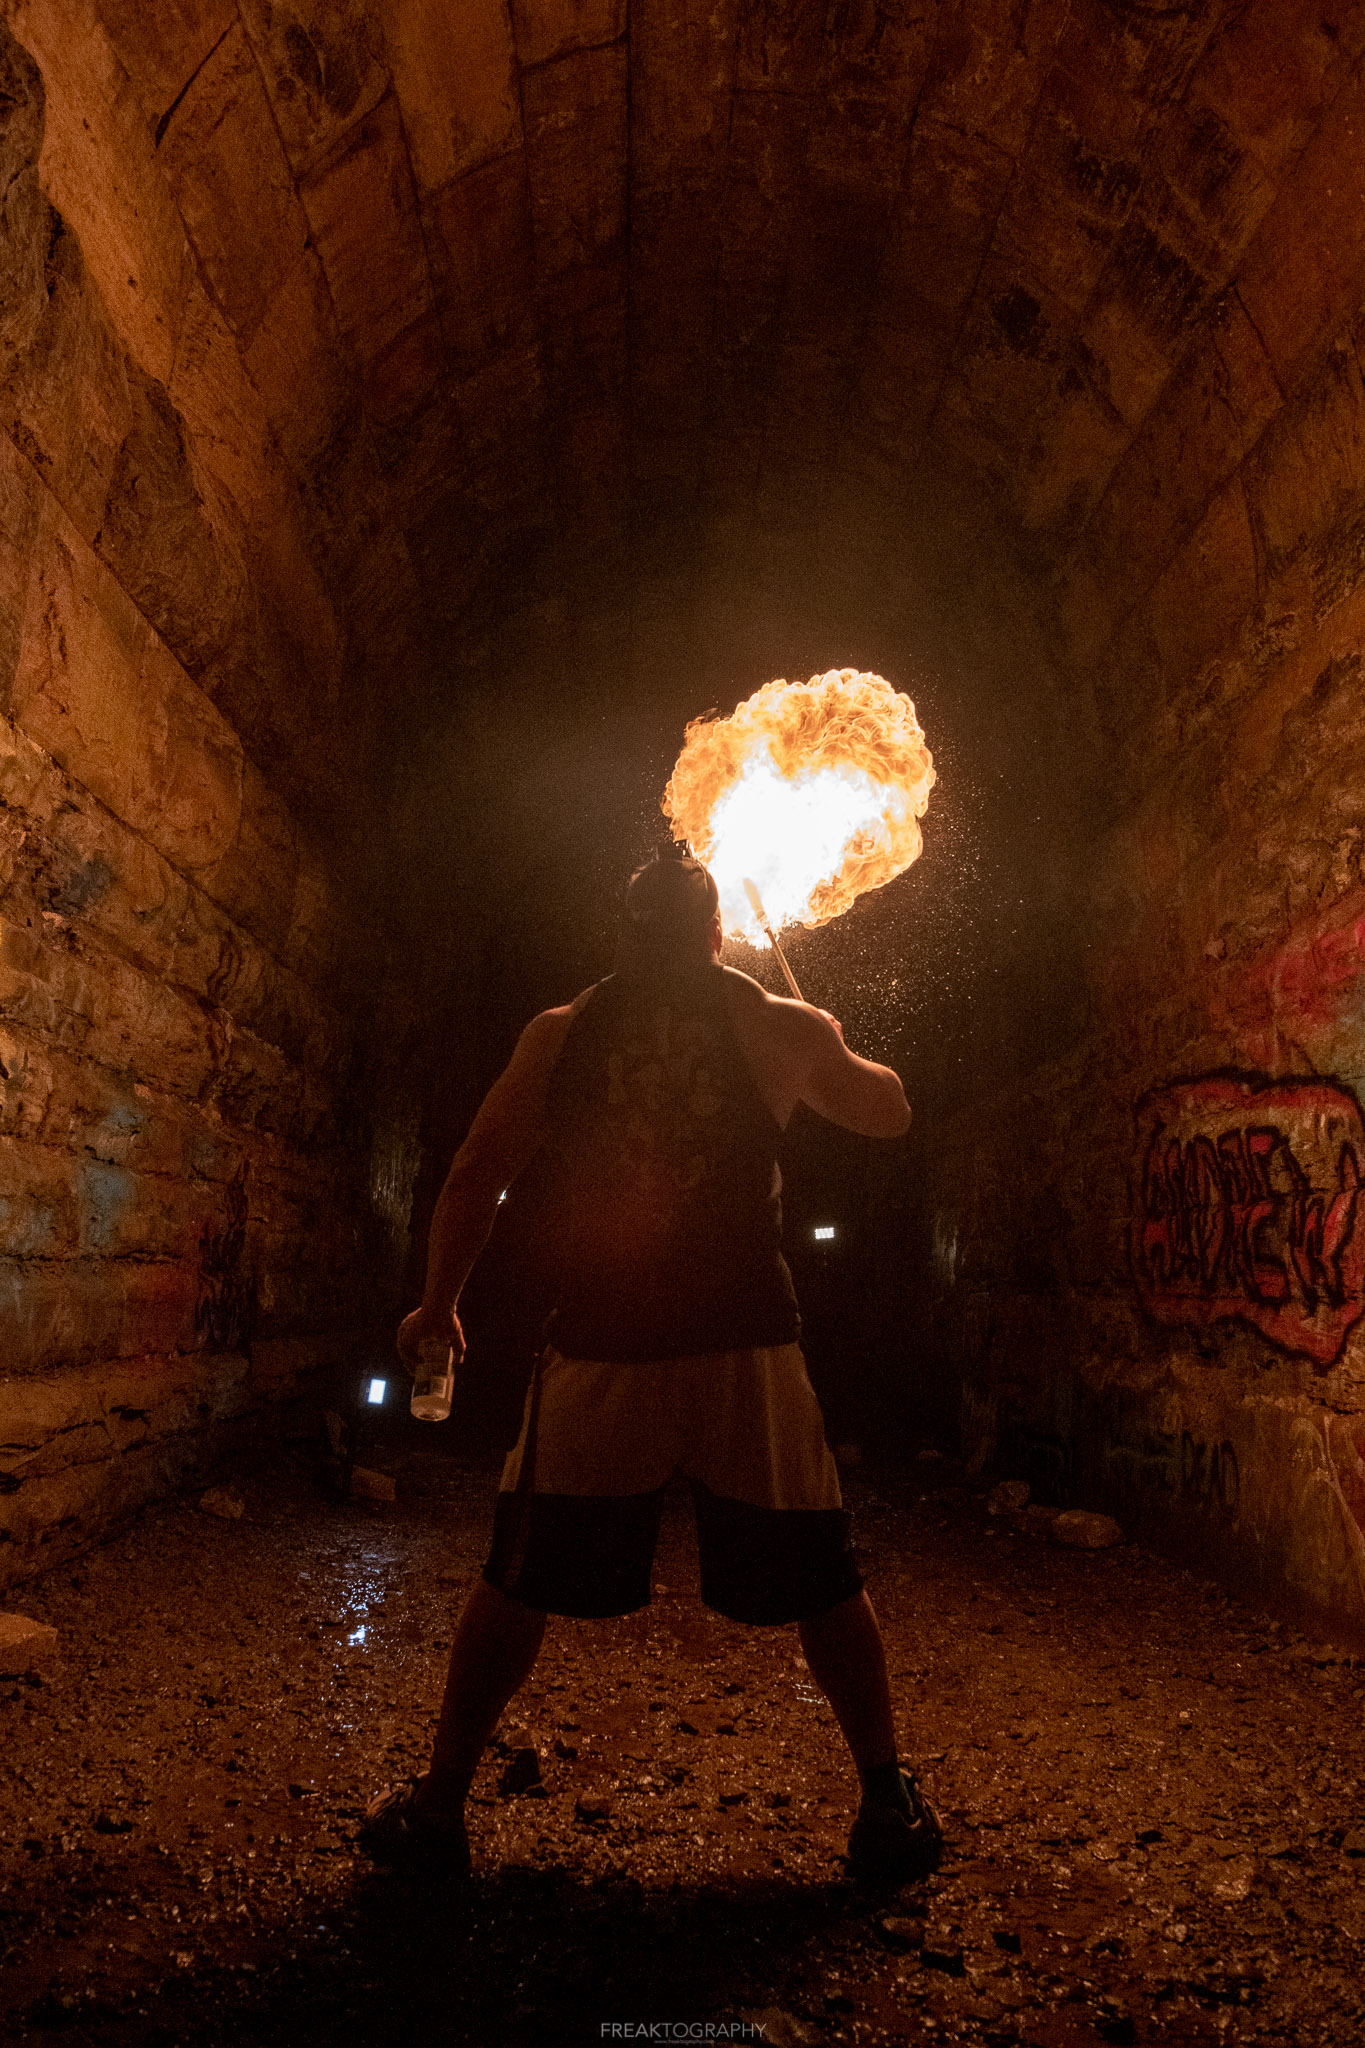
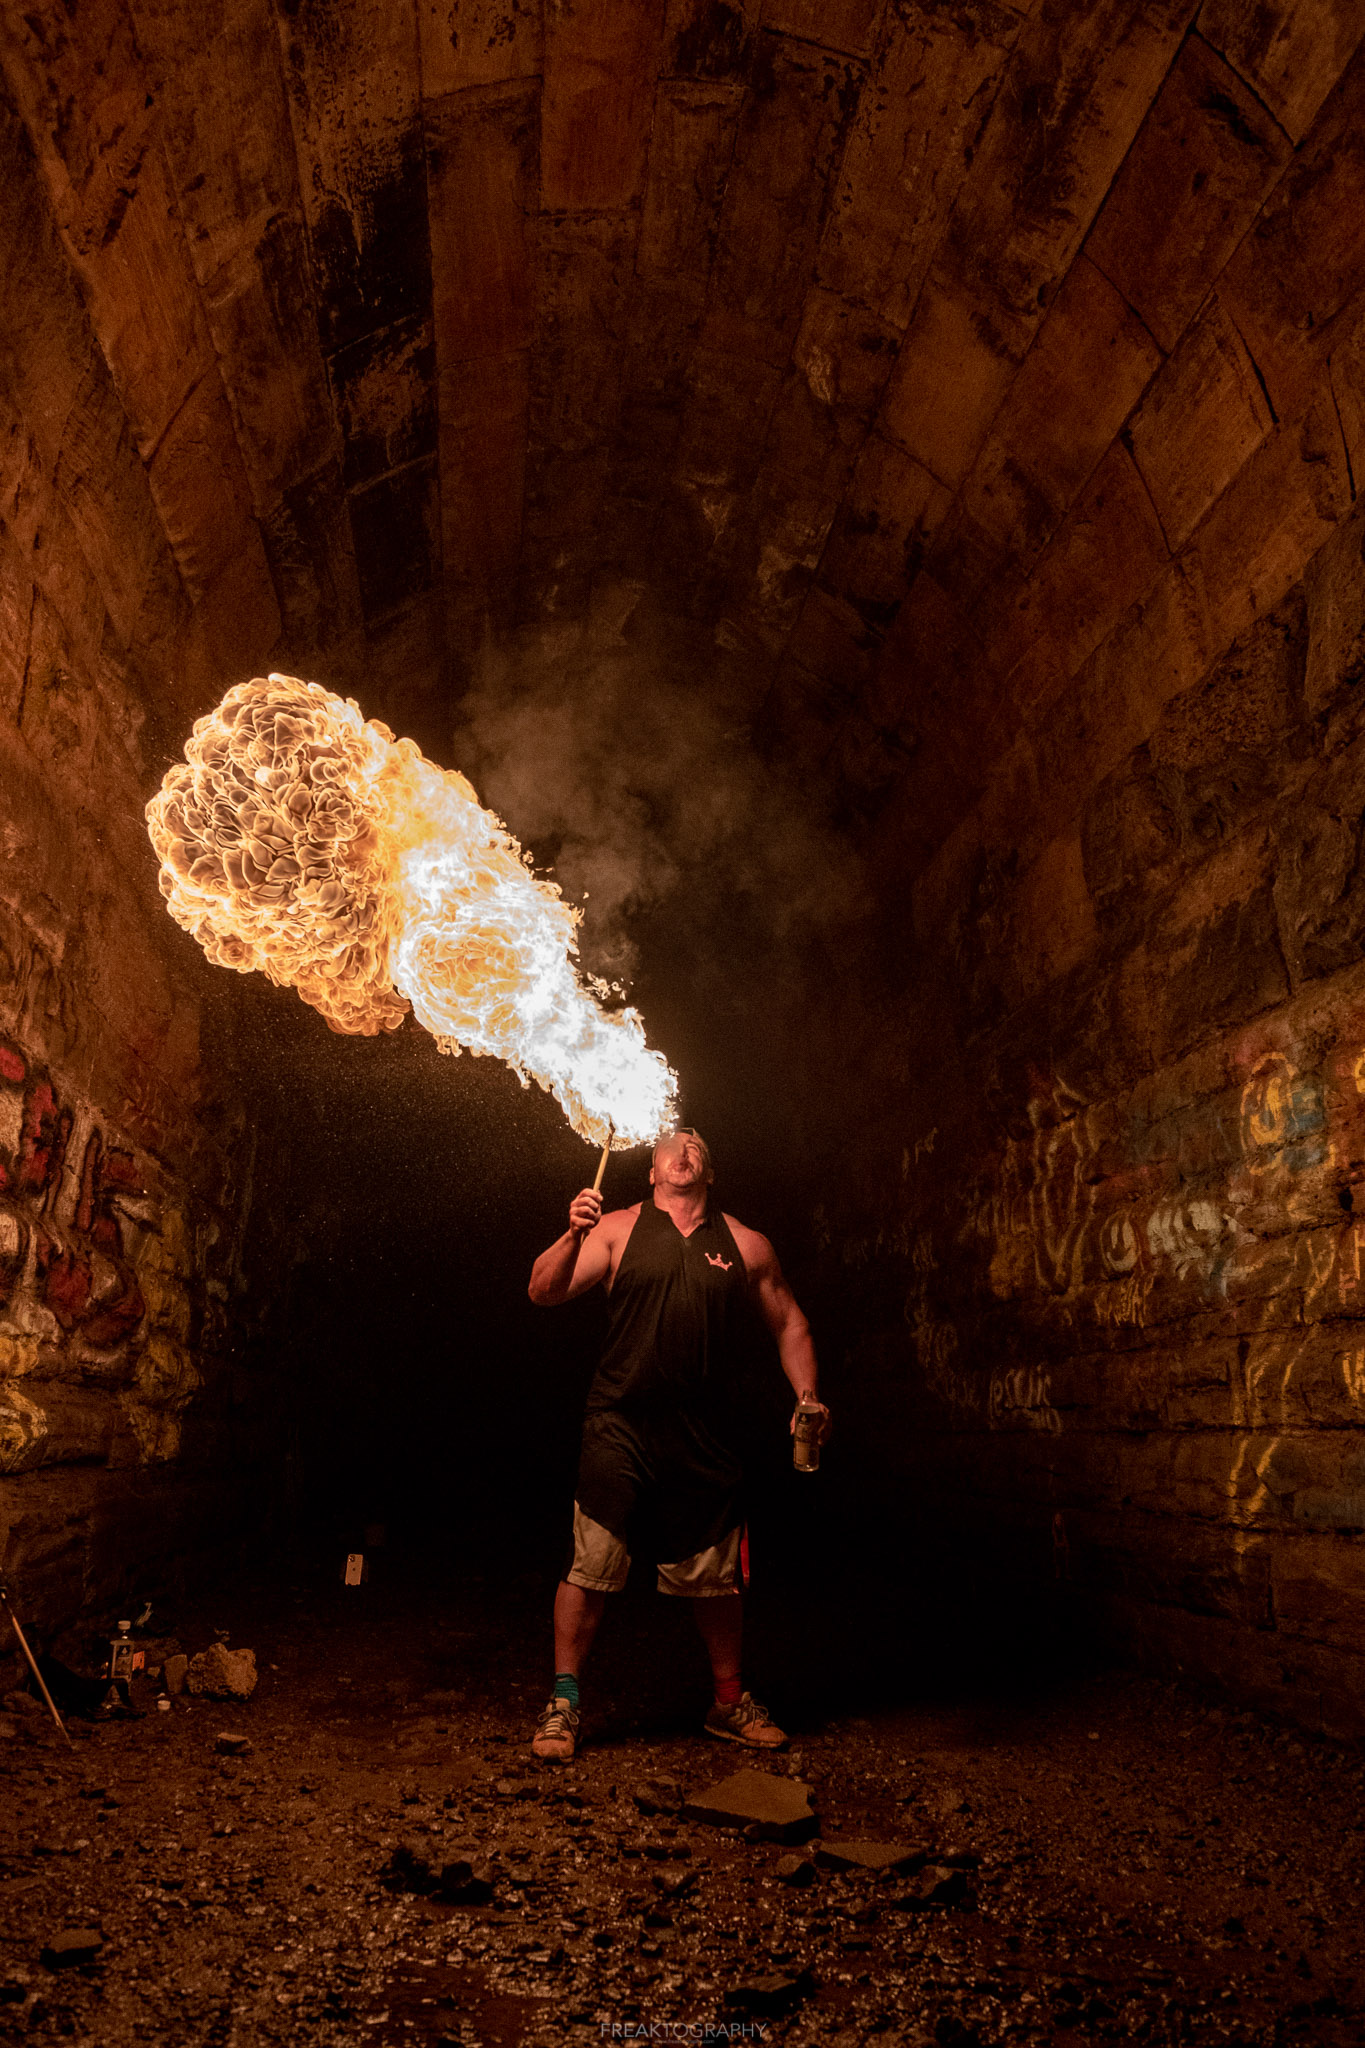
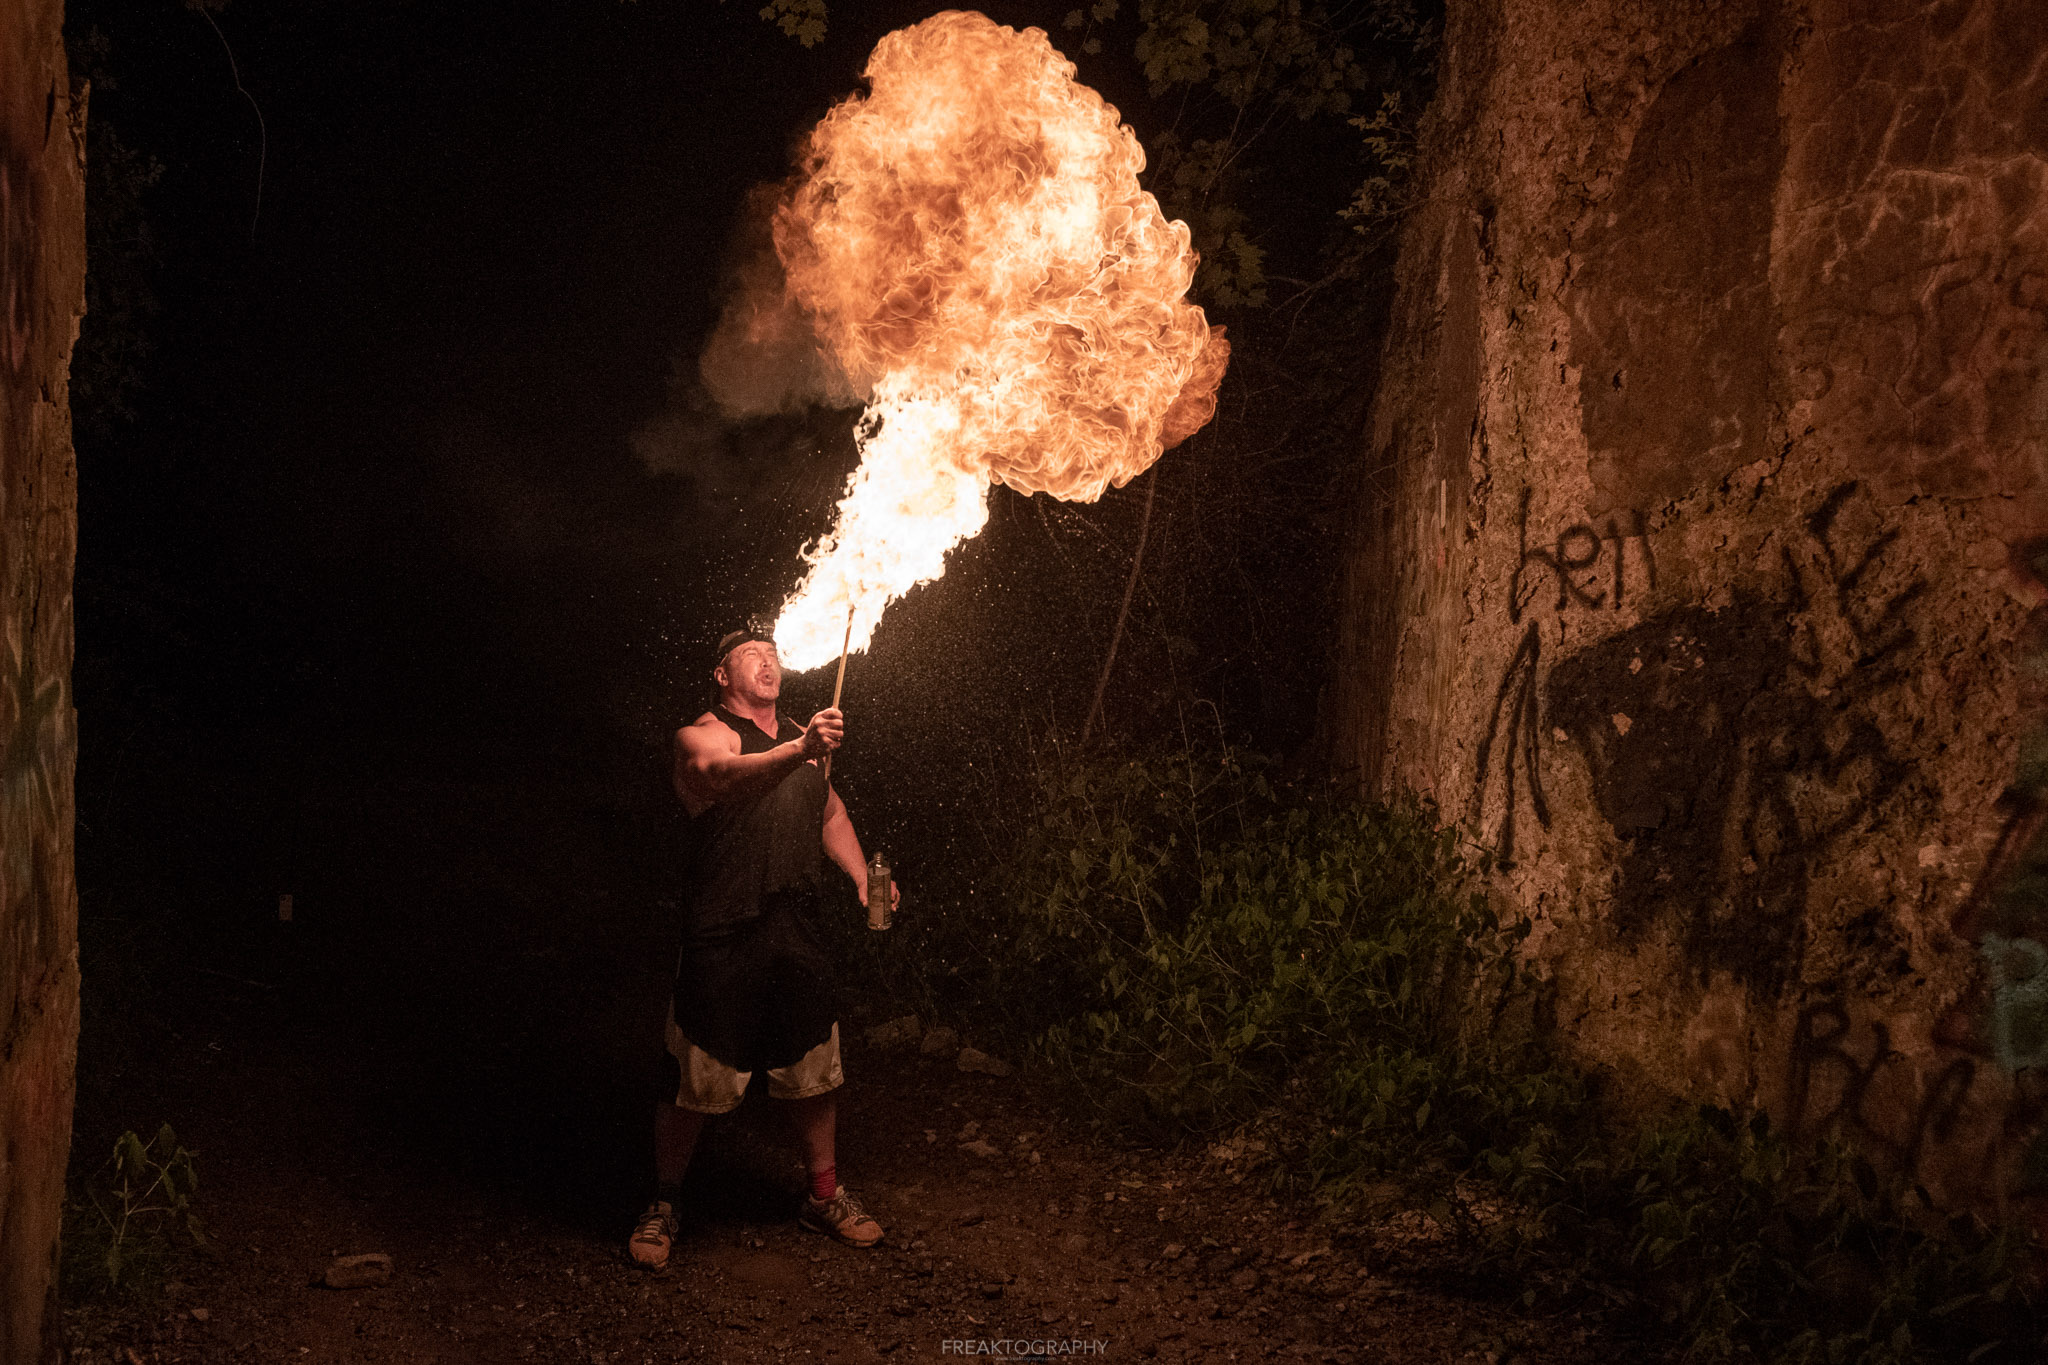
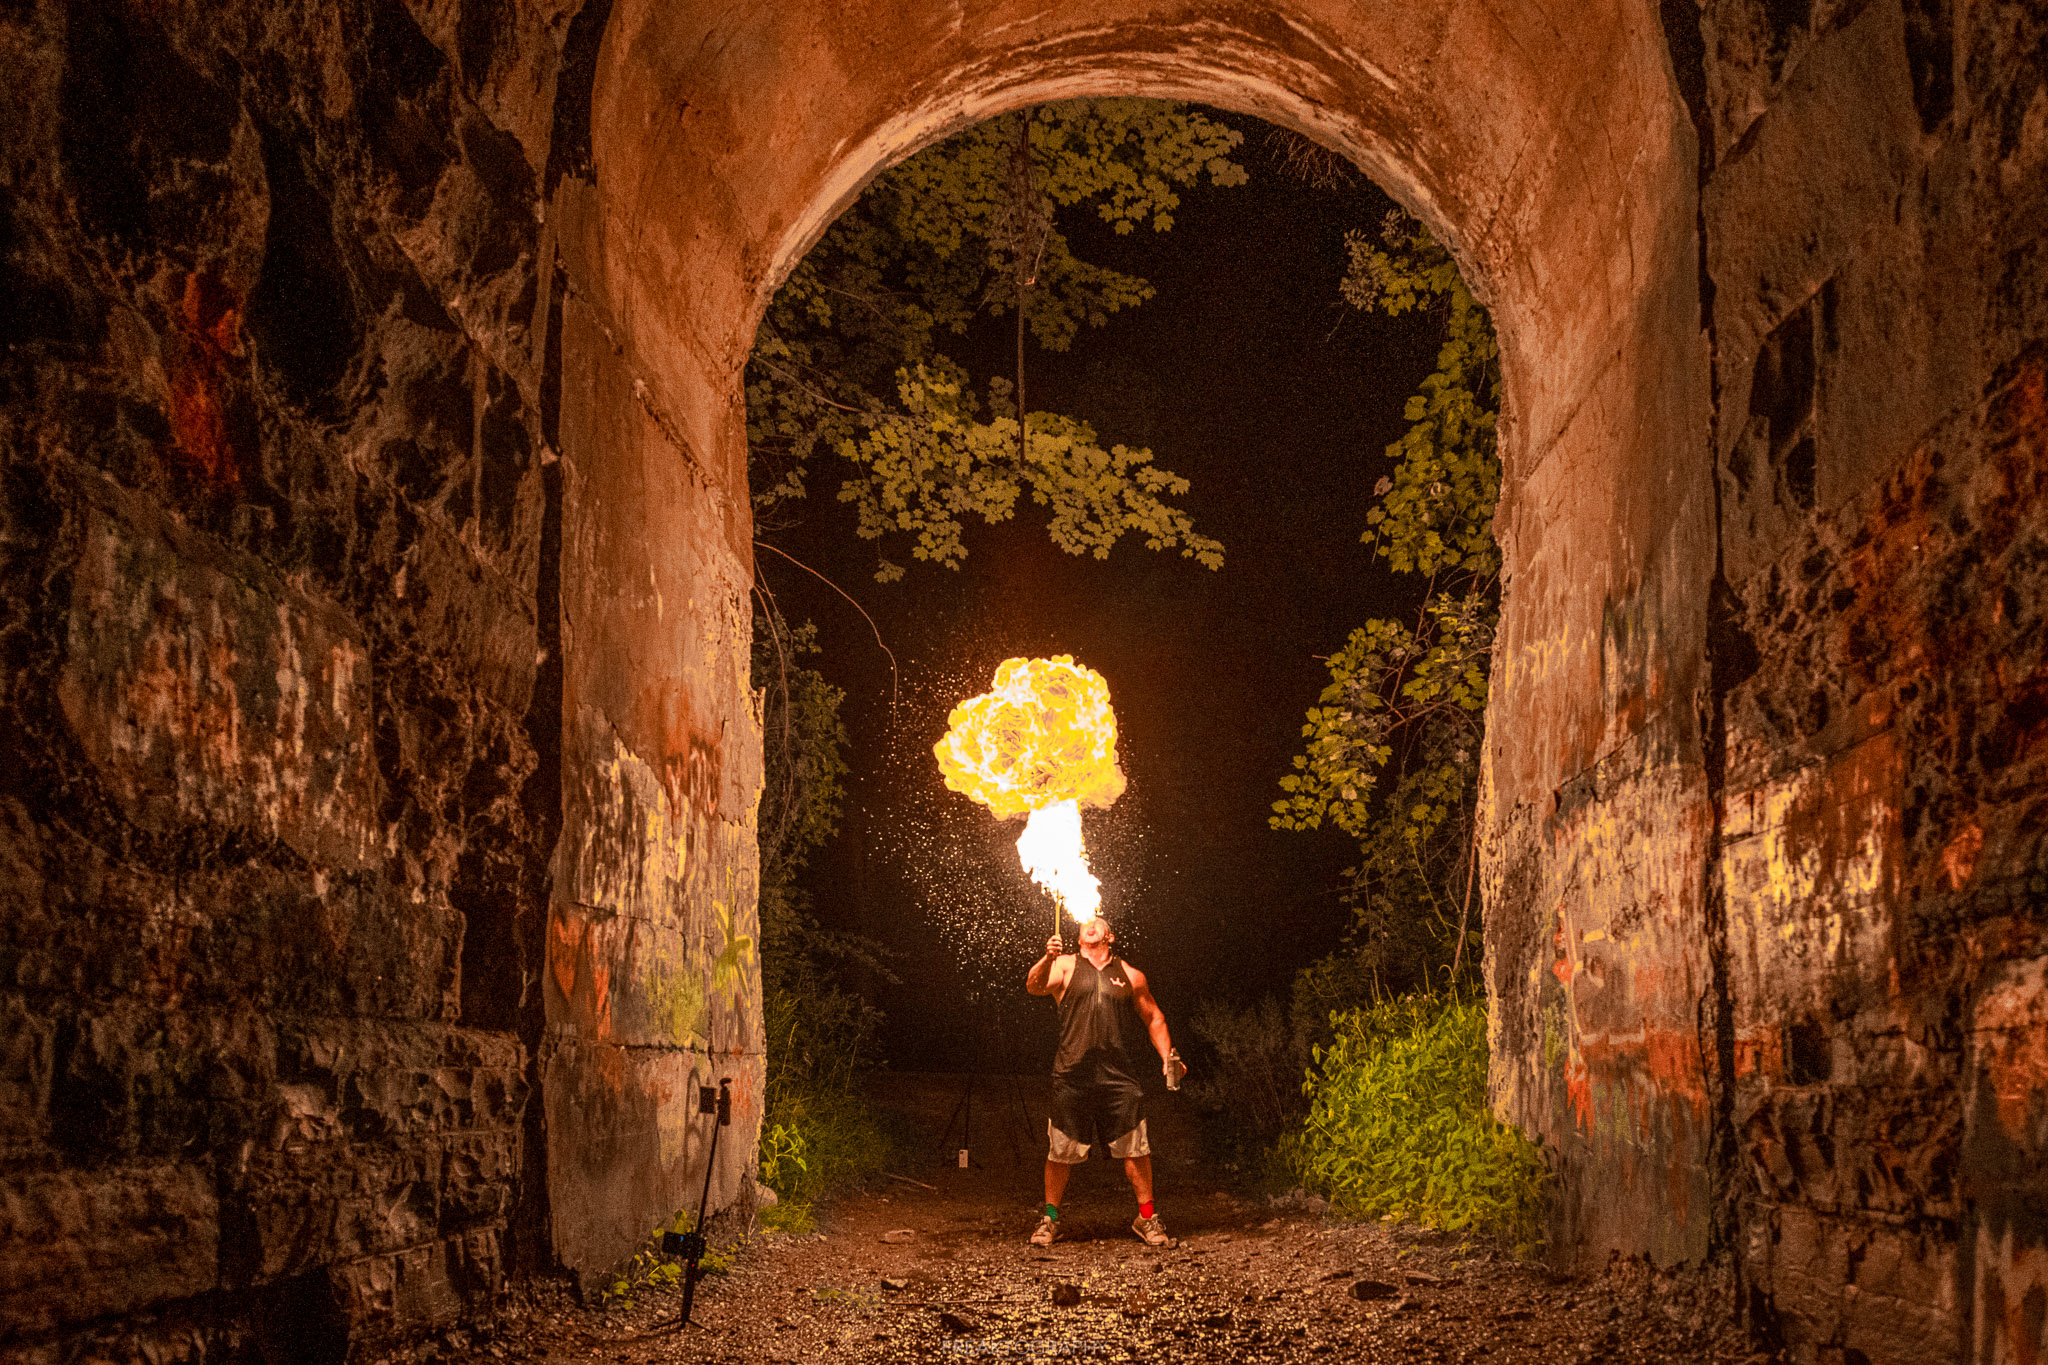
I brought my Fire Breathing friend Mike with me to three different abandoned places to see what it would be like to photograph him, it ended up being very very awesome!
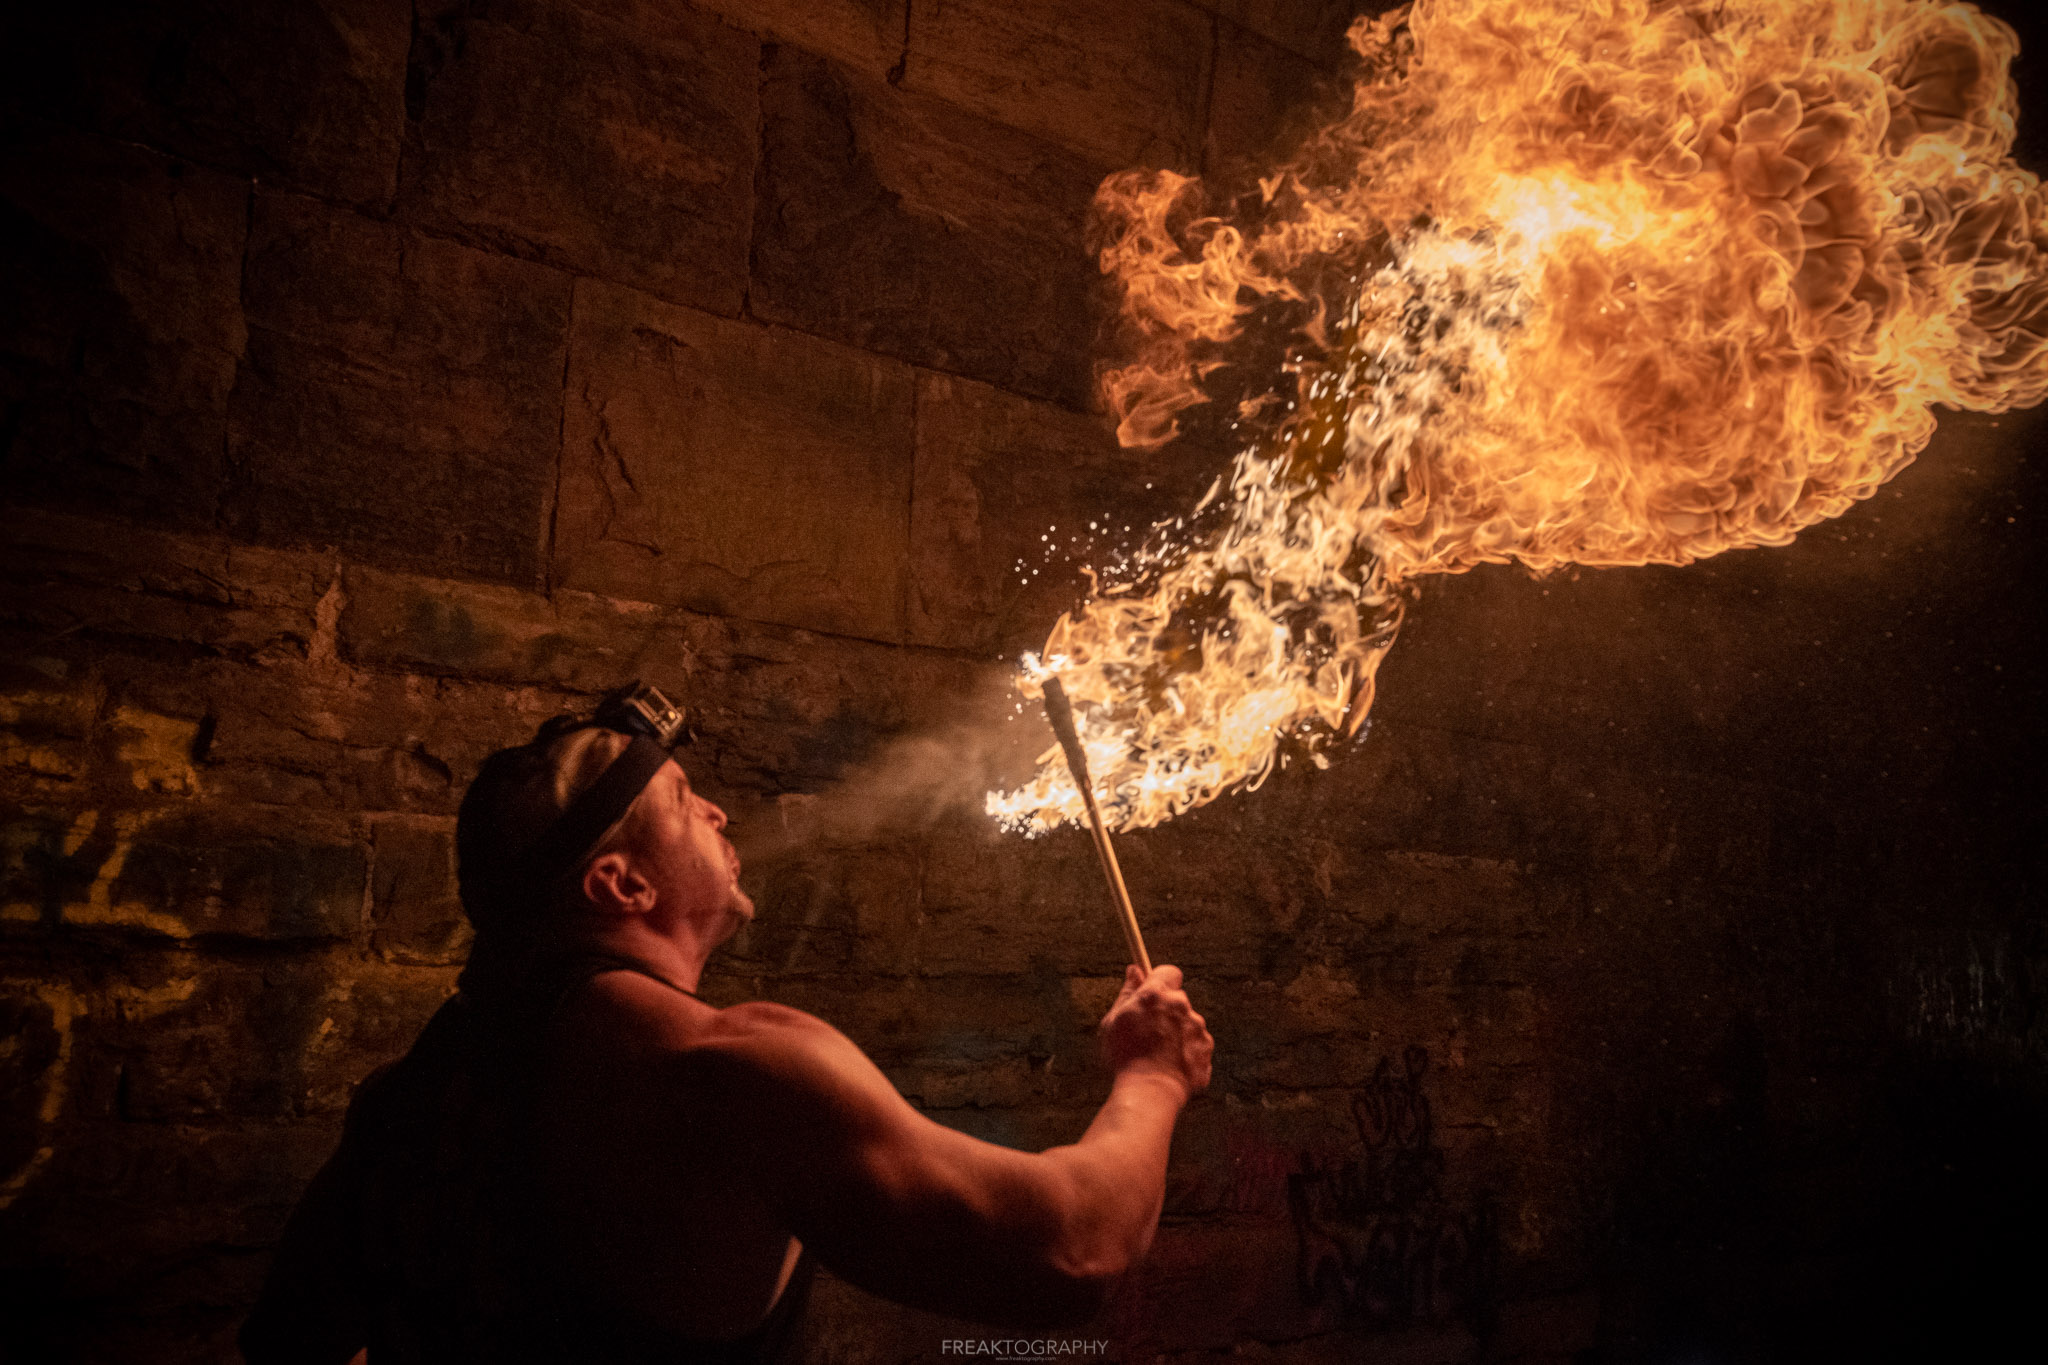
Having never done fire breathing photography before, I was very excited to learn how to use my camera settings to best capture not only the fire breather, but the massive flames that he would be breathing.
Fire Breathing Photography Camera Settings
Unlike most of my other subjects and content, this would require very fast shutter speeds and high ISO.
I had done a bit of research before hand but I would mostly apply what I already knew about camera settings and photography principles to the experience.
I set my camera to Manual mode as I always do and I shot in RAW format. This goes without saying, but shooting in RAW gives you far more options in editing and post processing and shooting in manual gives you full control over the camera settings.
My next challenge was focus, I switched between manual focus, infinity focus and auto focus.
Auto focus absolutely does not work in this scenario, prior to the subject lighting his torch, the room is far too dark to find a point to focus on.
Infinity focus resulted in blurry photos when I was trying to shoot the subject up close, it worked in situations where I moved him farther away from the camera.
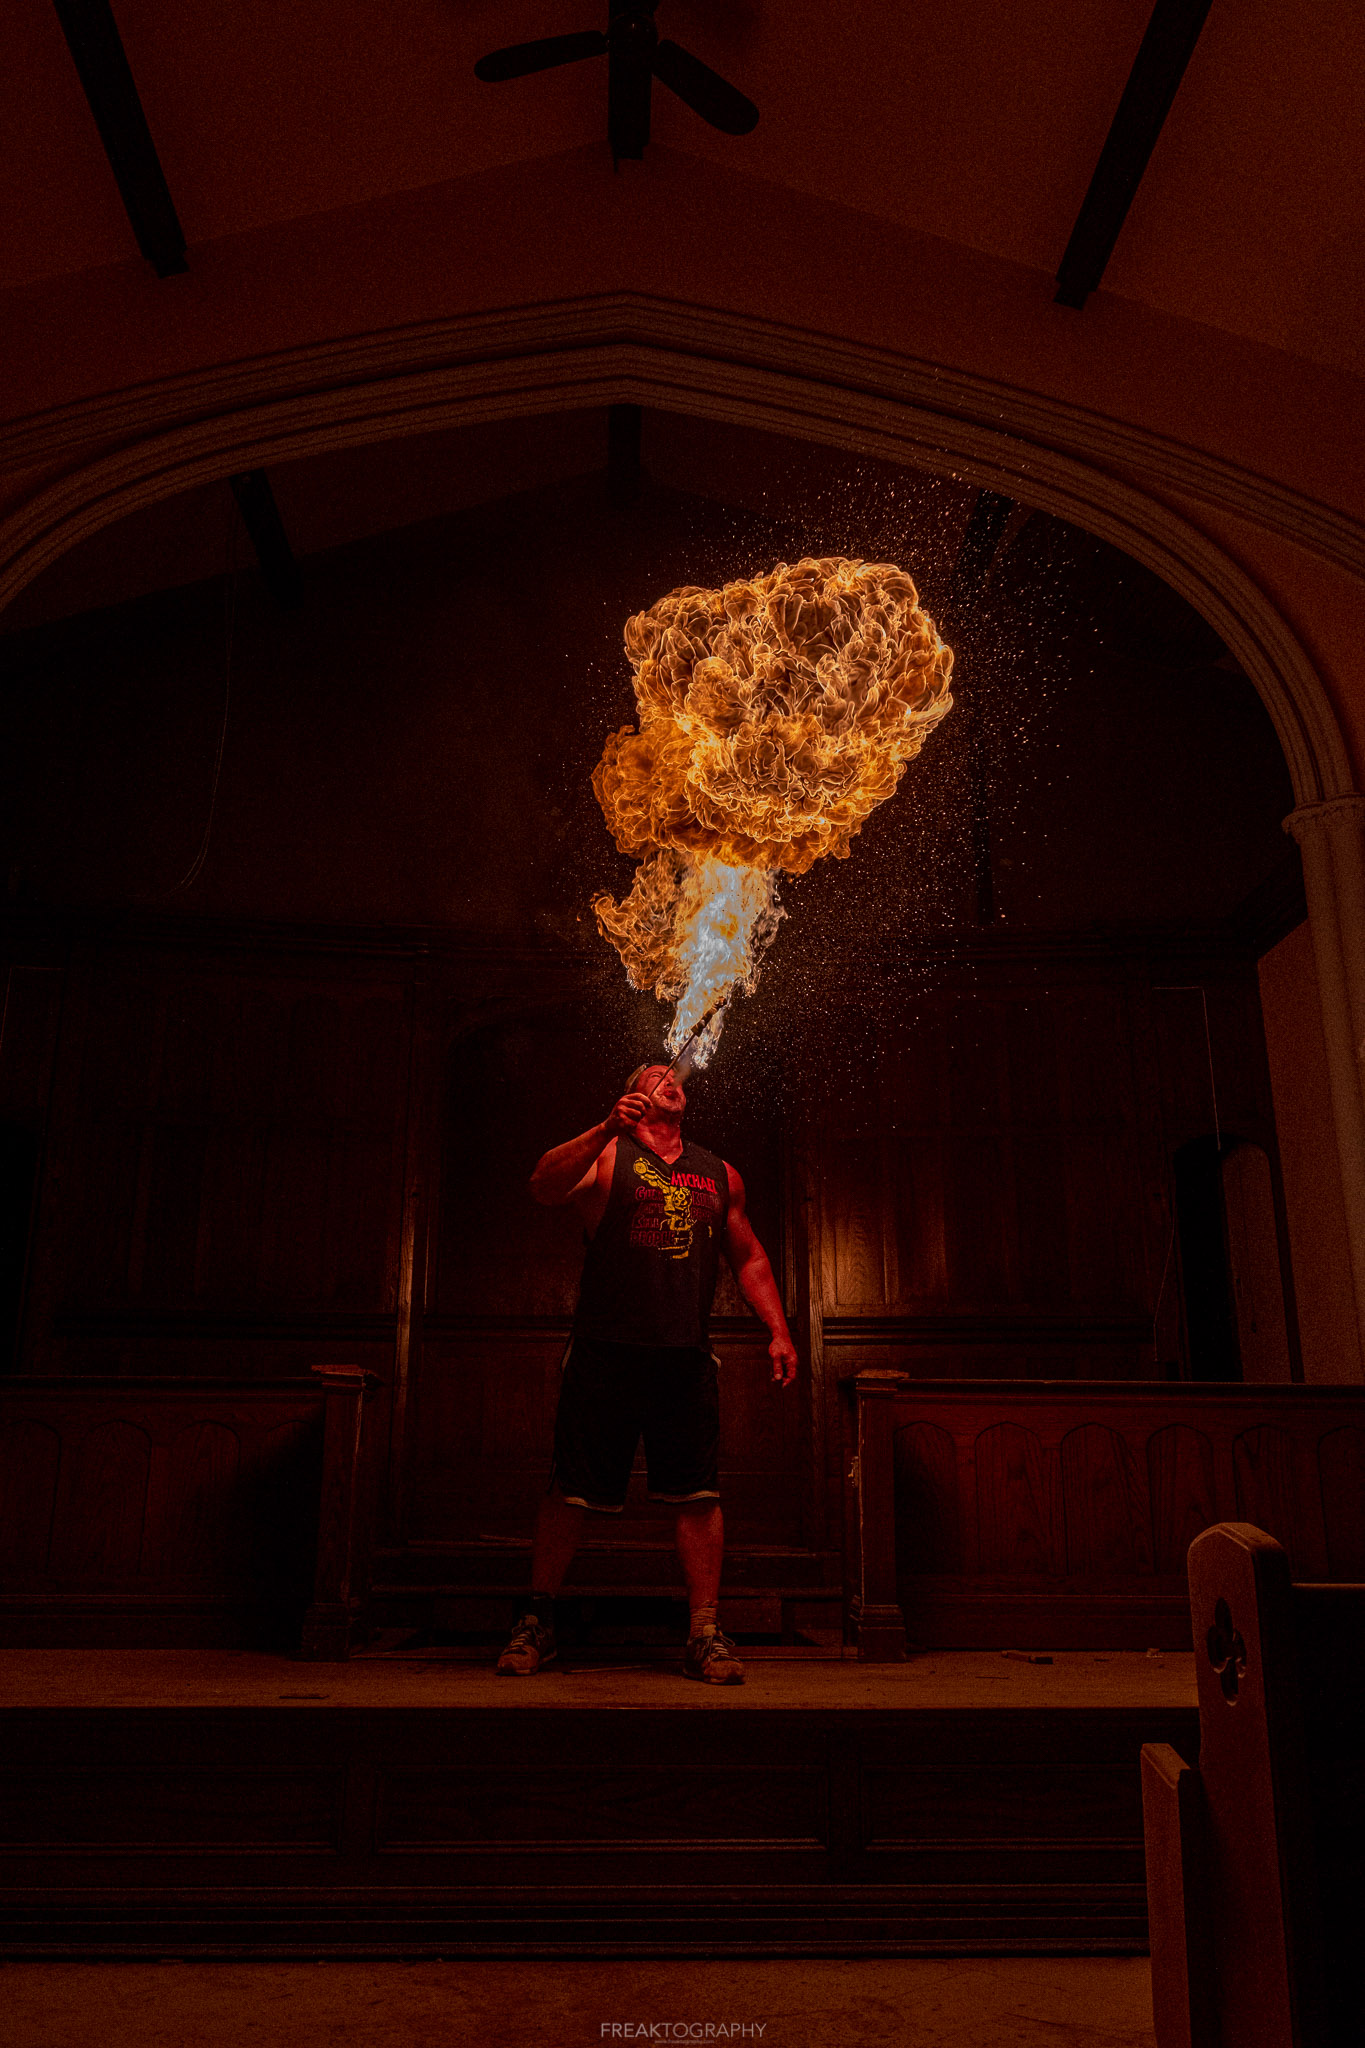
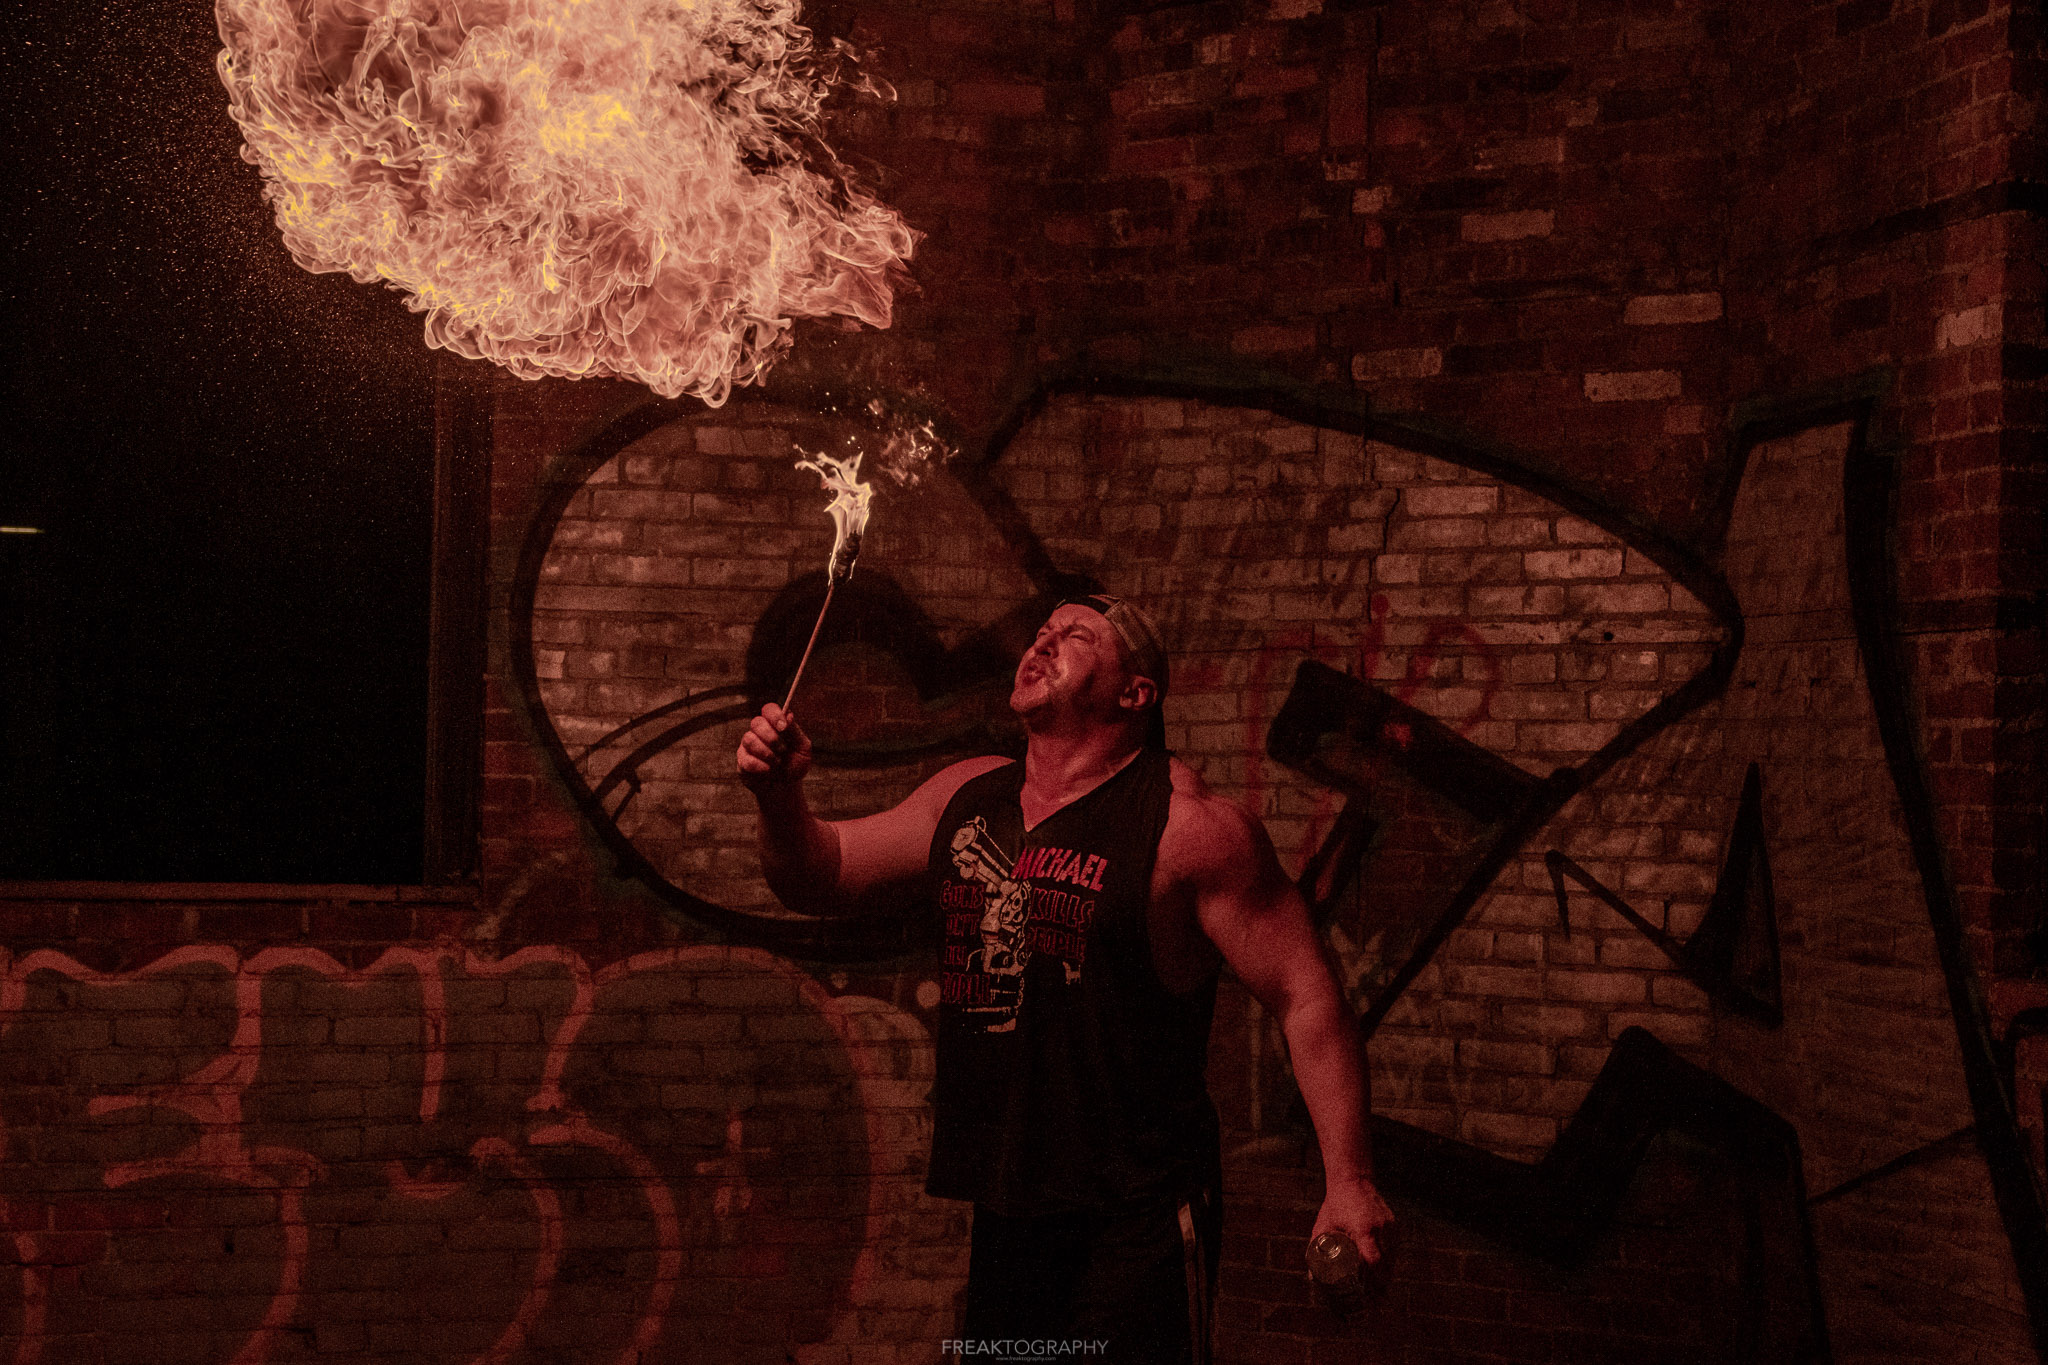
Manual focus was the way to go, I would have the subject light his torch which gave me enough light to find him in the viewfinder, set my focus on him and leave it at that setting. I would change my focus every time he did another blow.
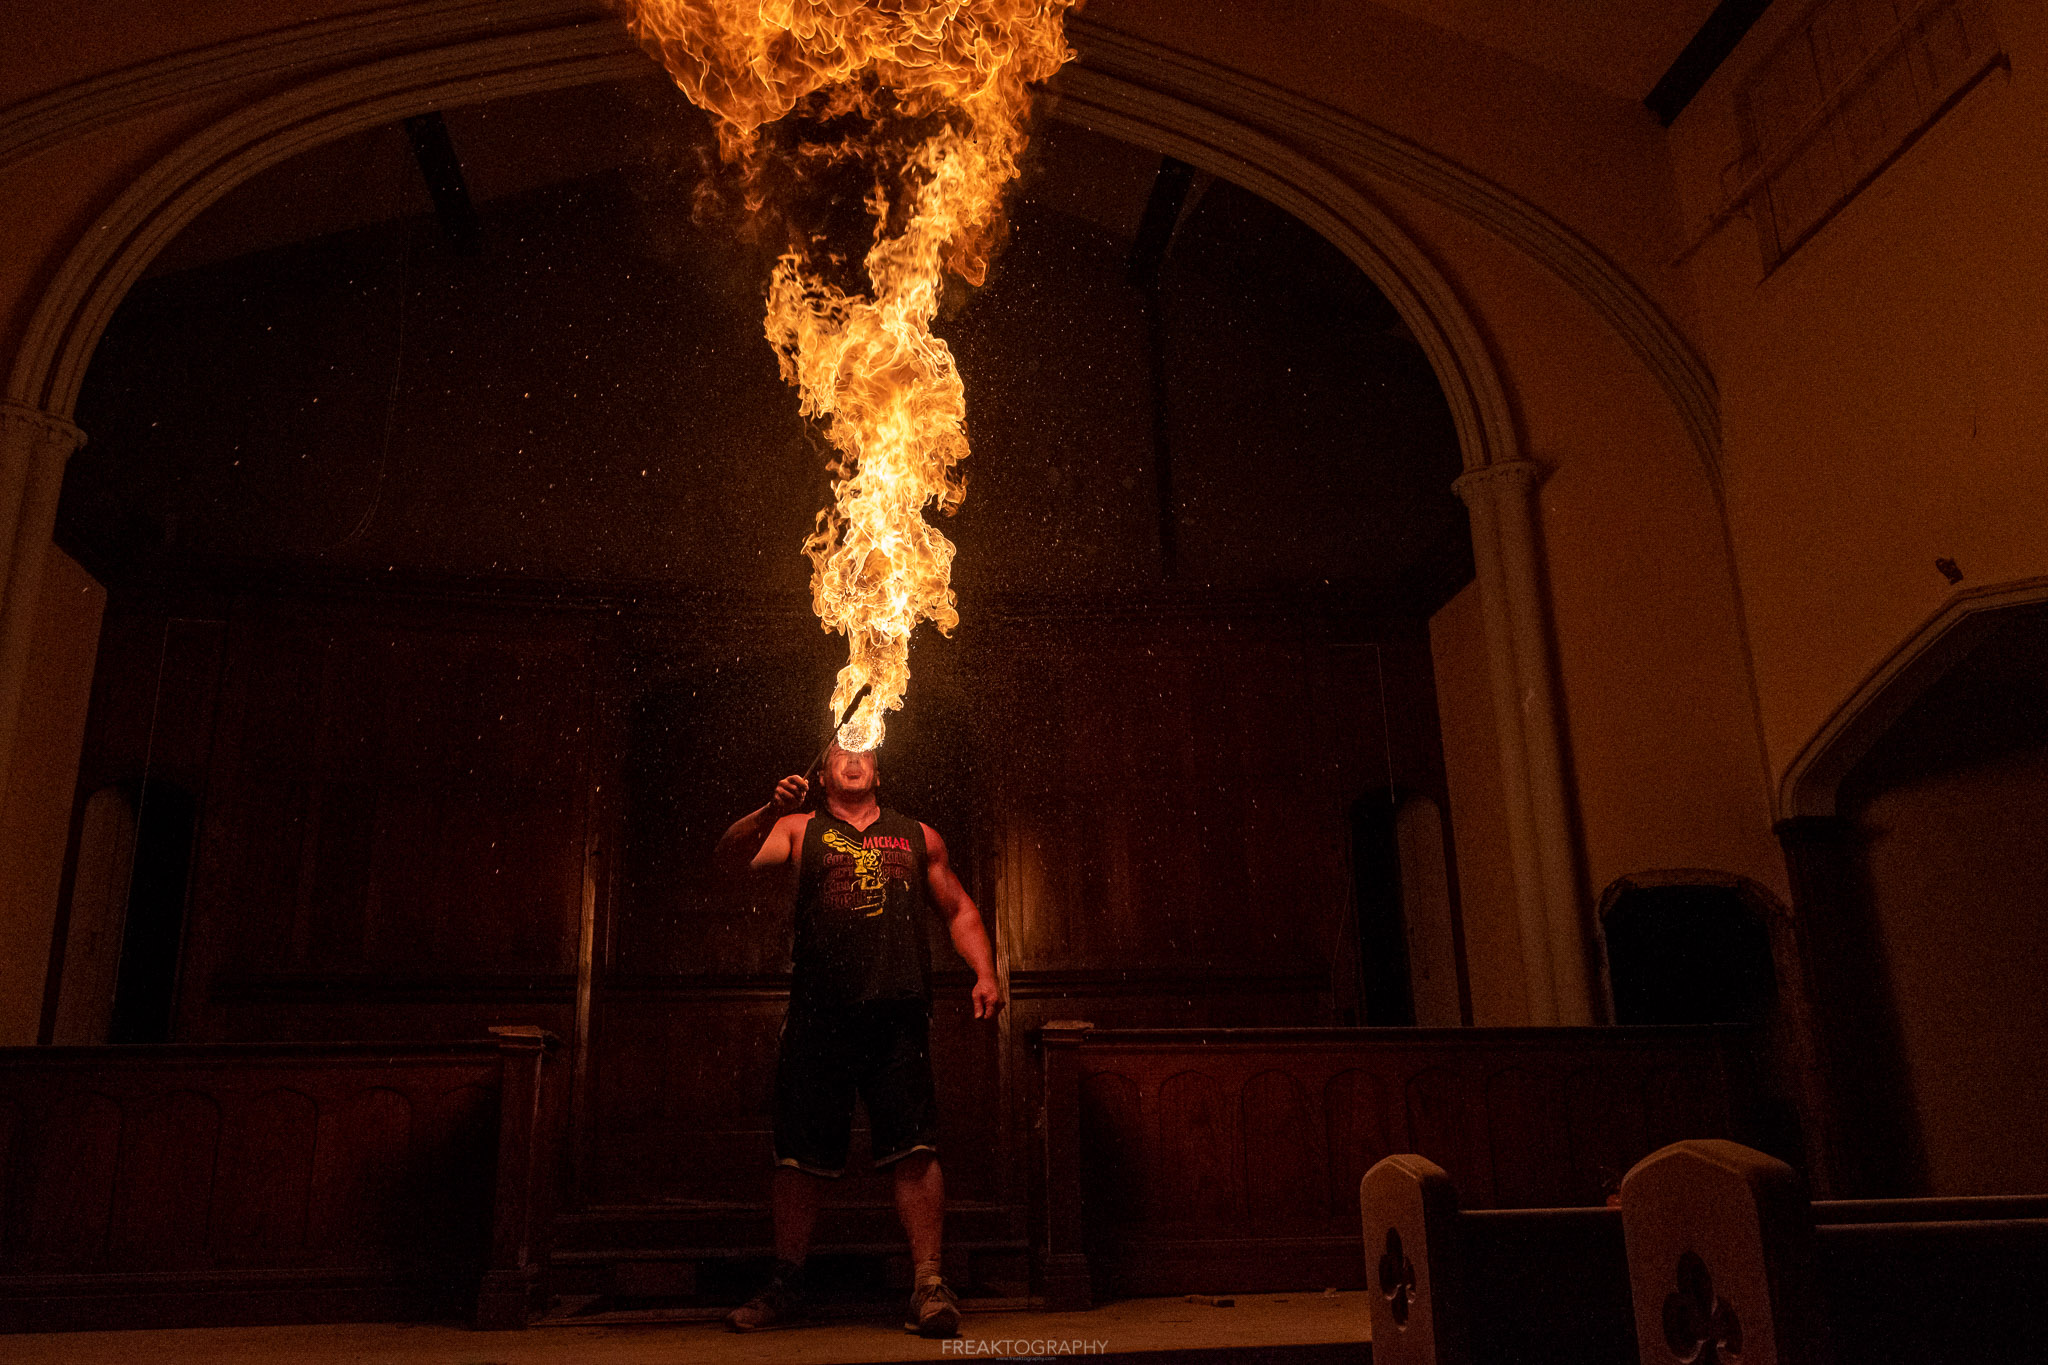
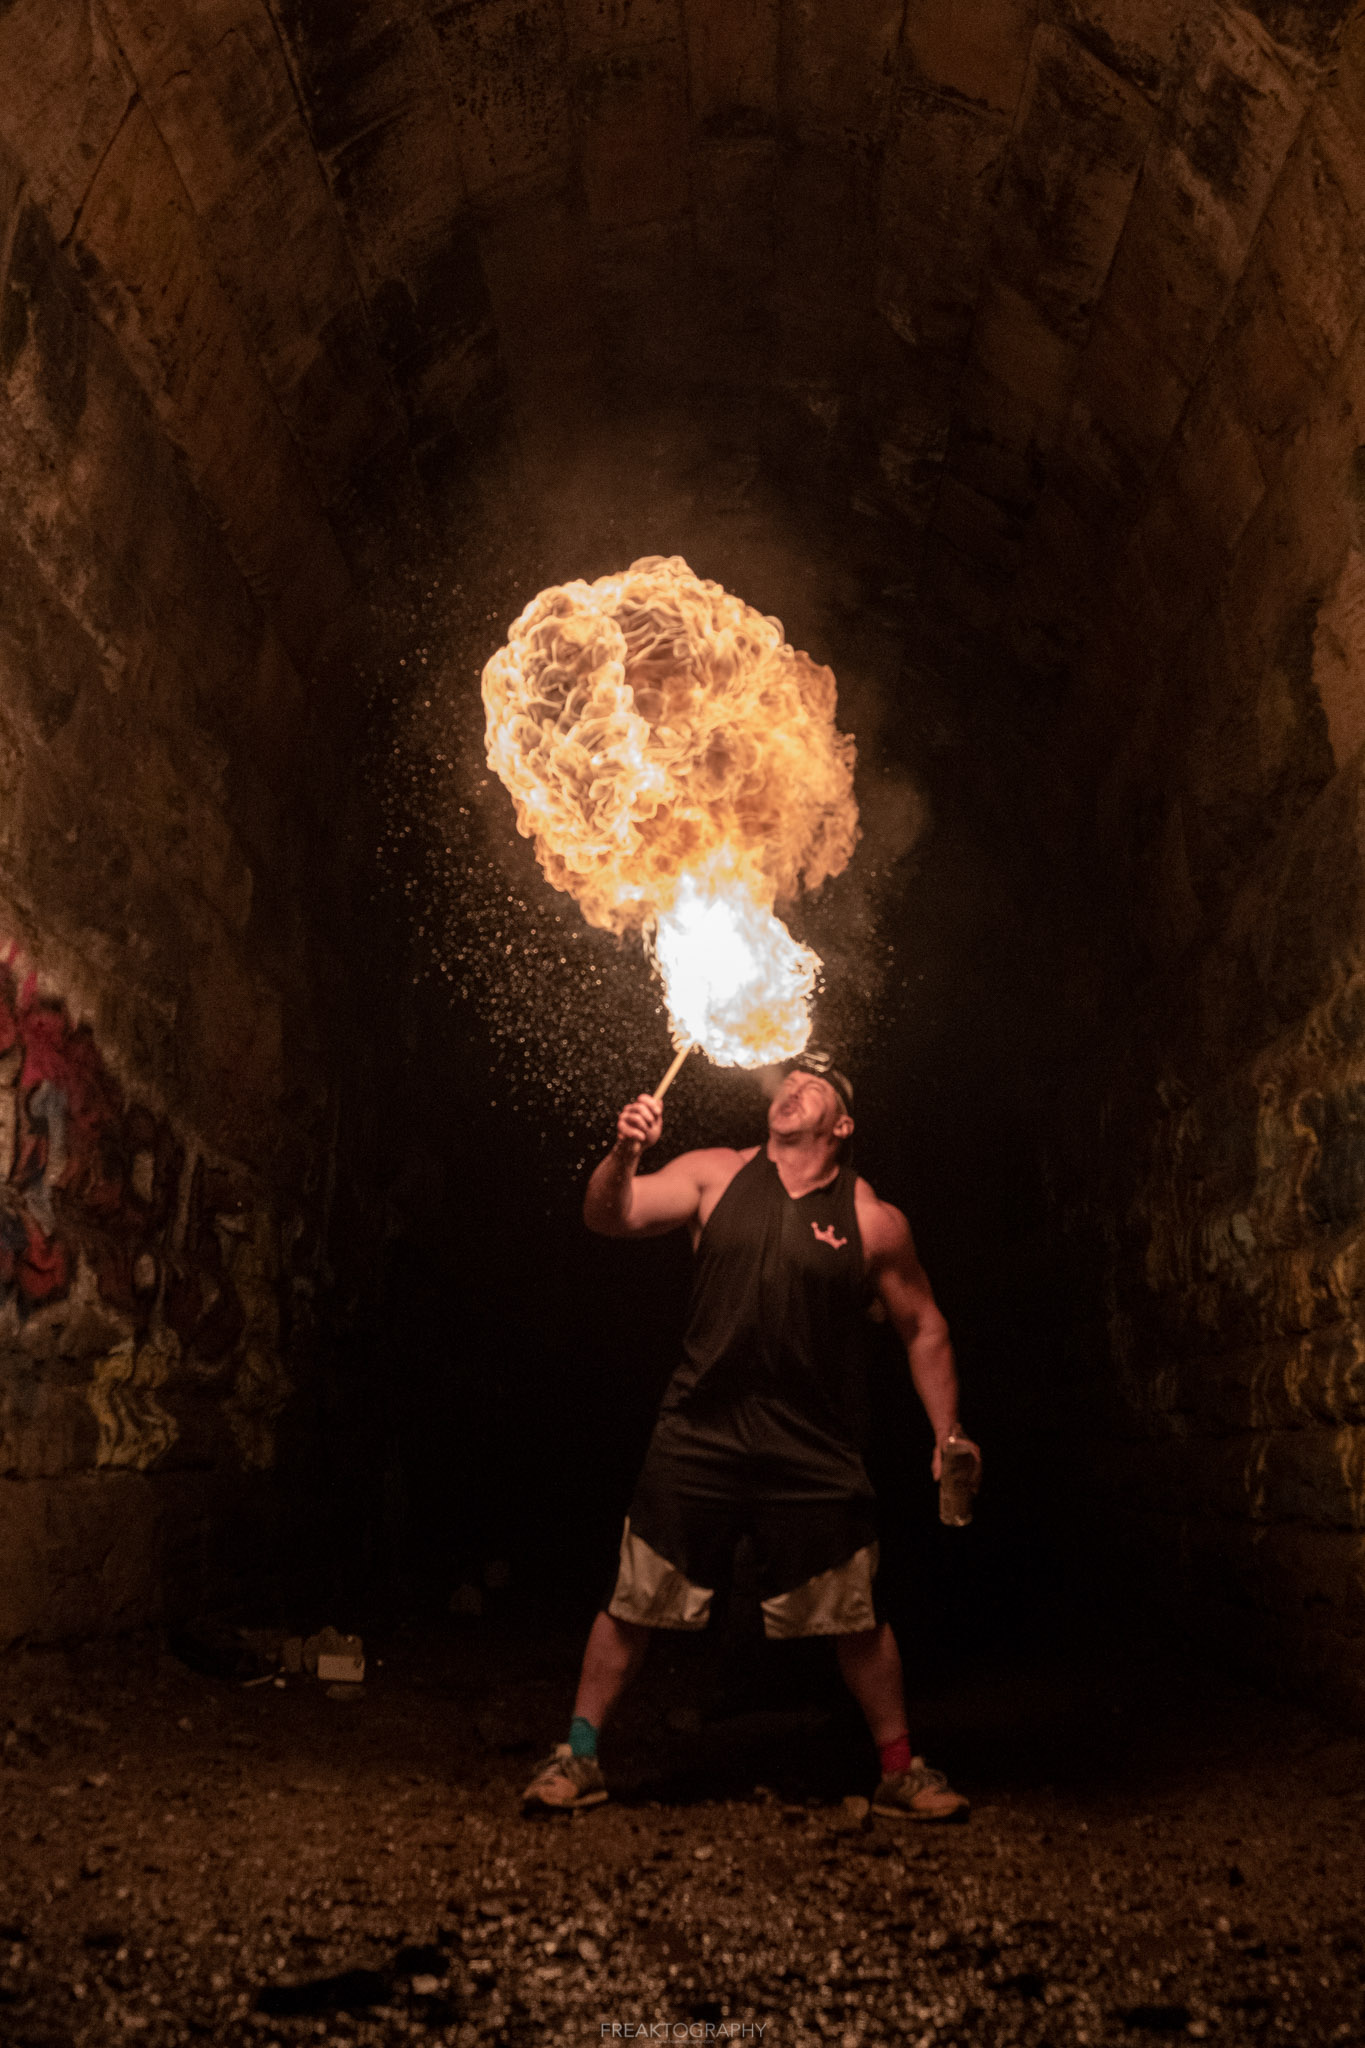
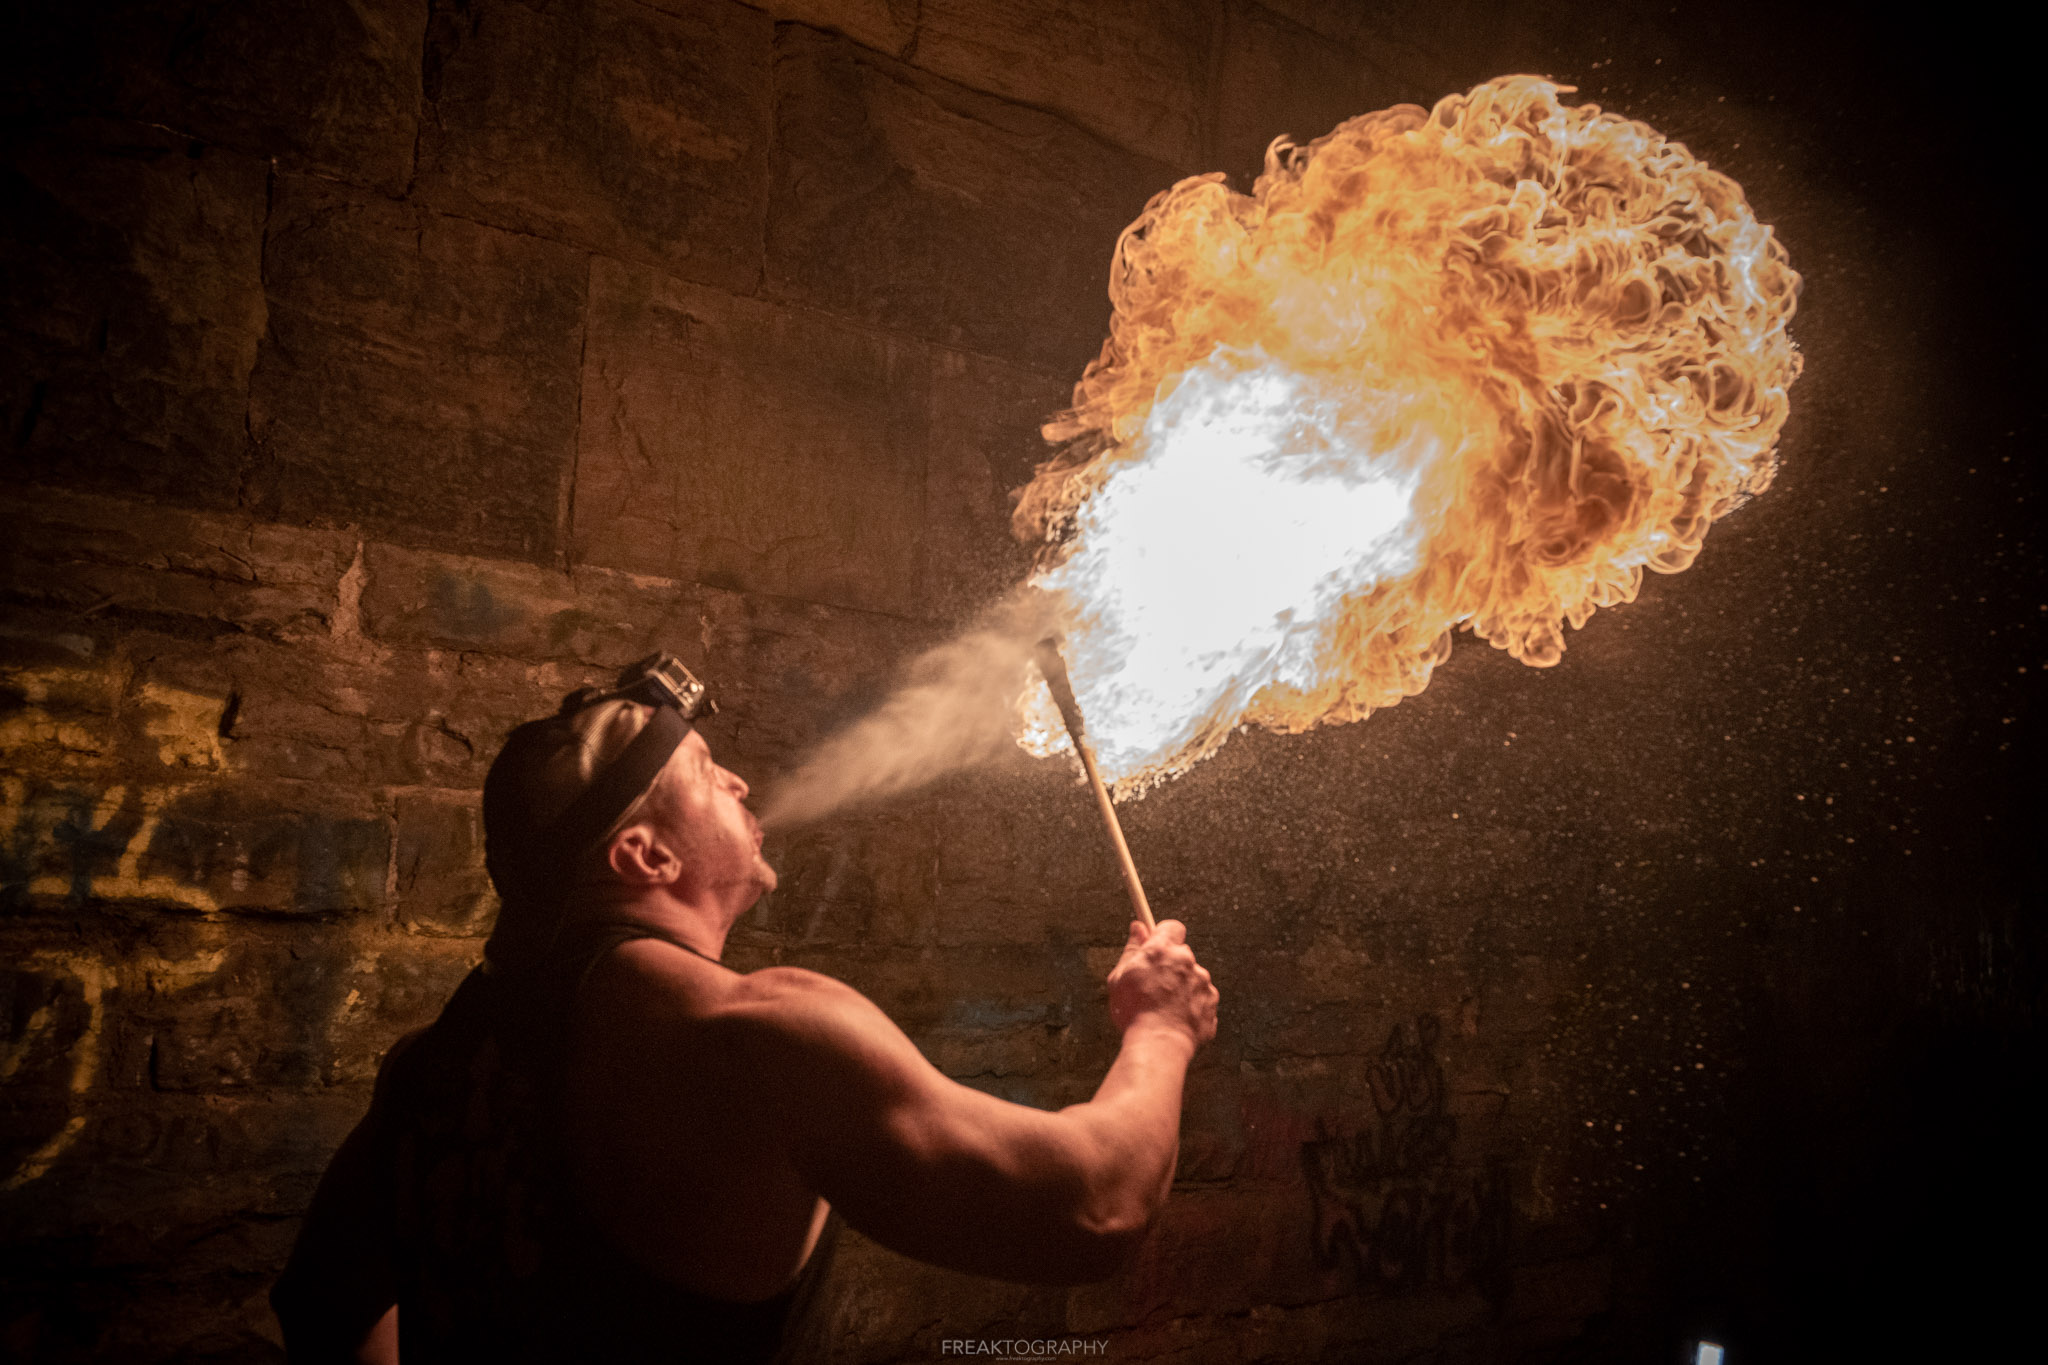
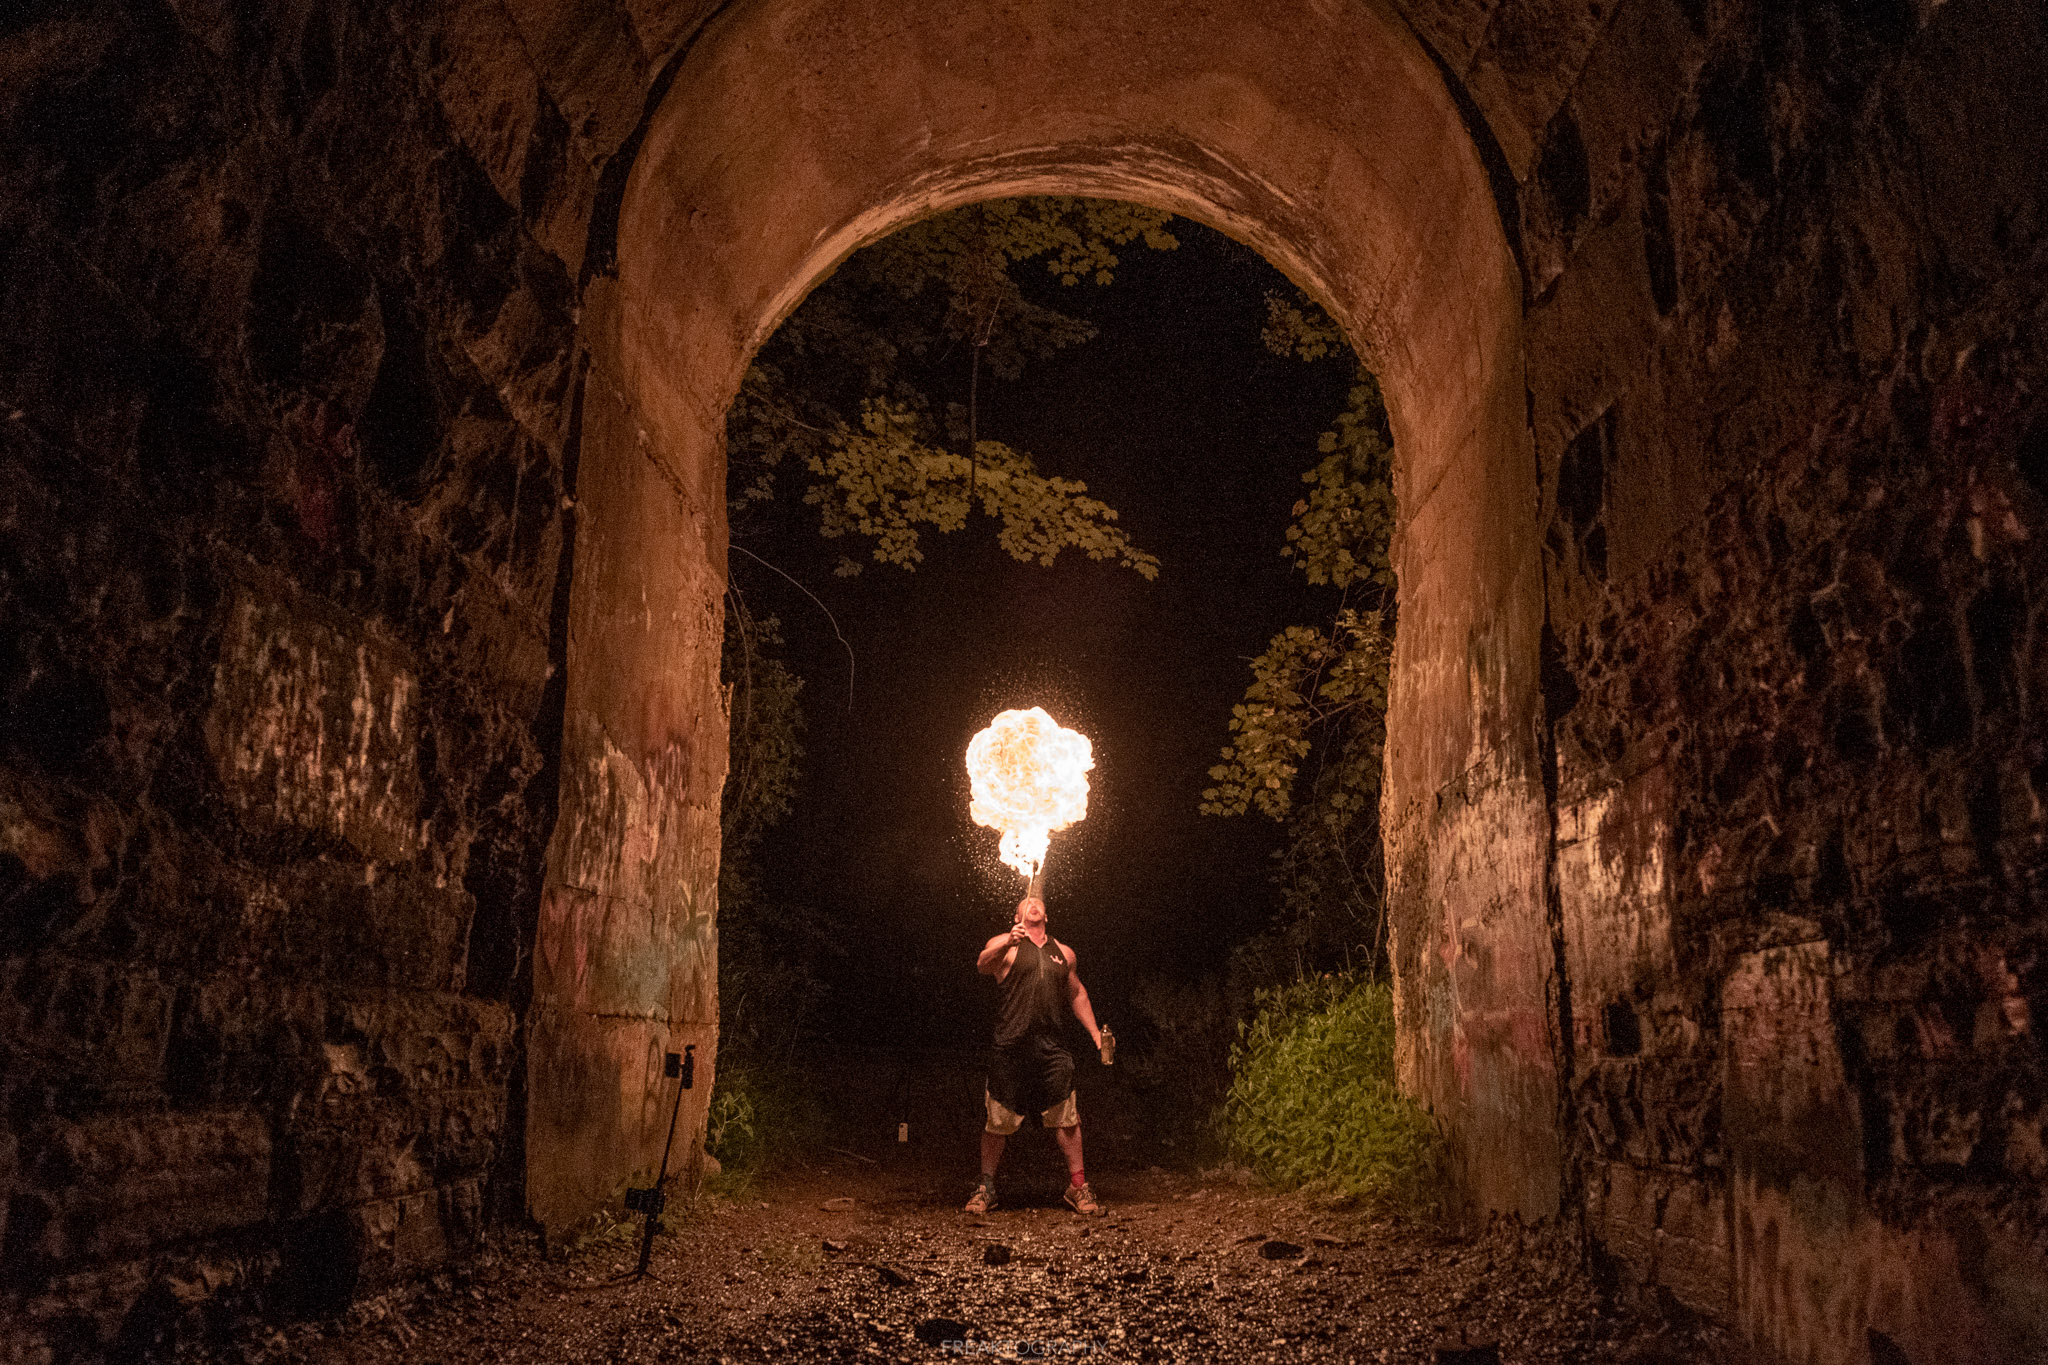
I set my camera to continuous rapid shooting mode, as the flame grows, so does the light in the room. Every capture was different, so within a period of 5 seconds I had a dozen frames to choose from. You literally have less than 5 seconds to get your shot with each blow from the subject.
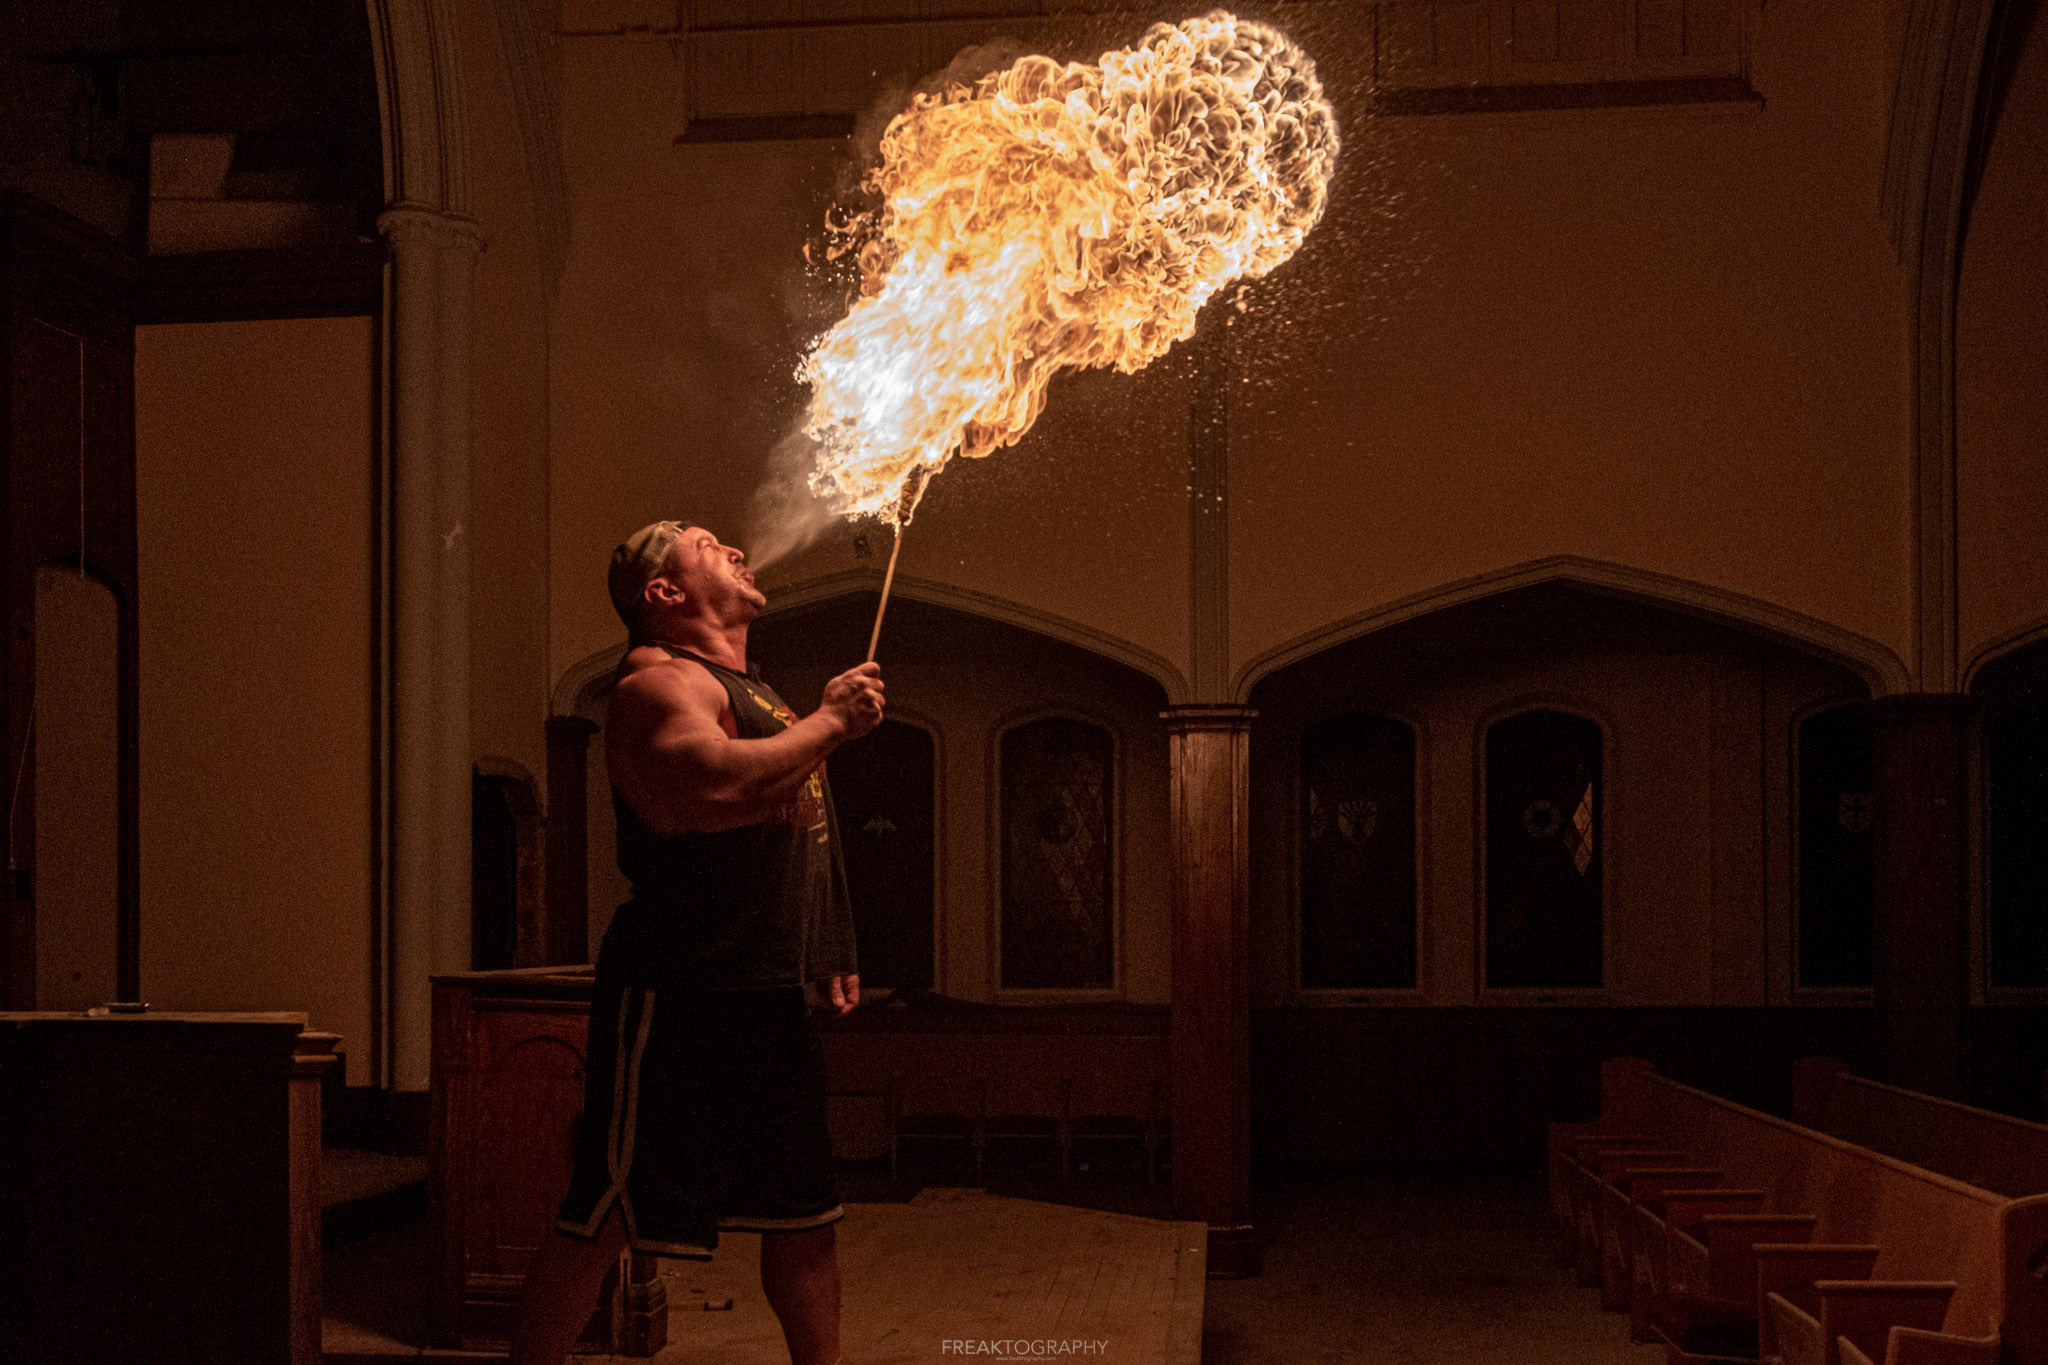
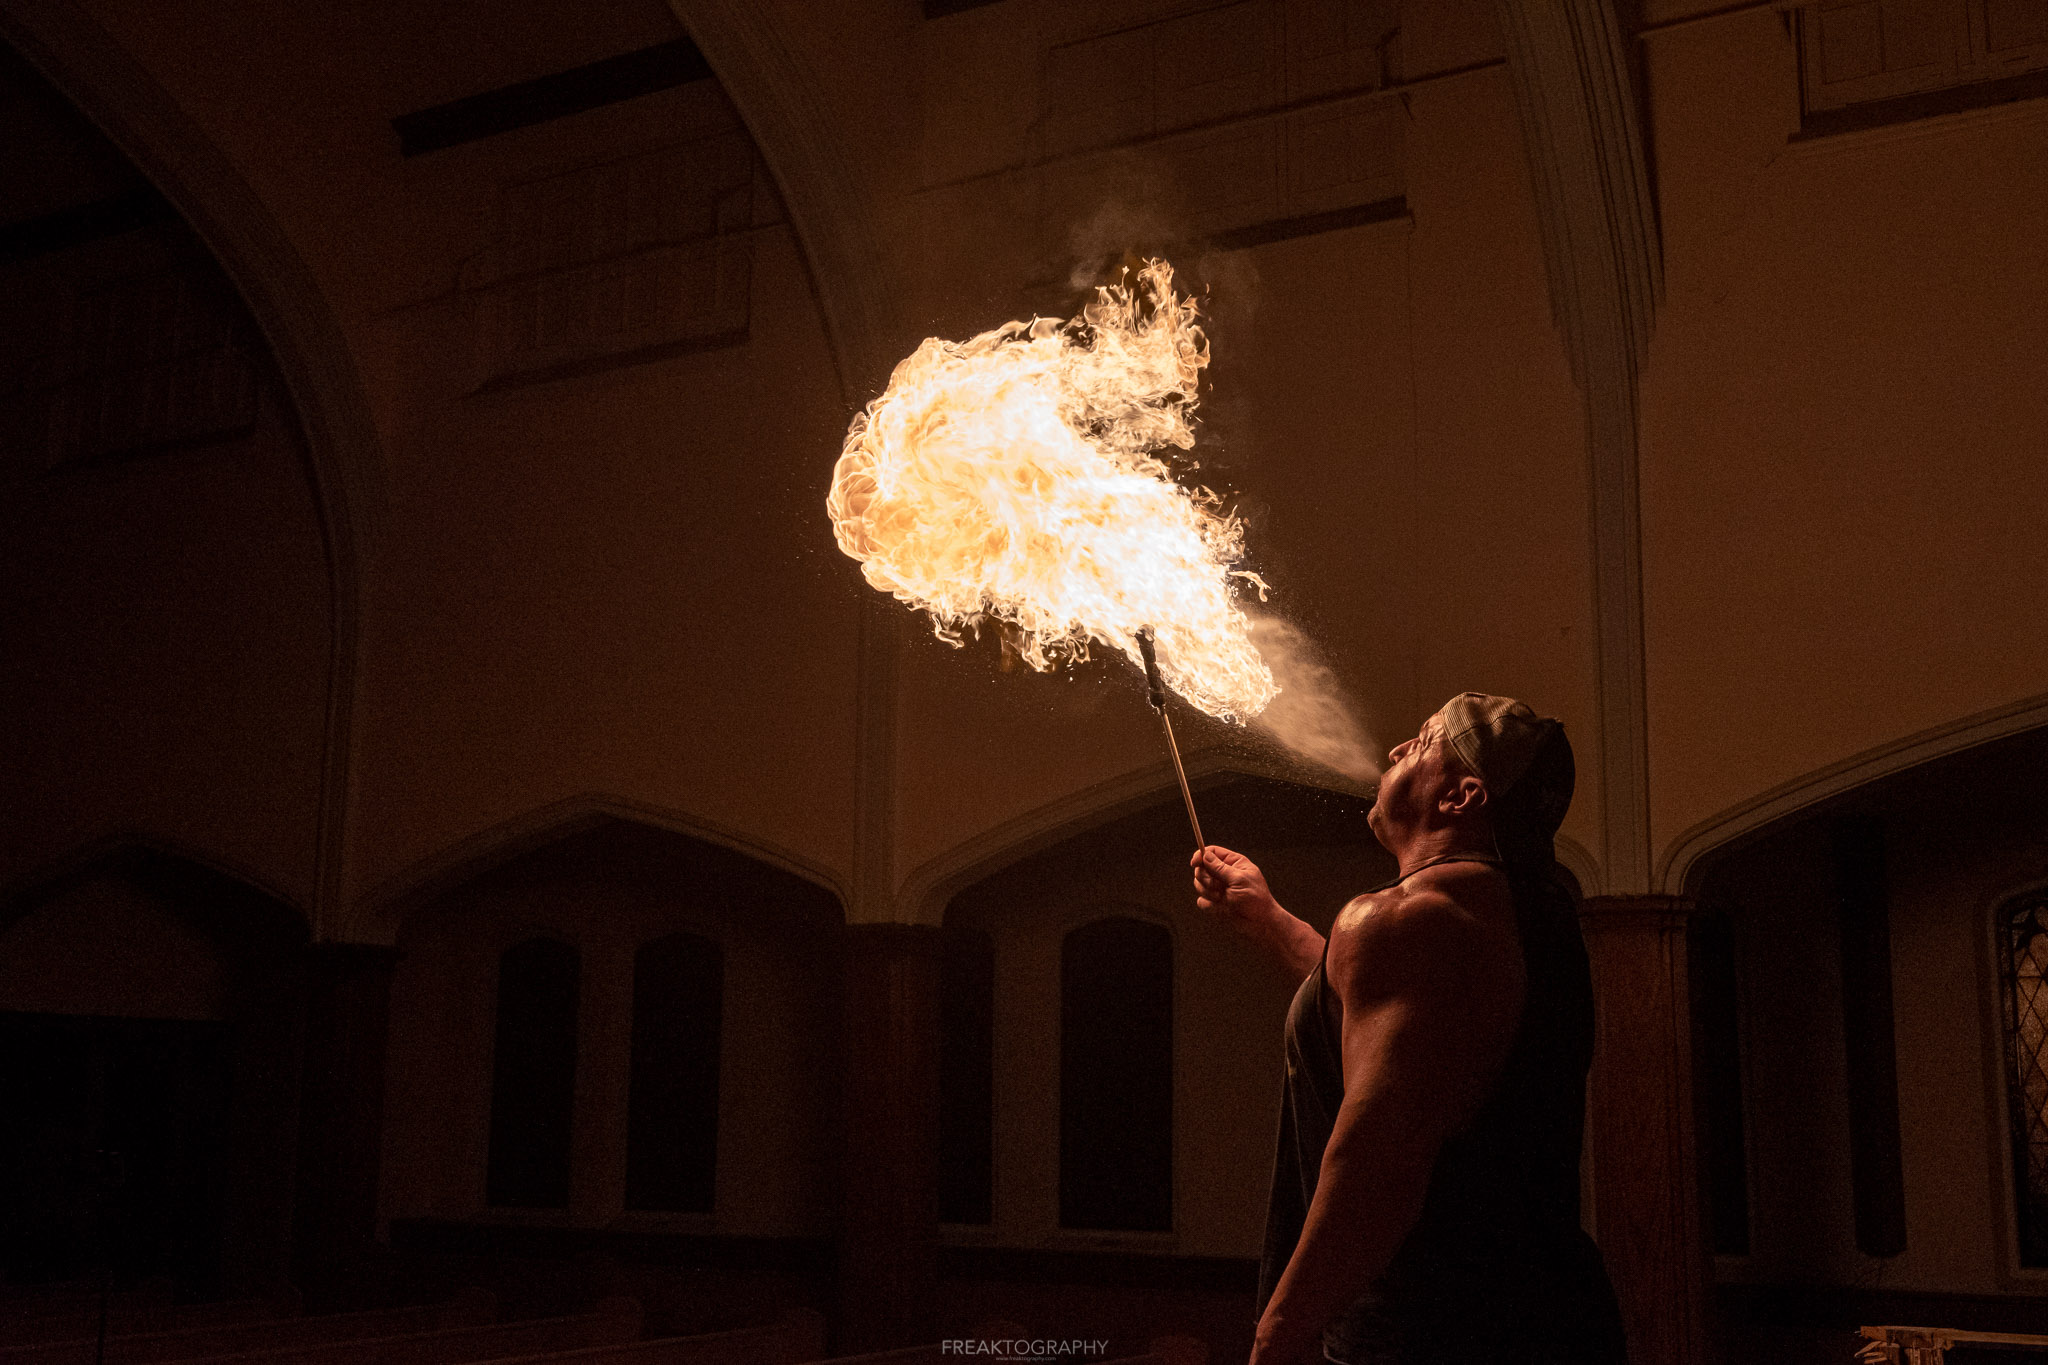
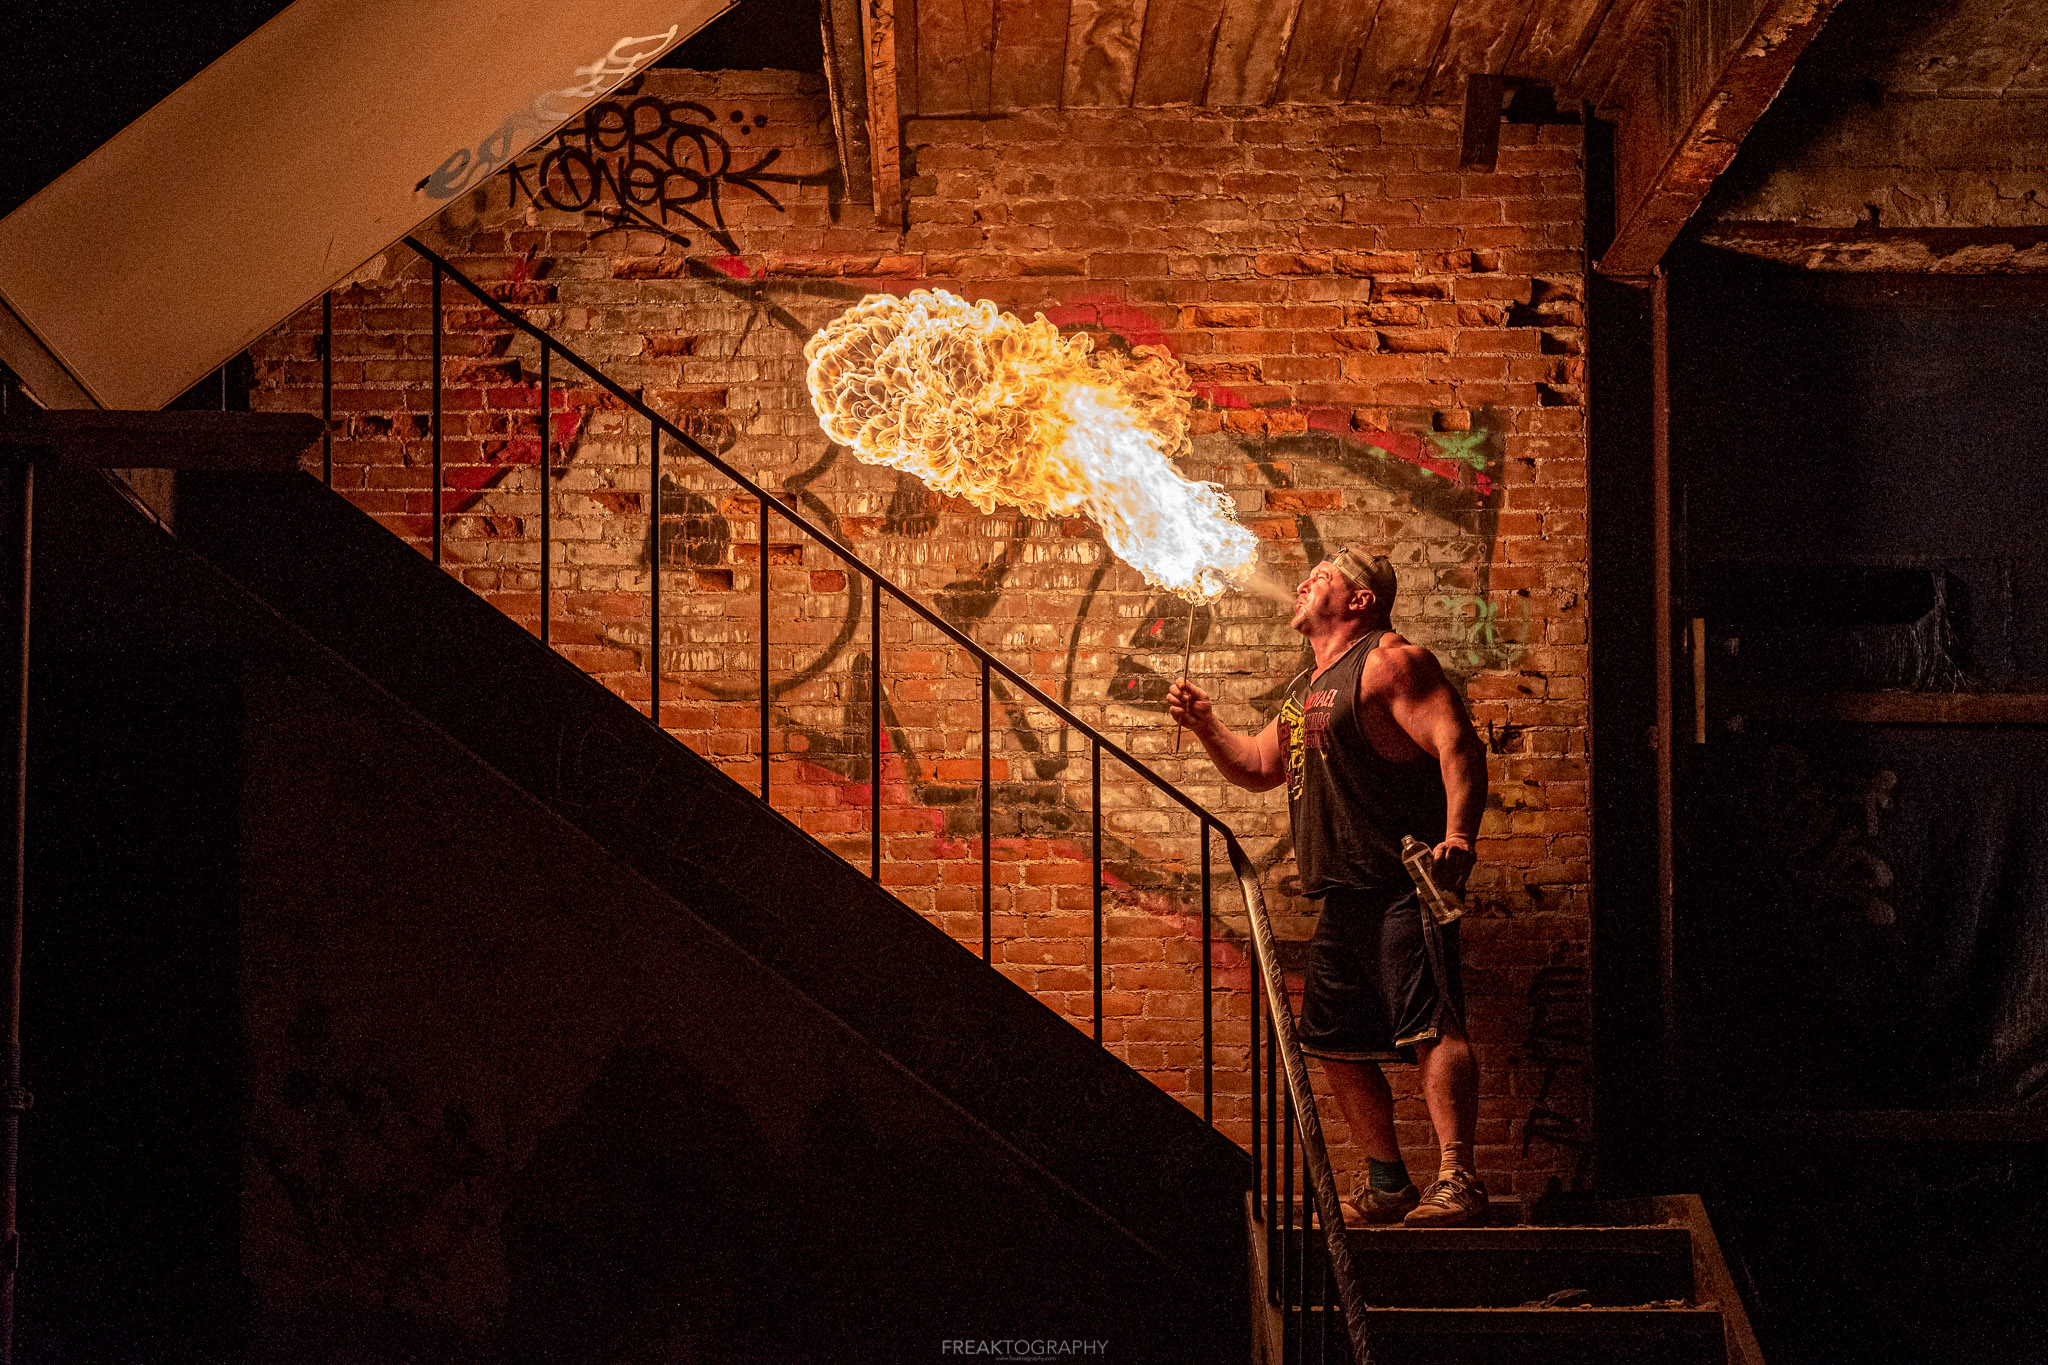
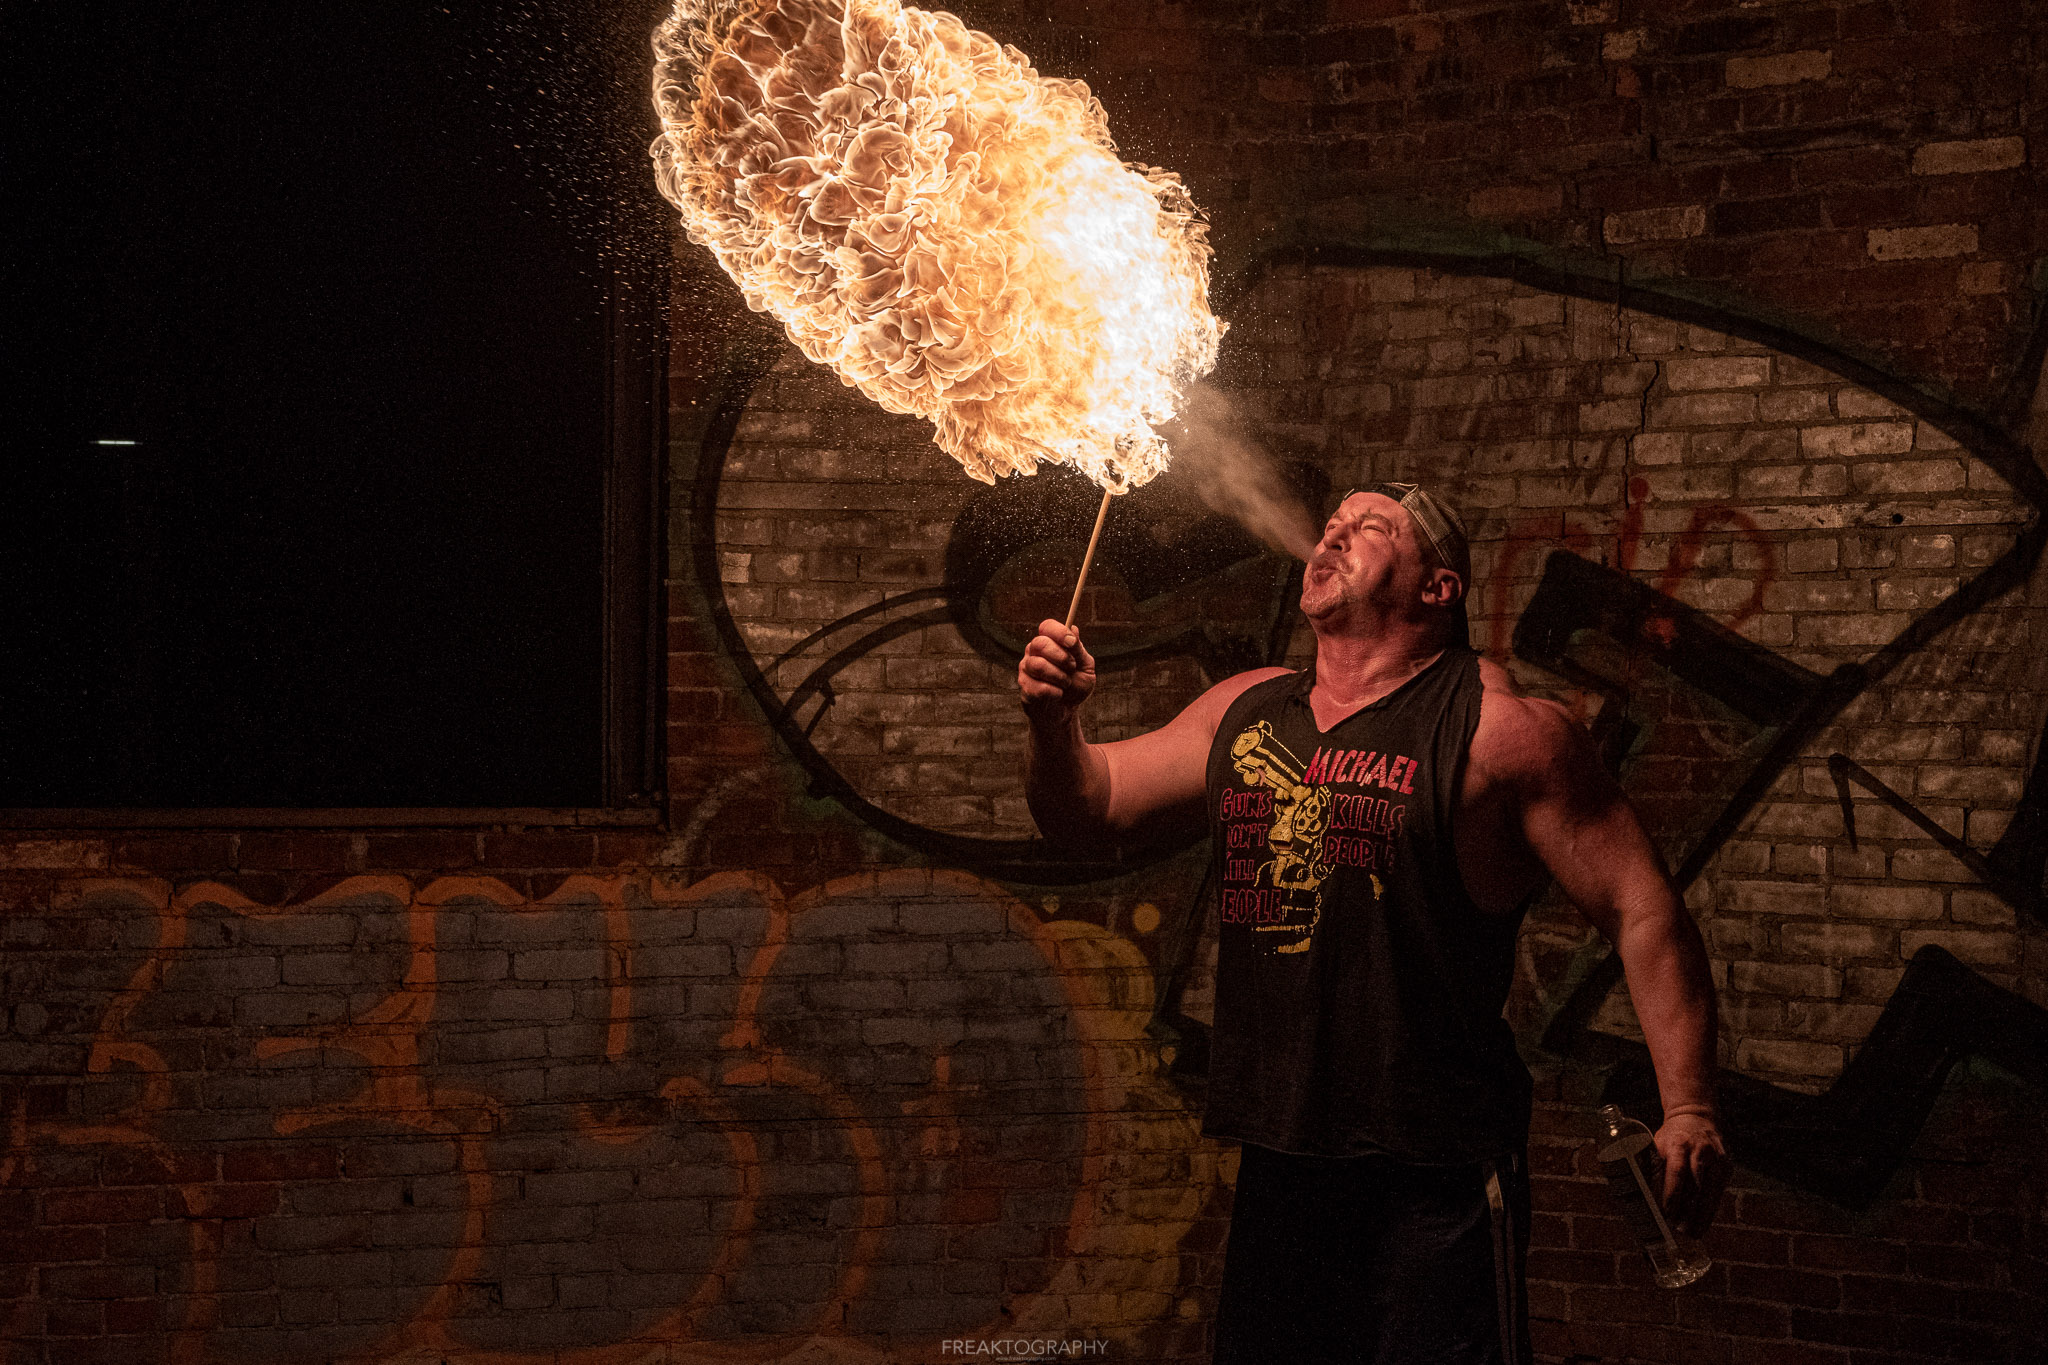
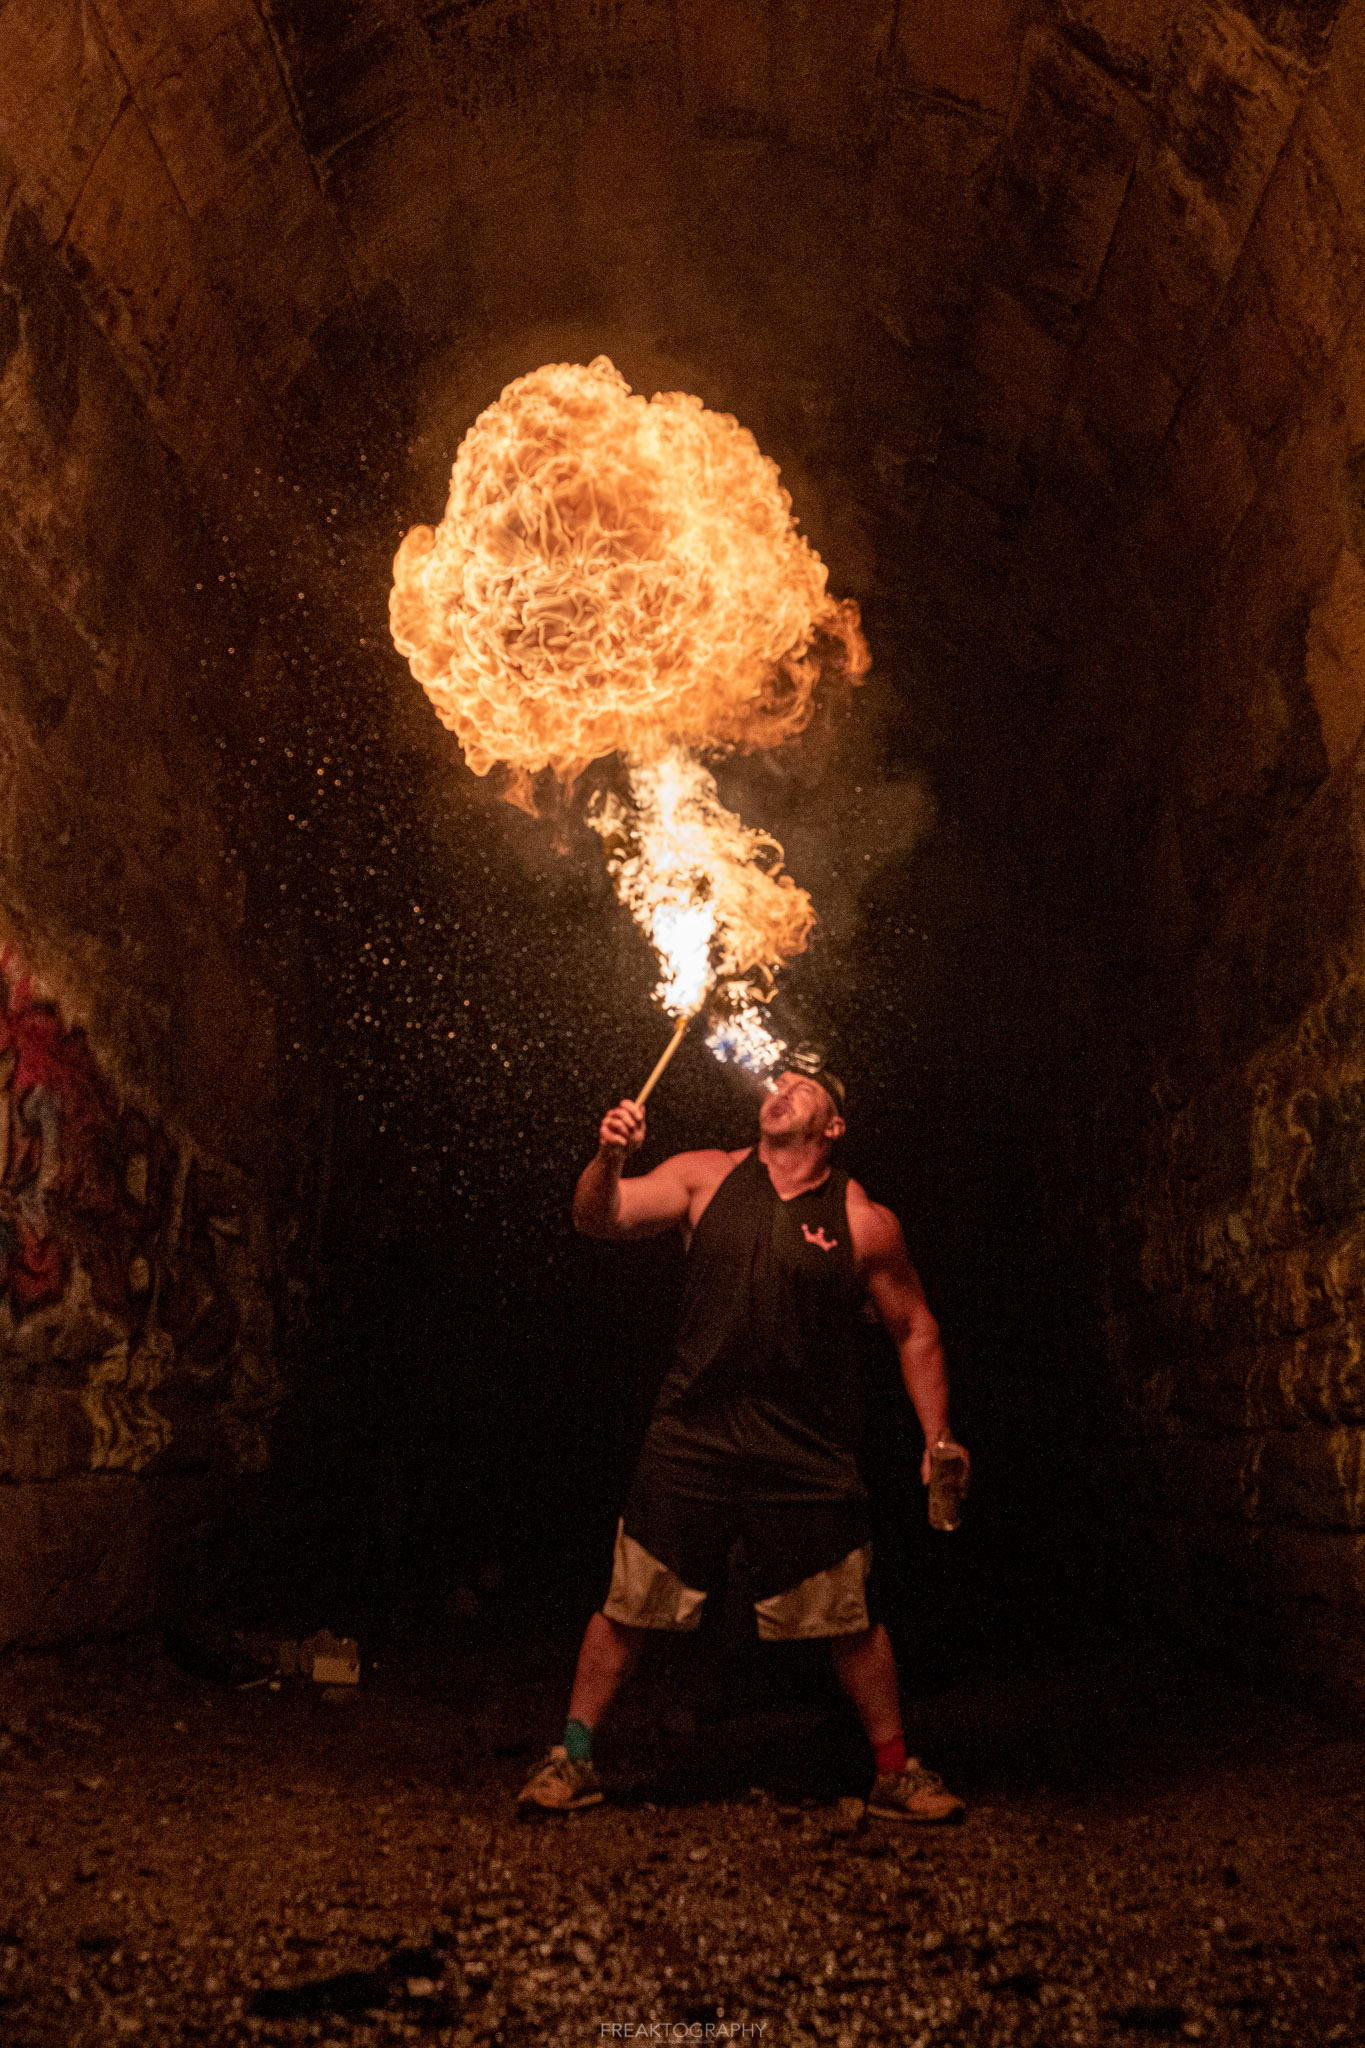
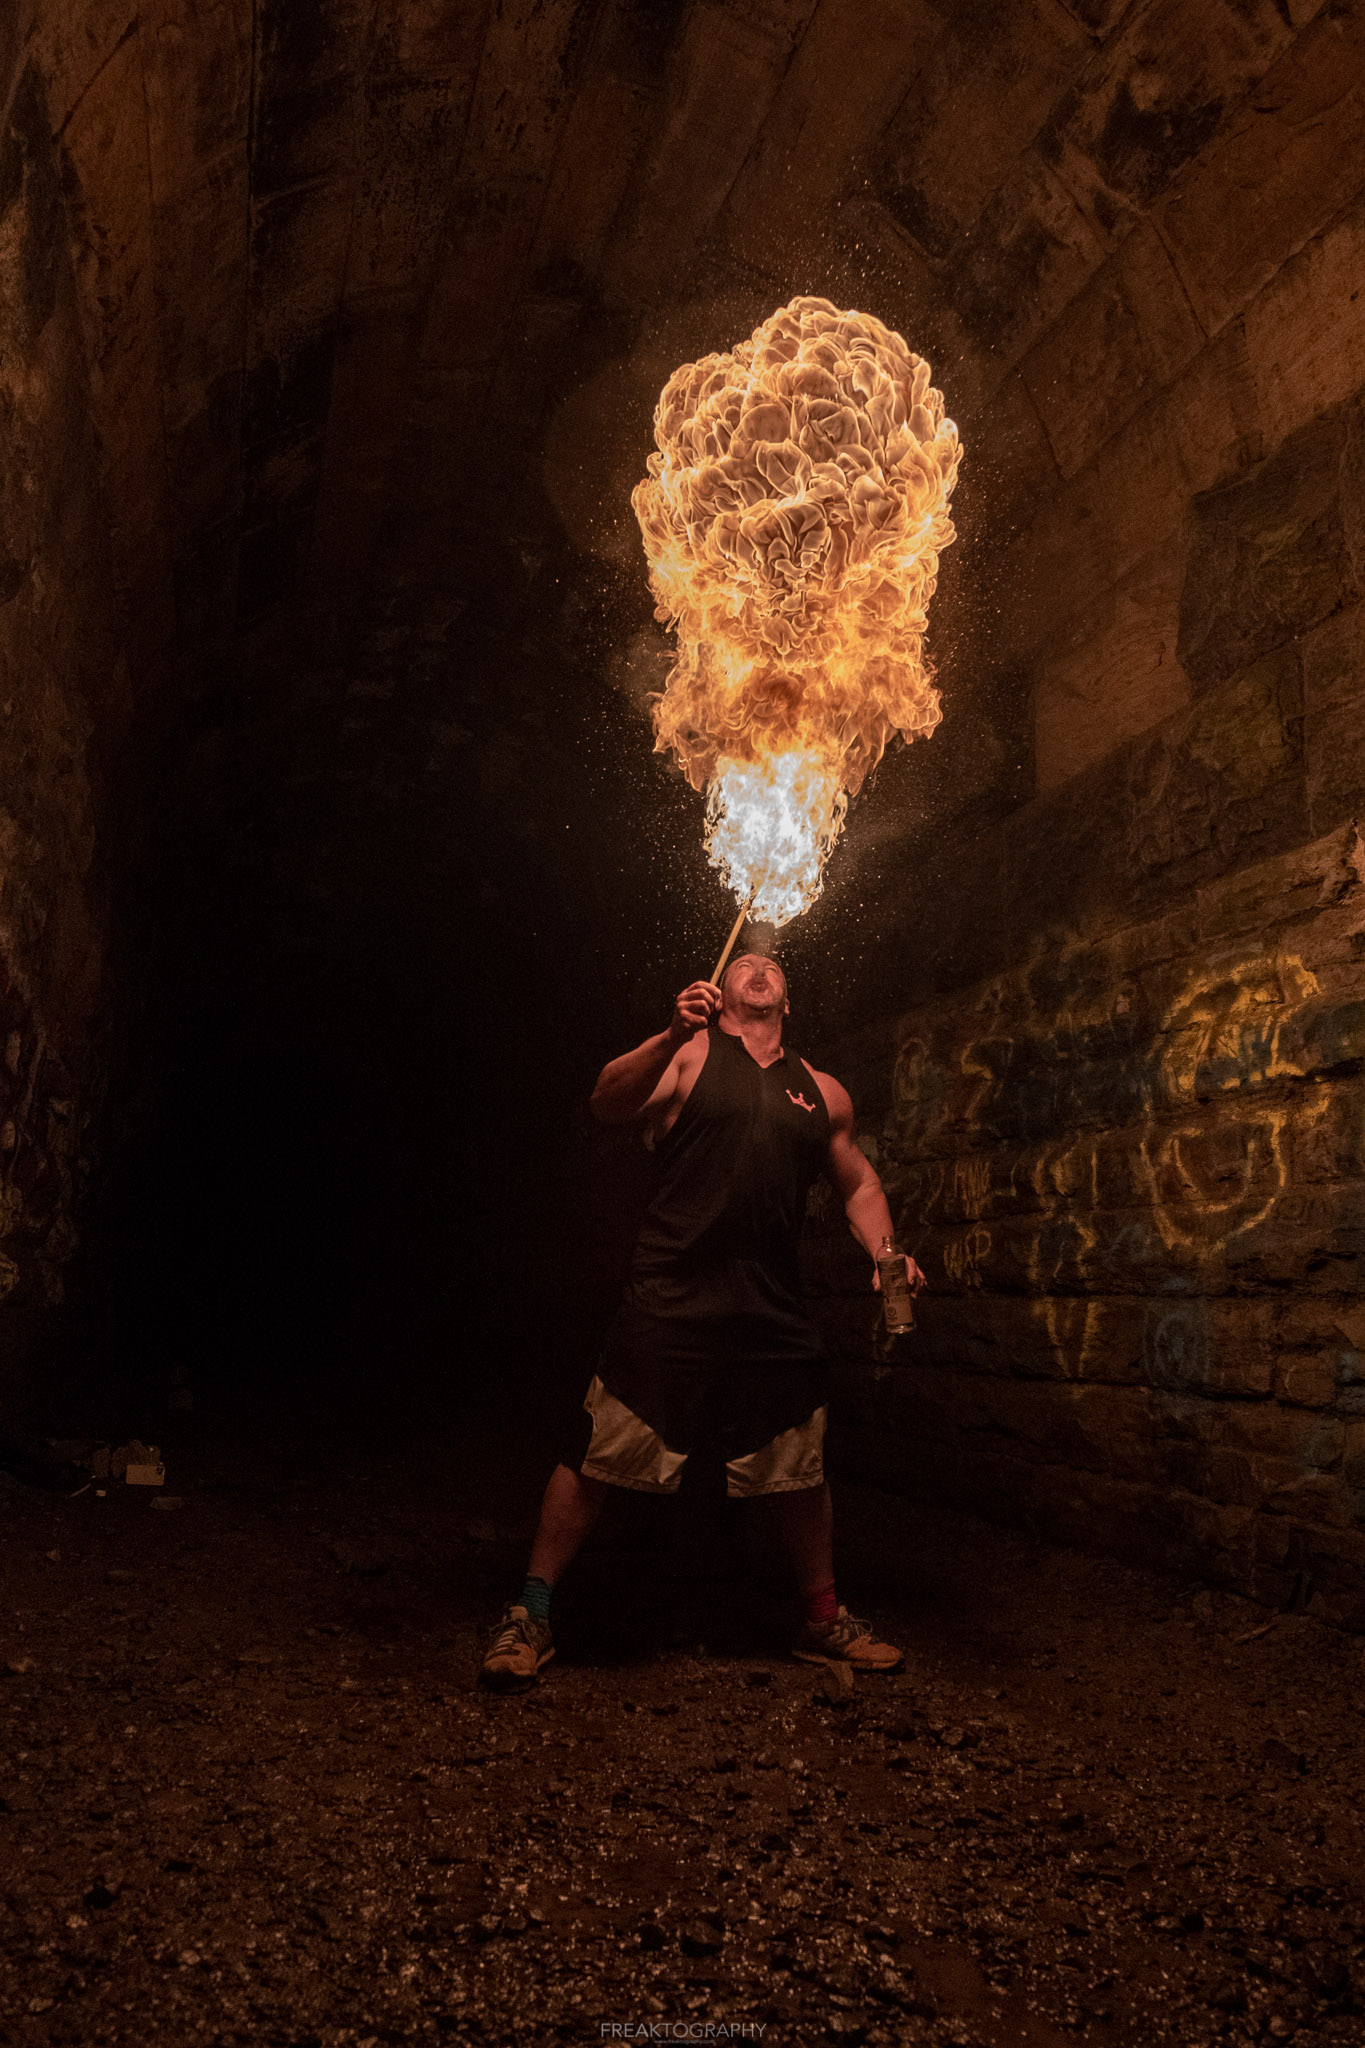
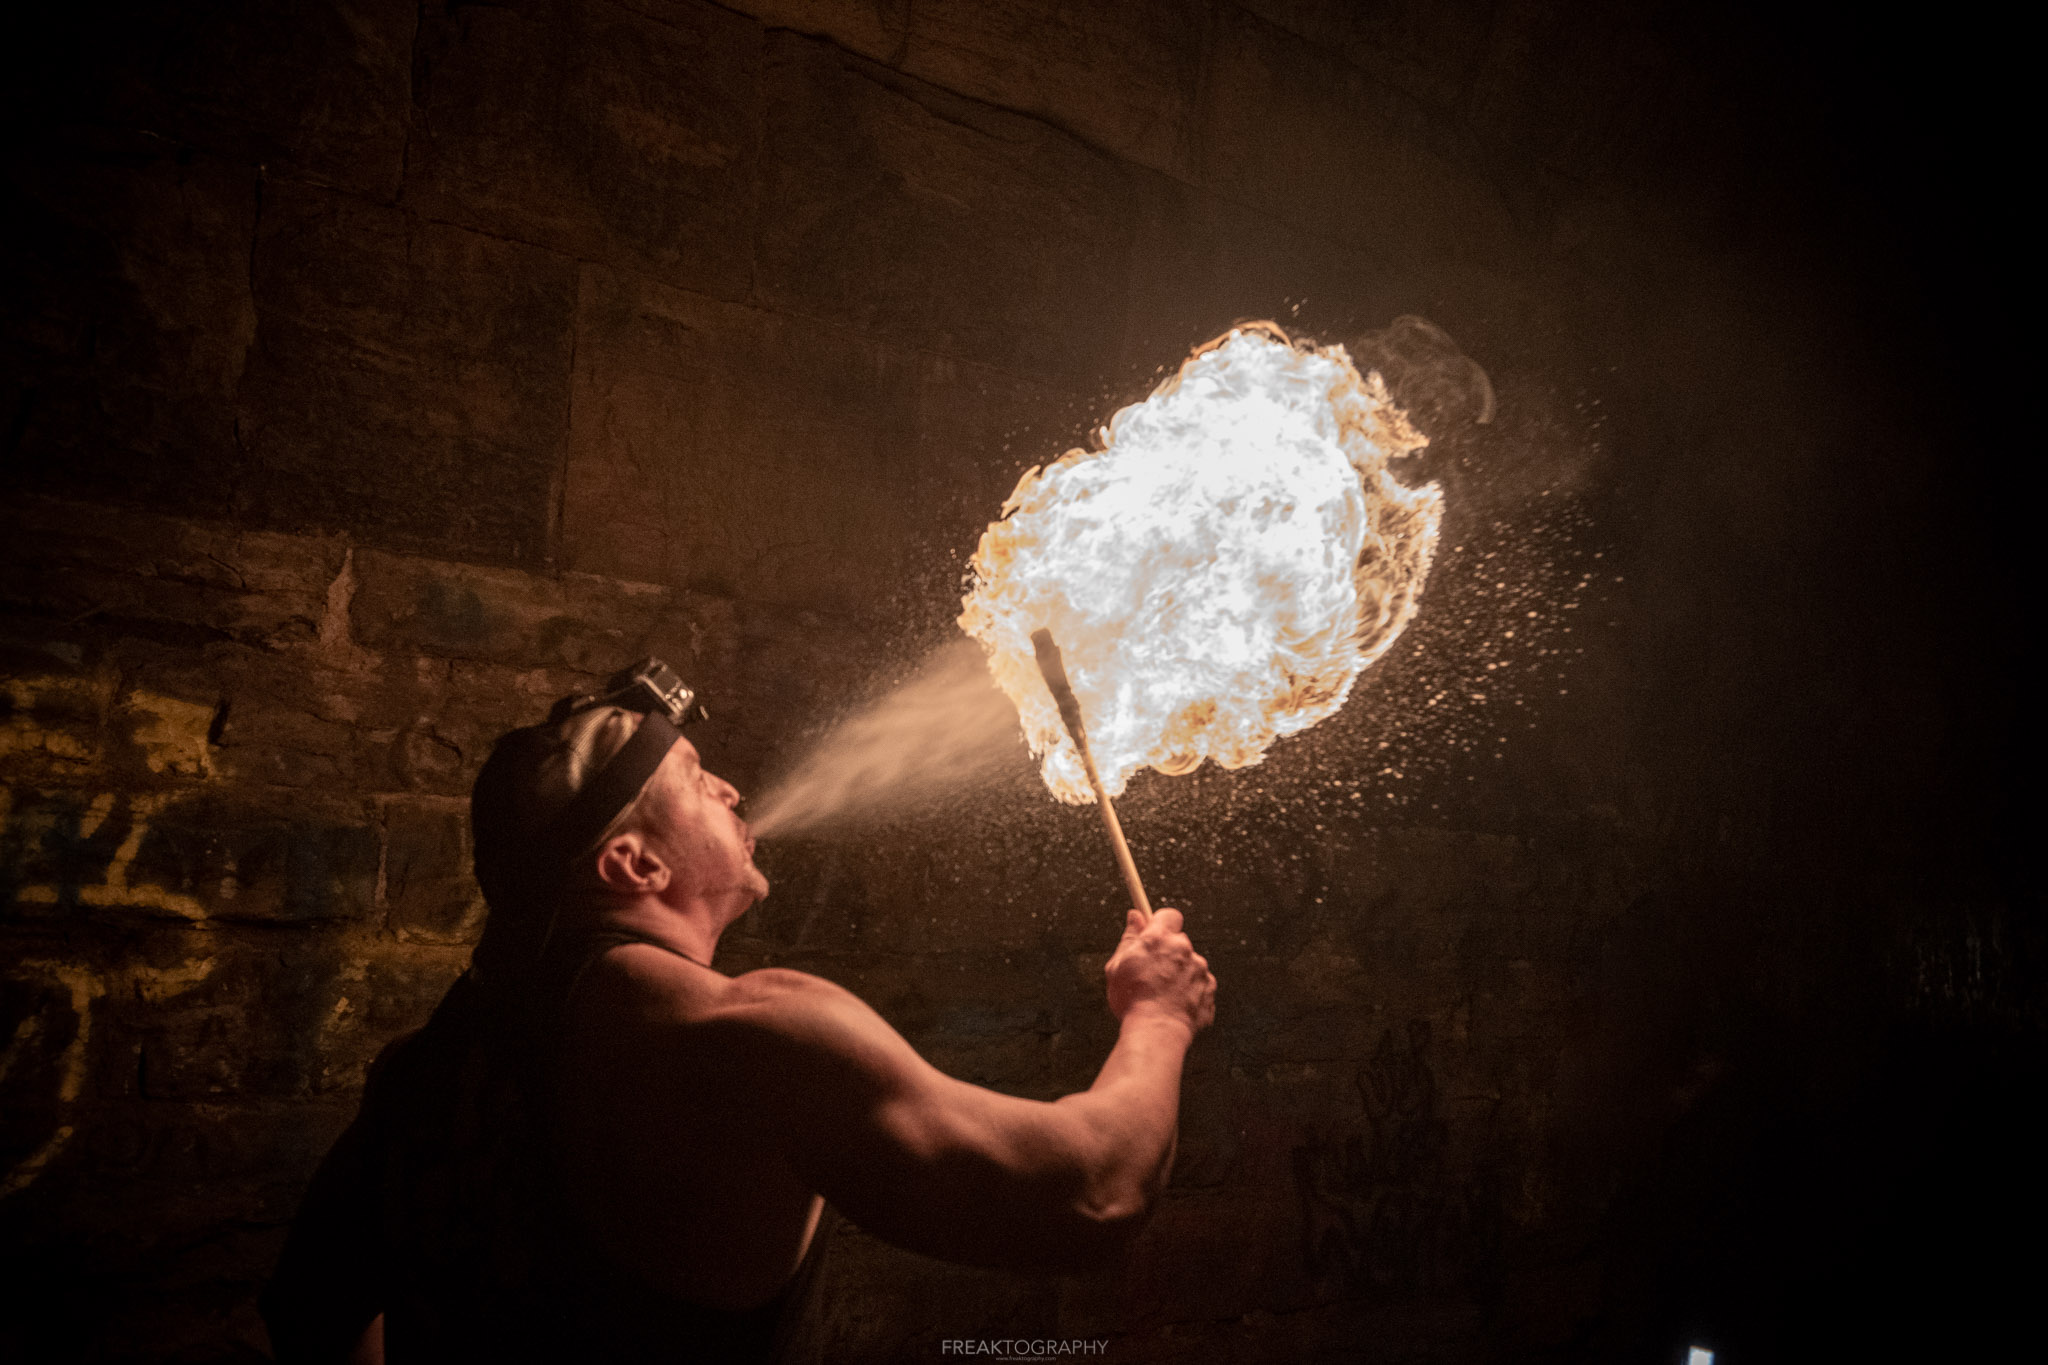
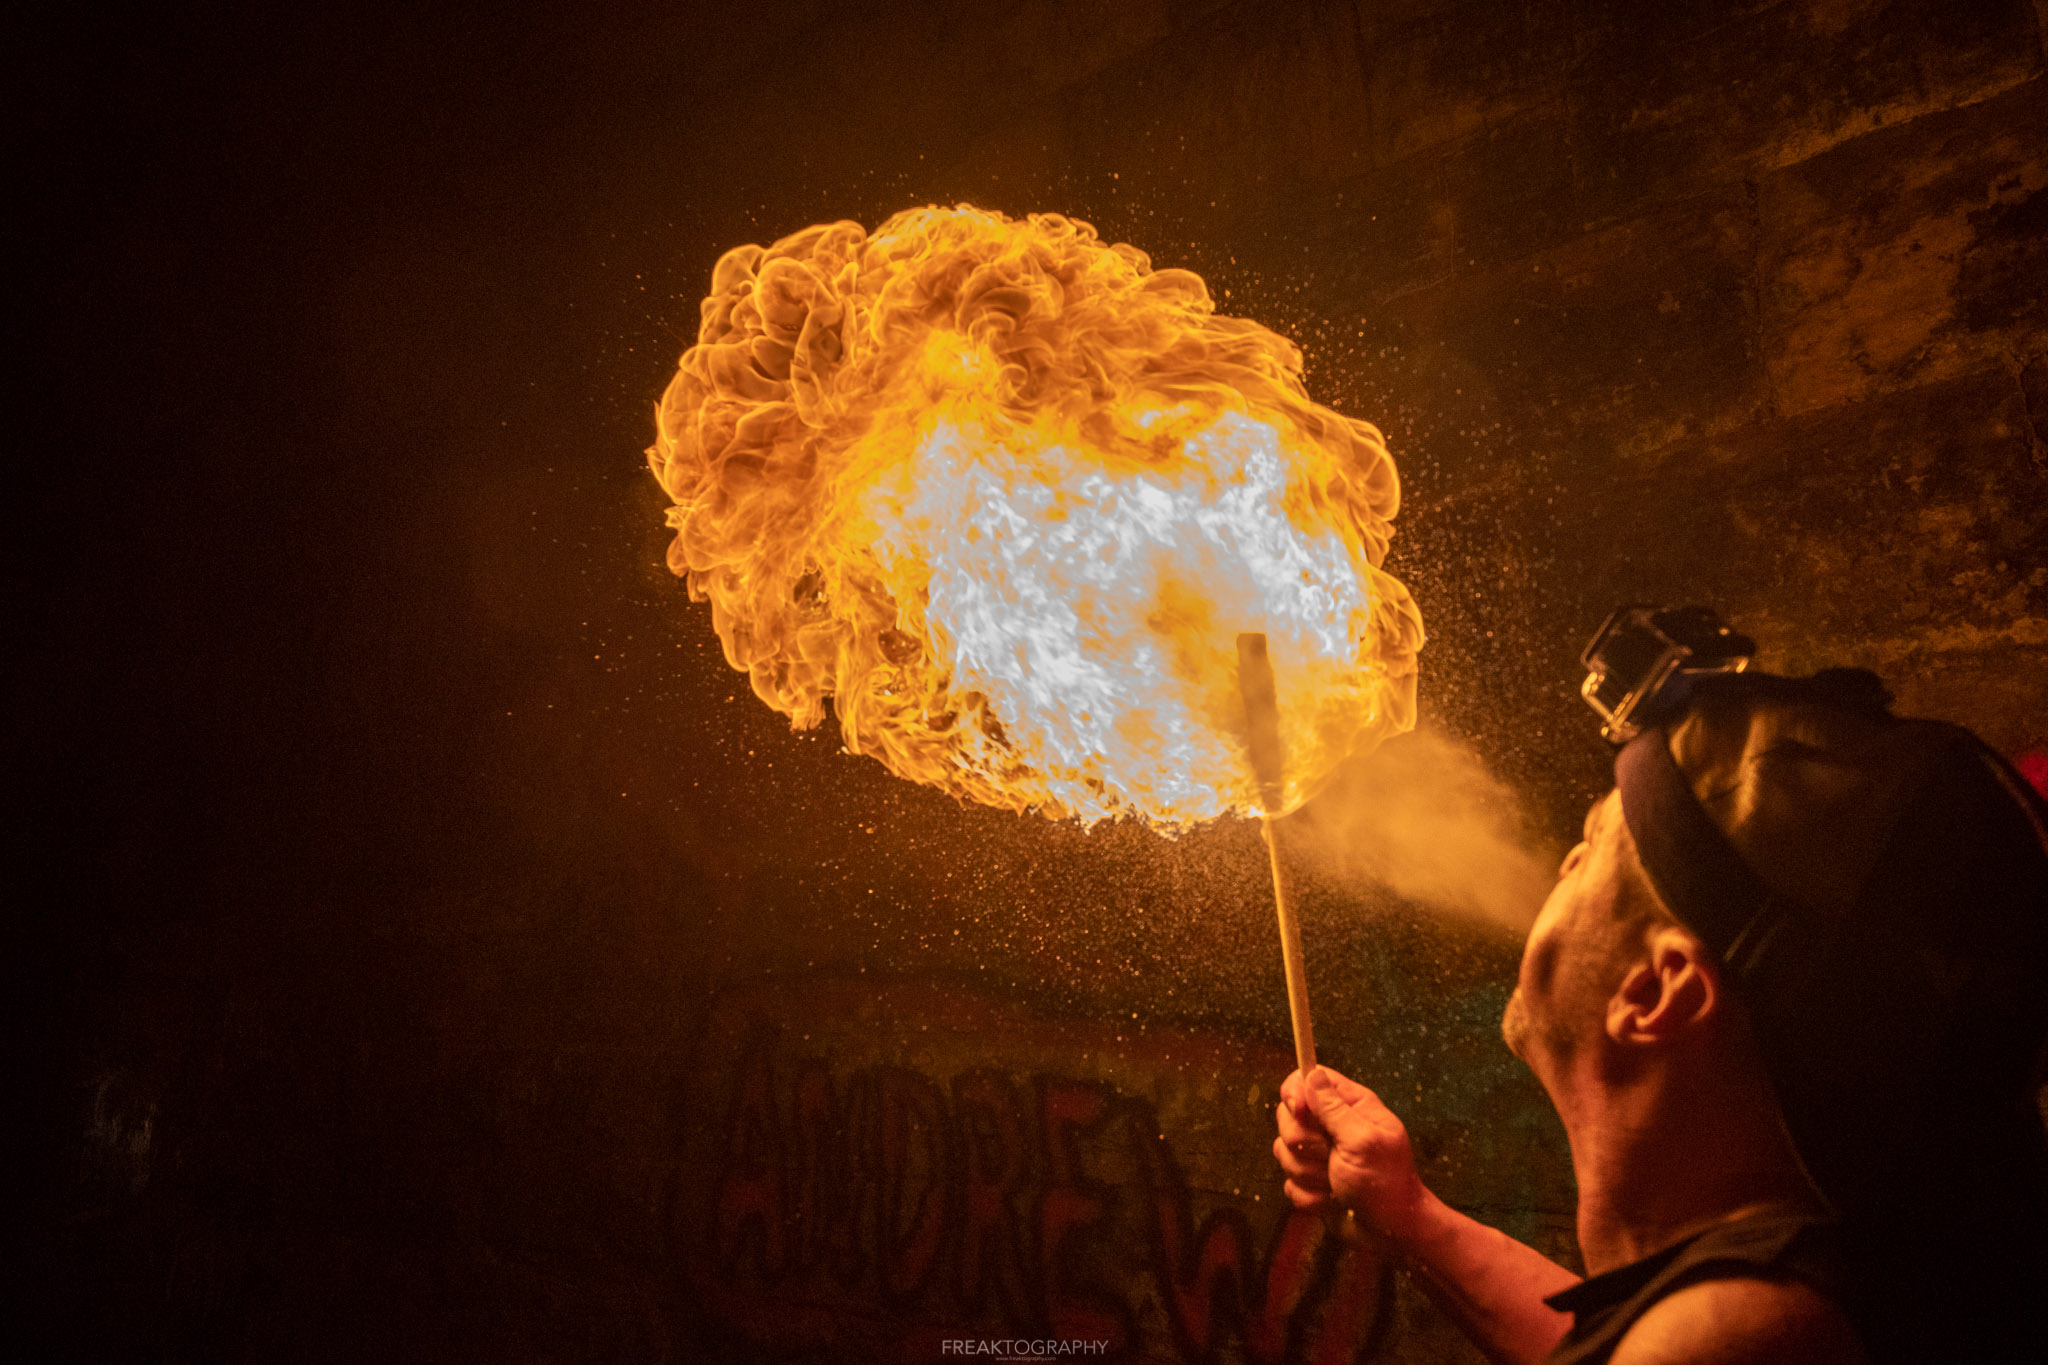
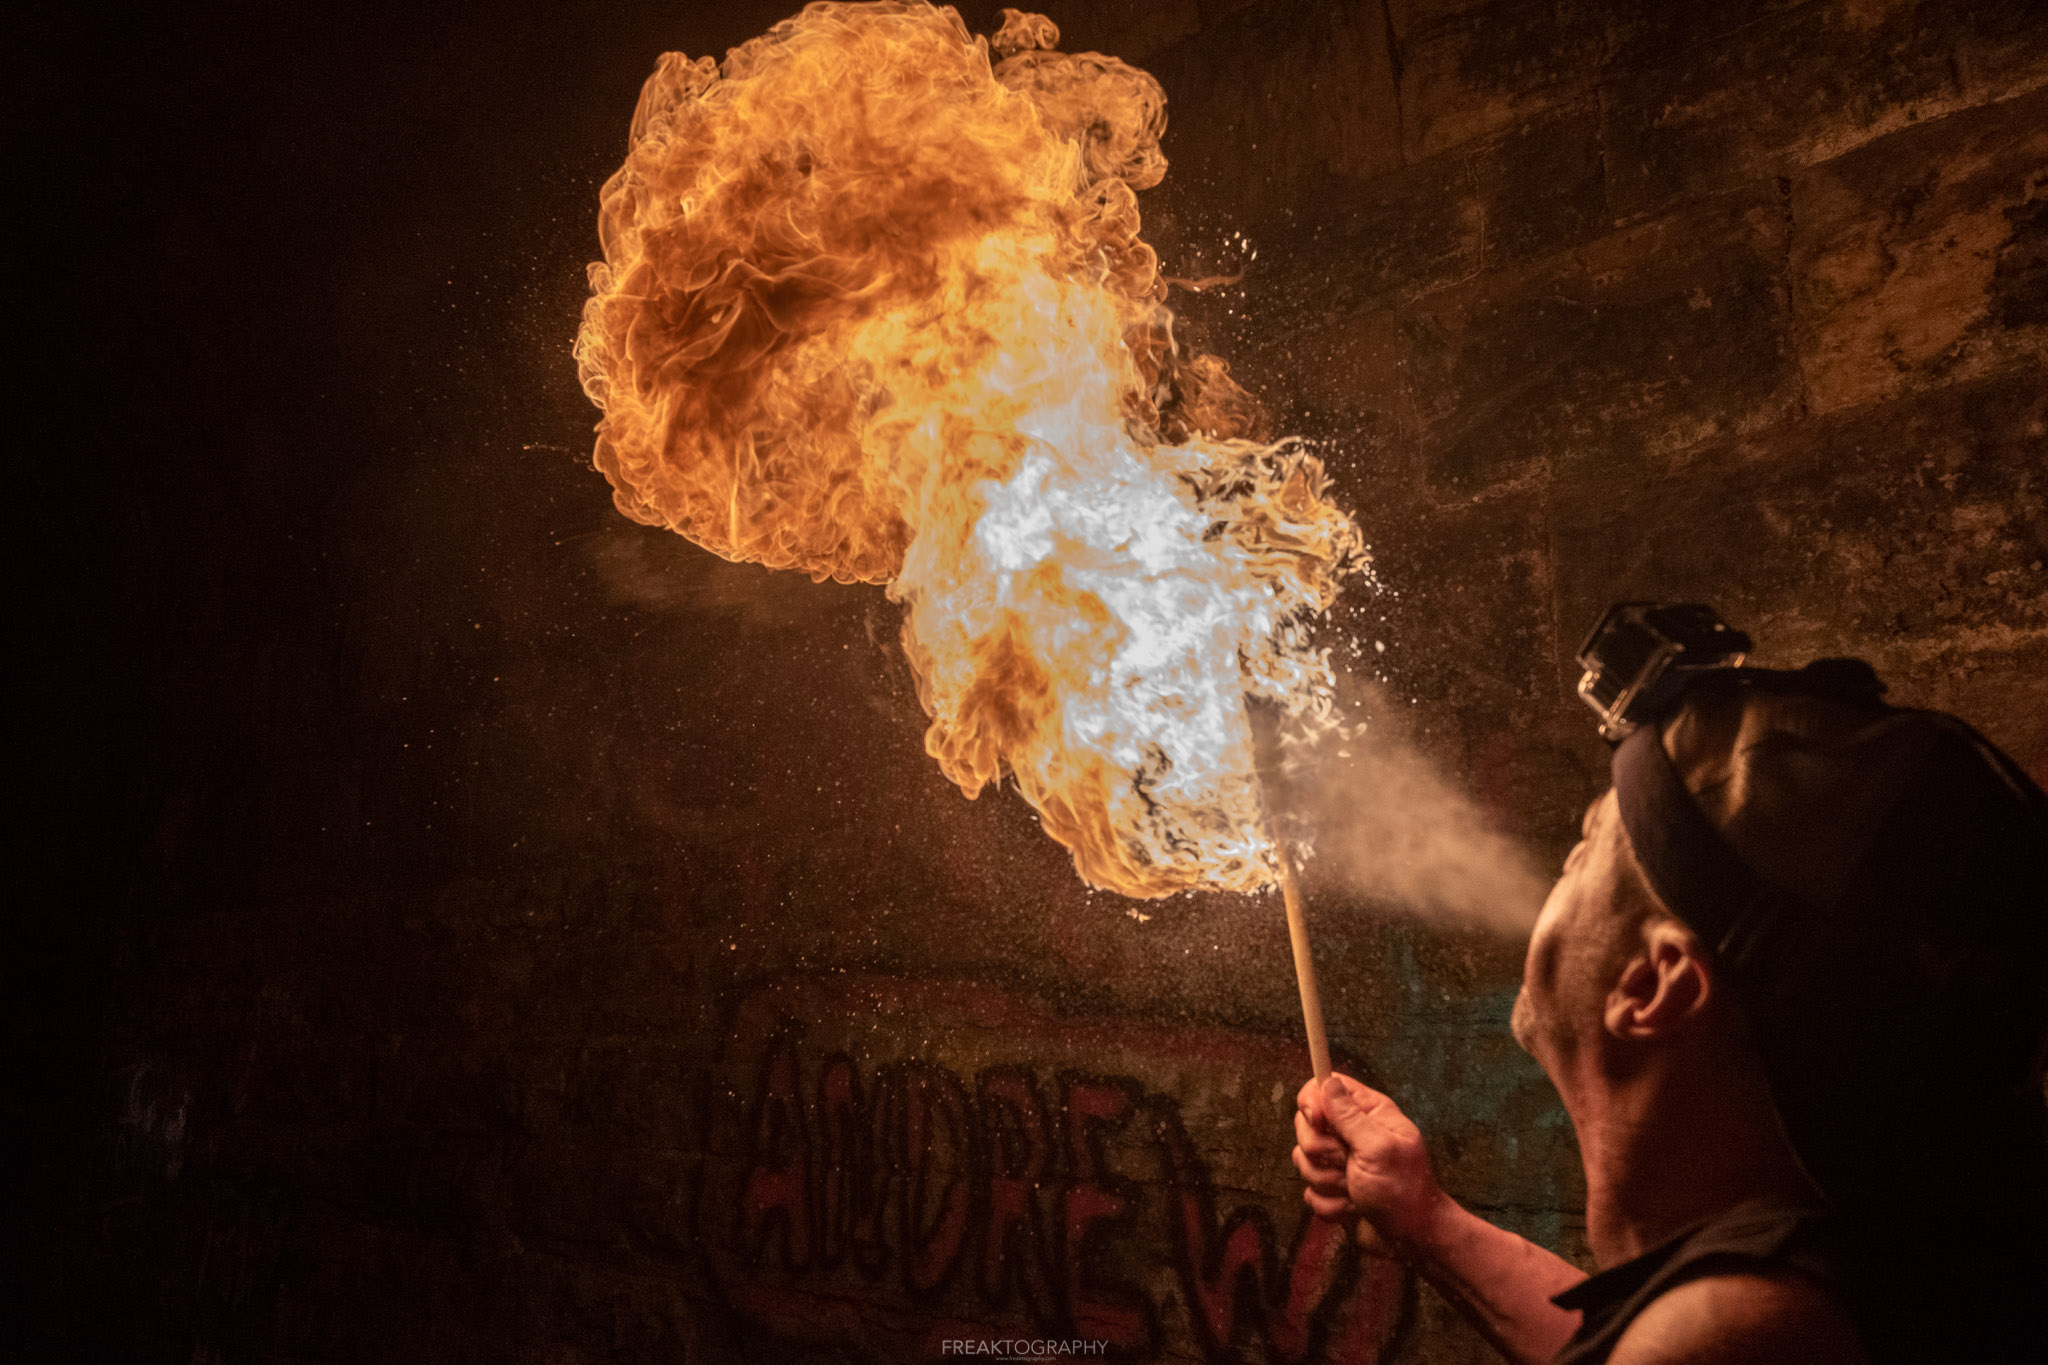
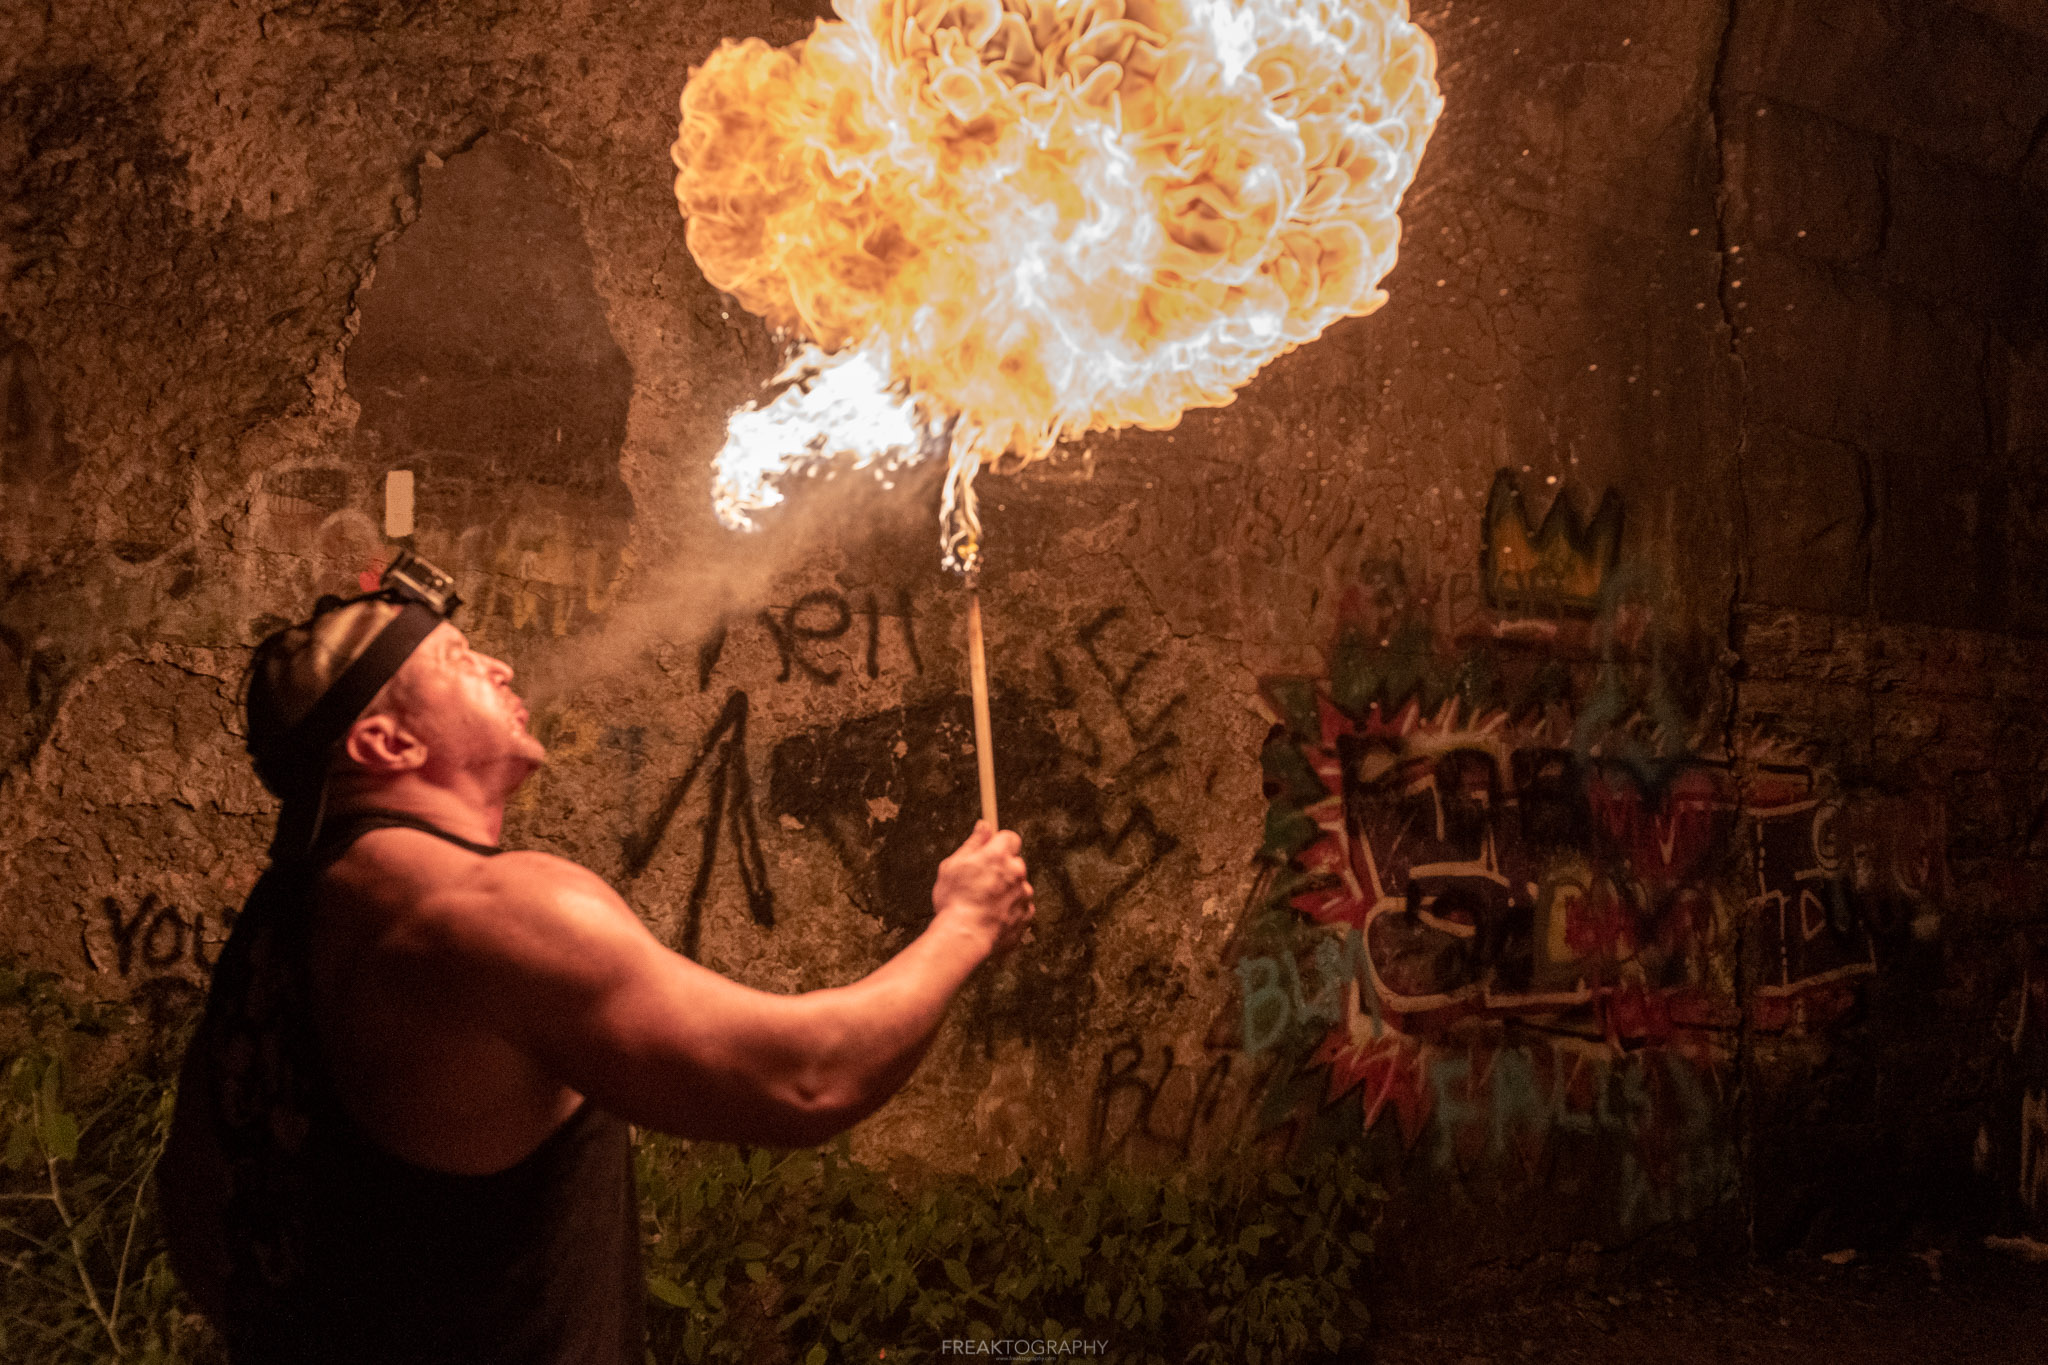
I found that setting my ISO to 1,000 and my shutter speed to around 1,000 was a perfect combination to capture enough light and fast enough to get great details in the flame.
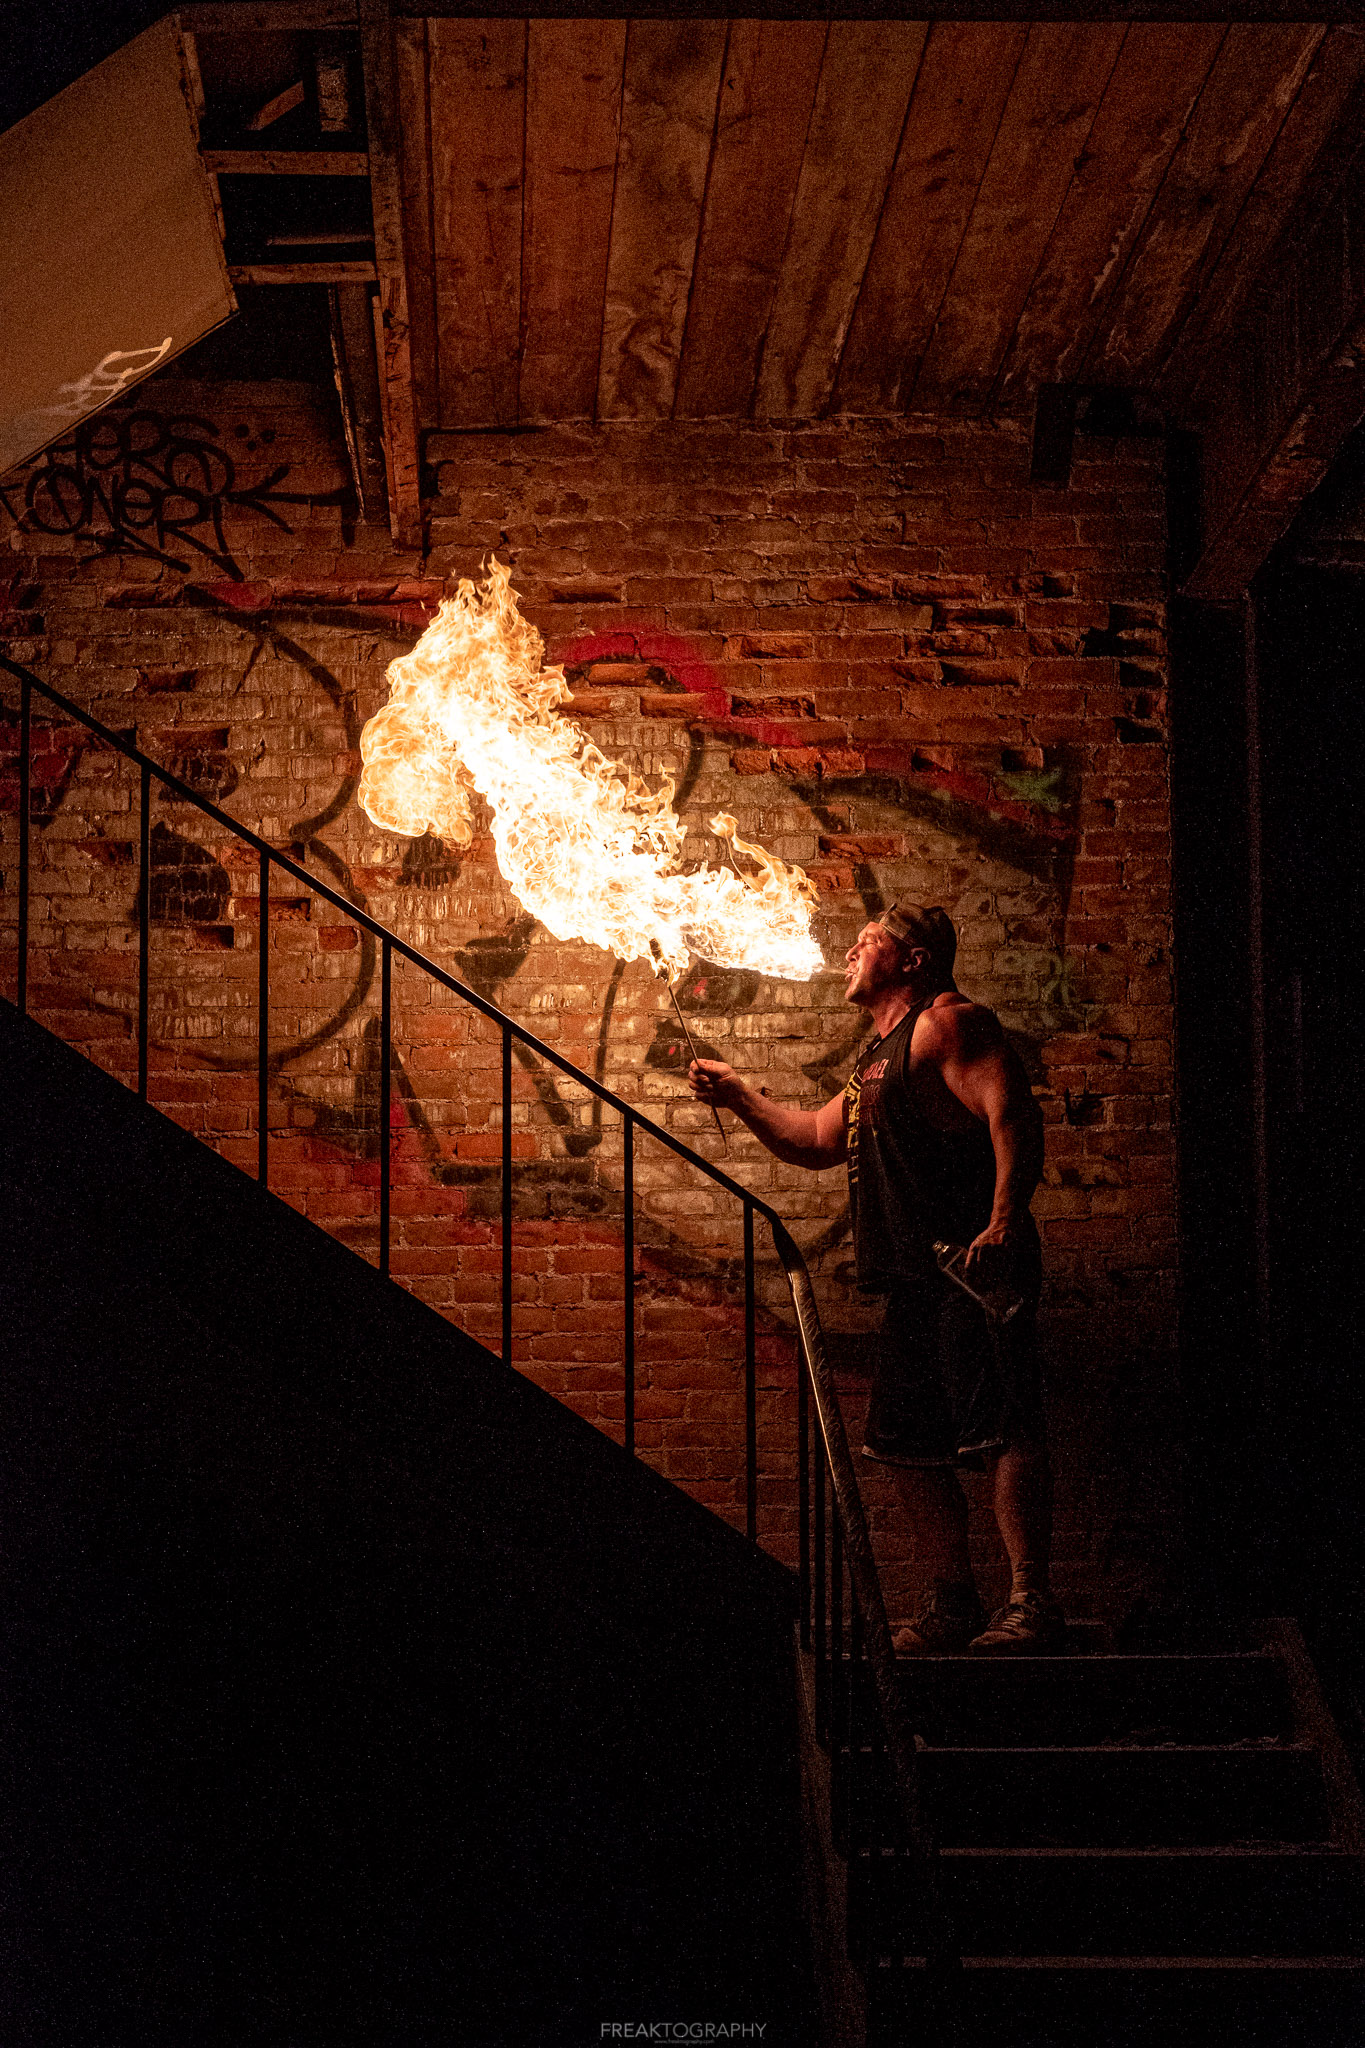
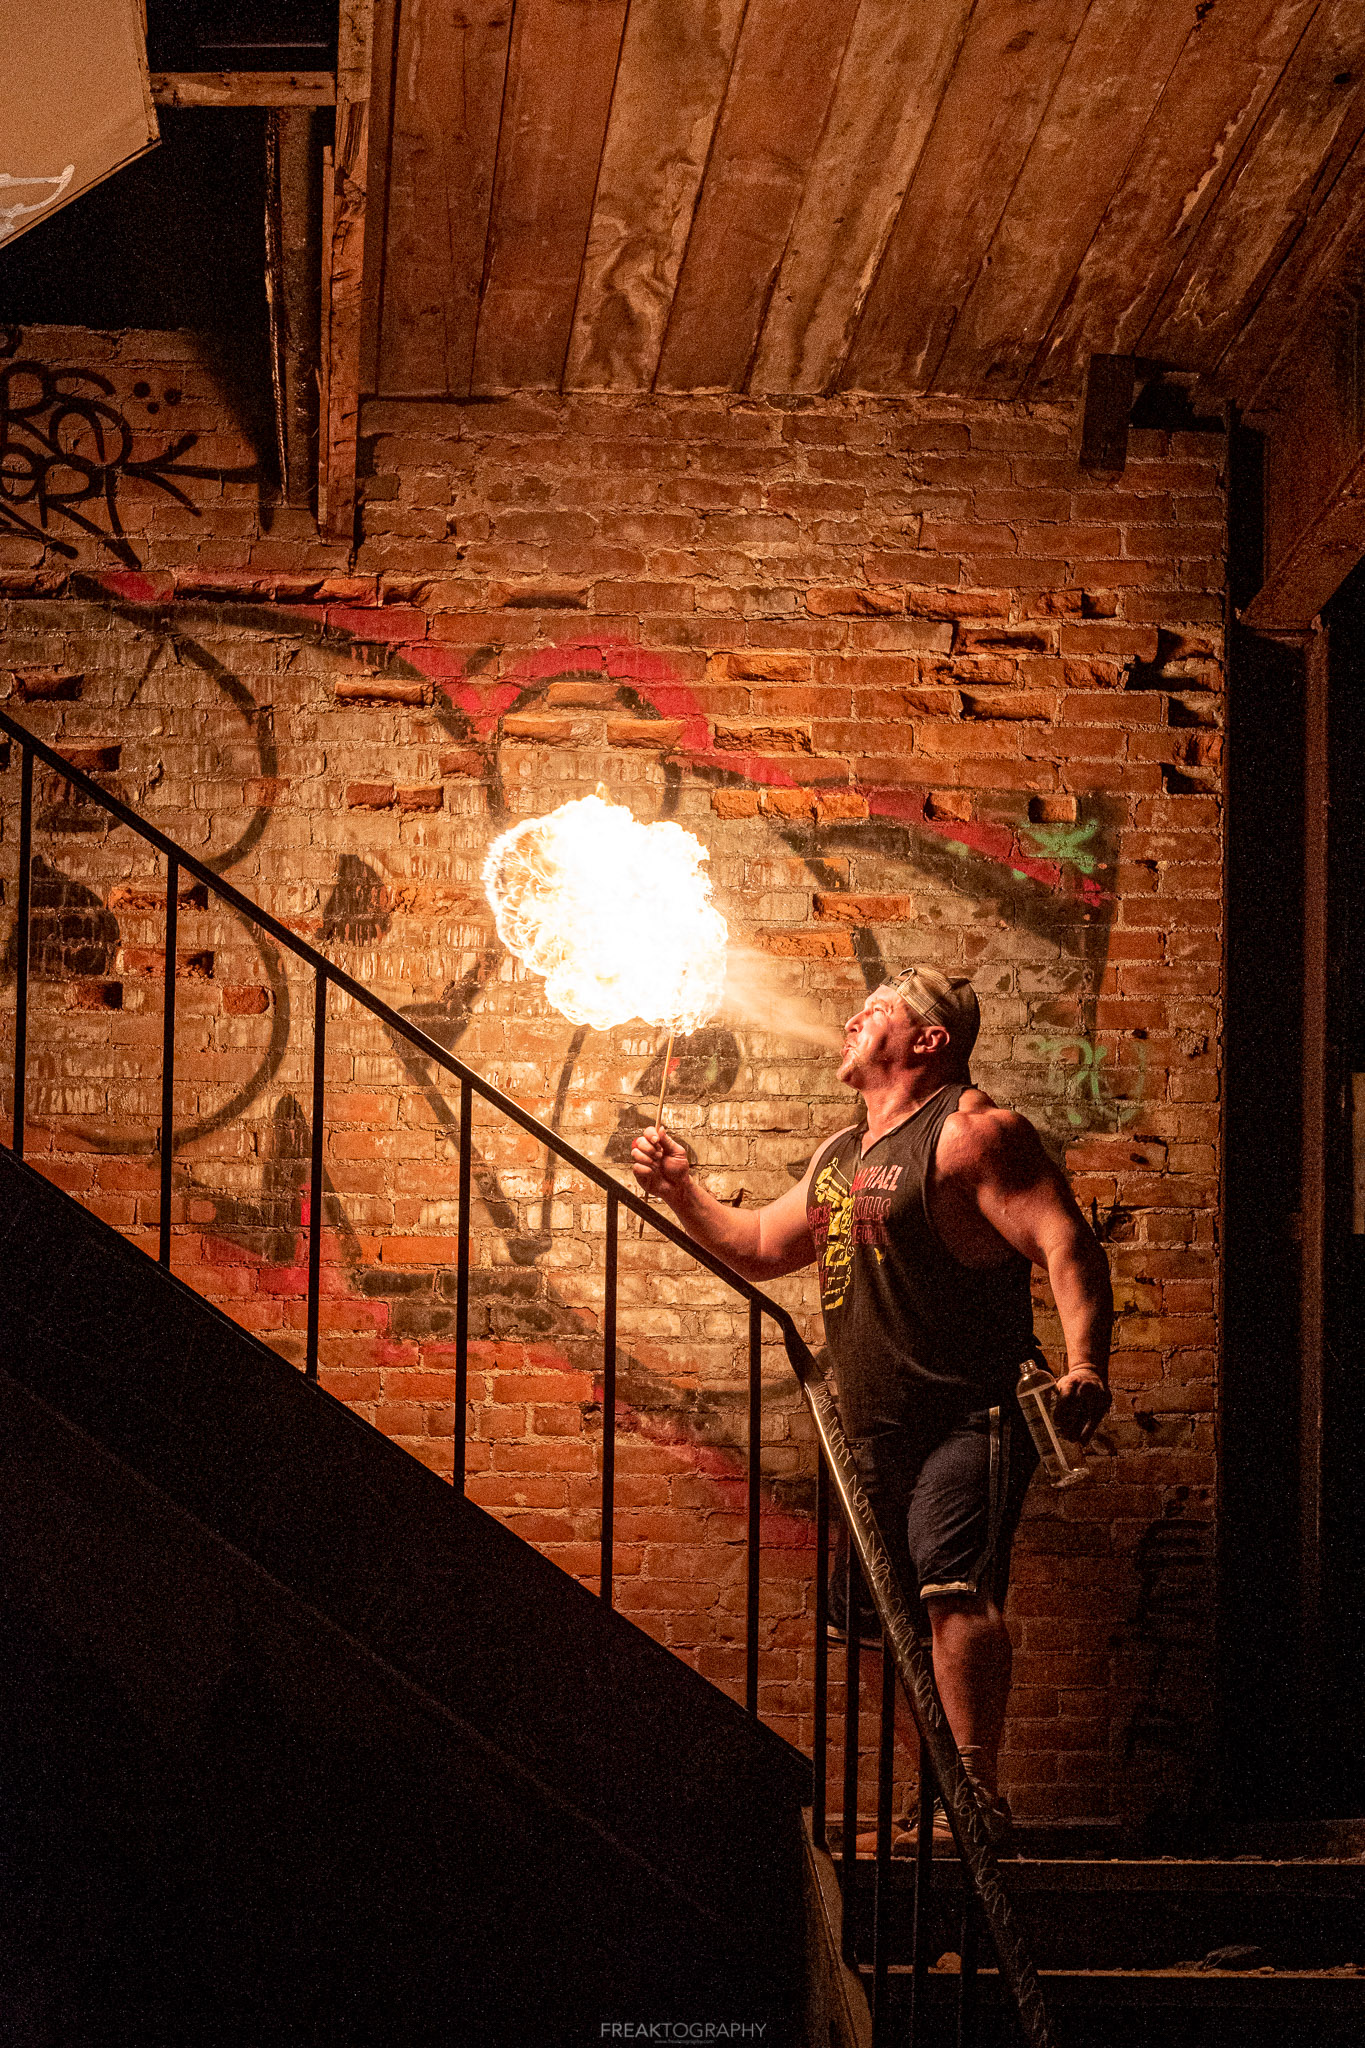
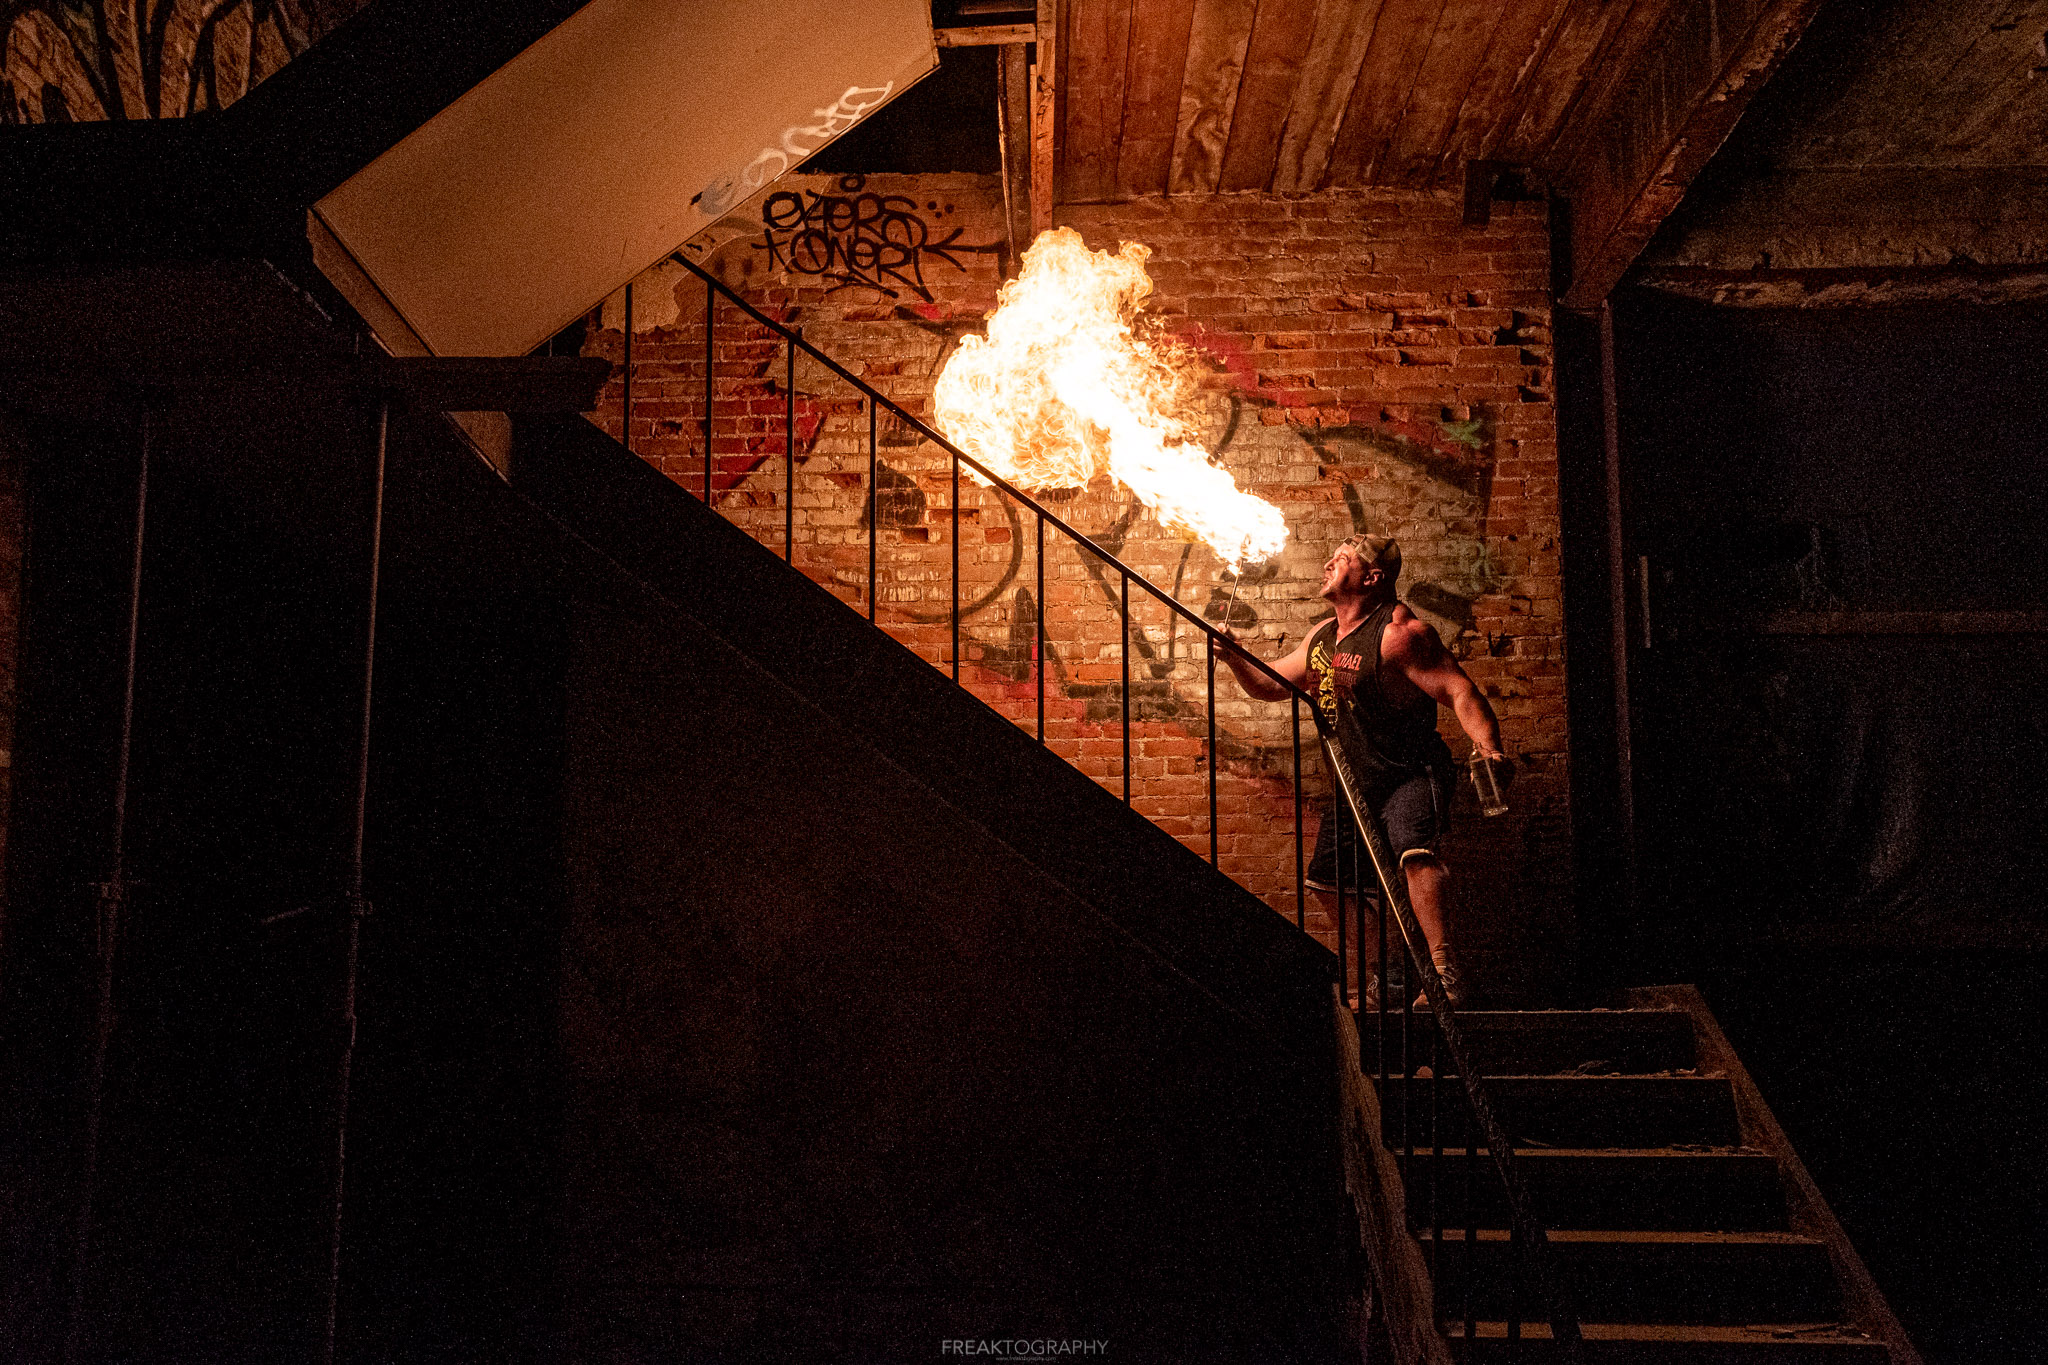
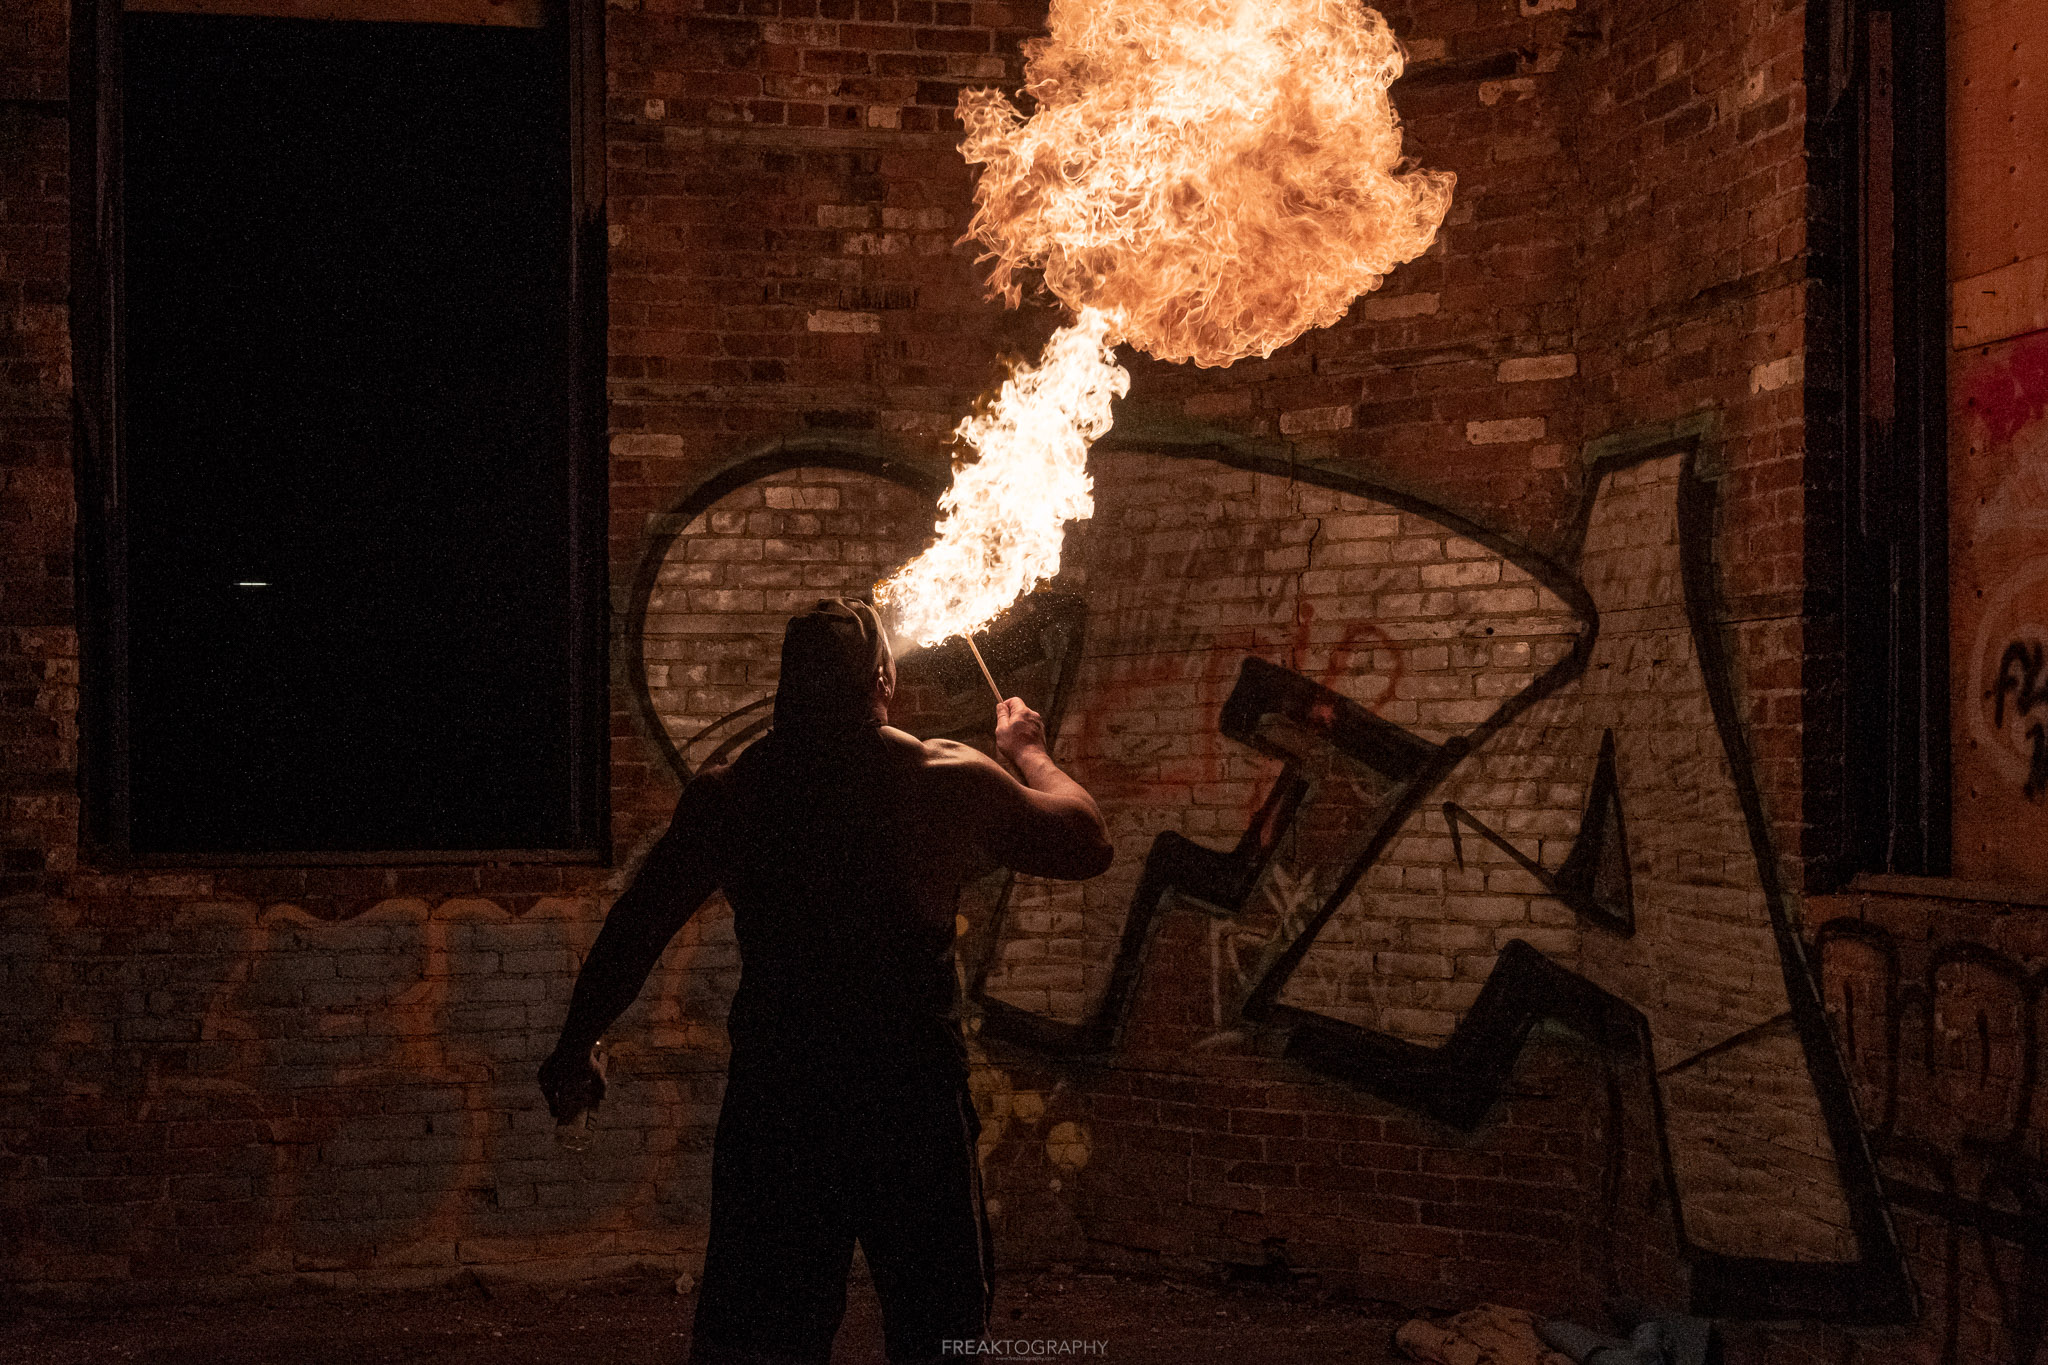
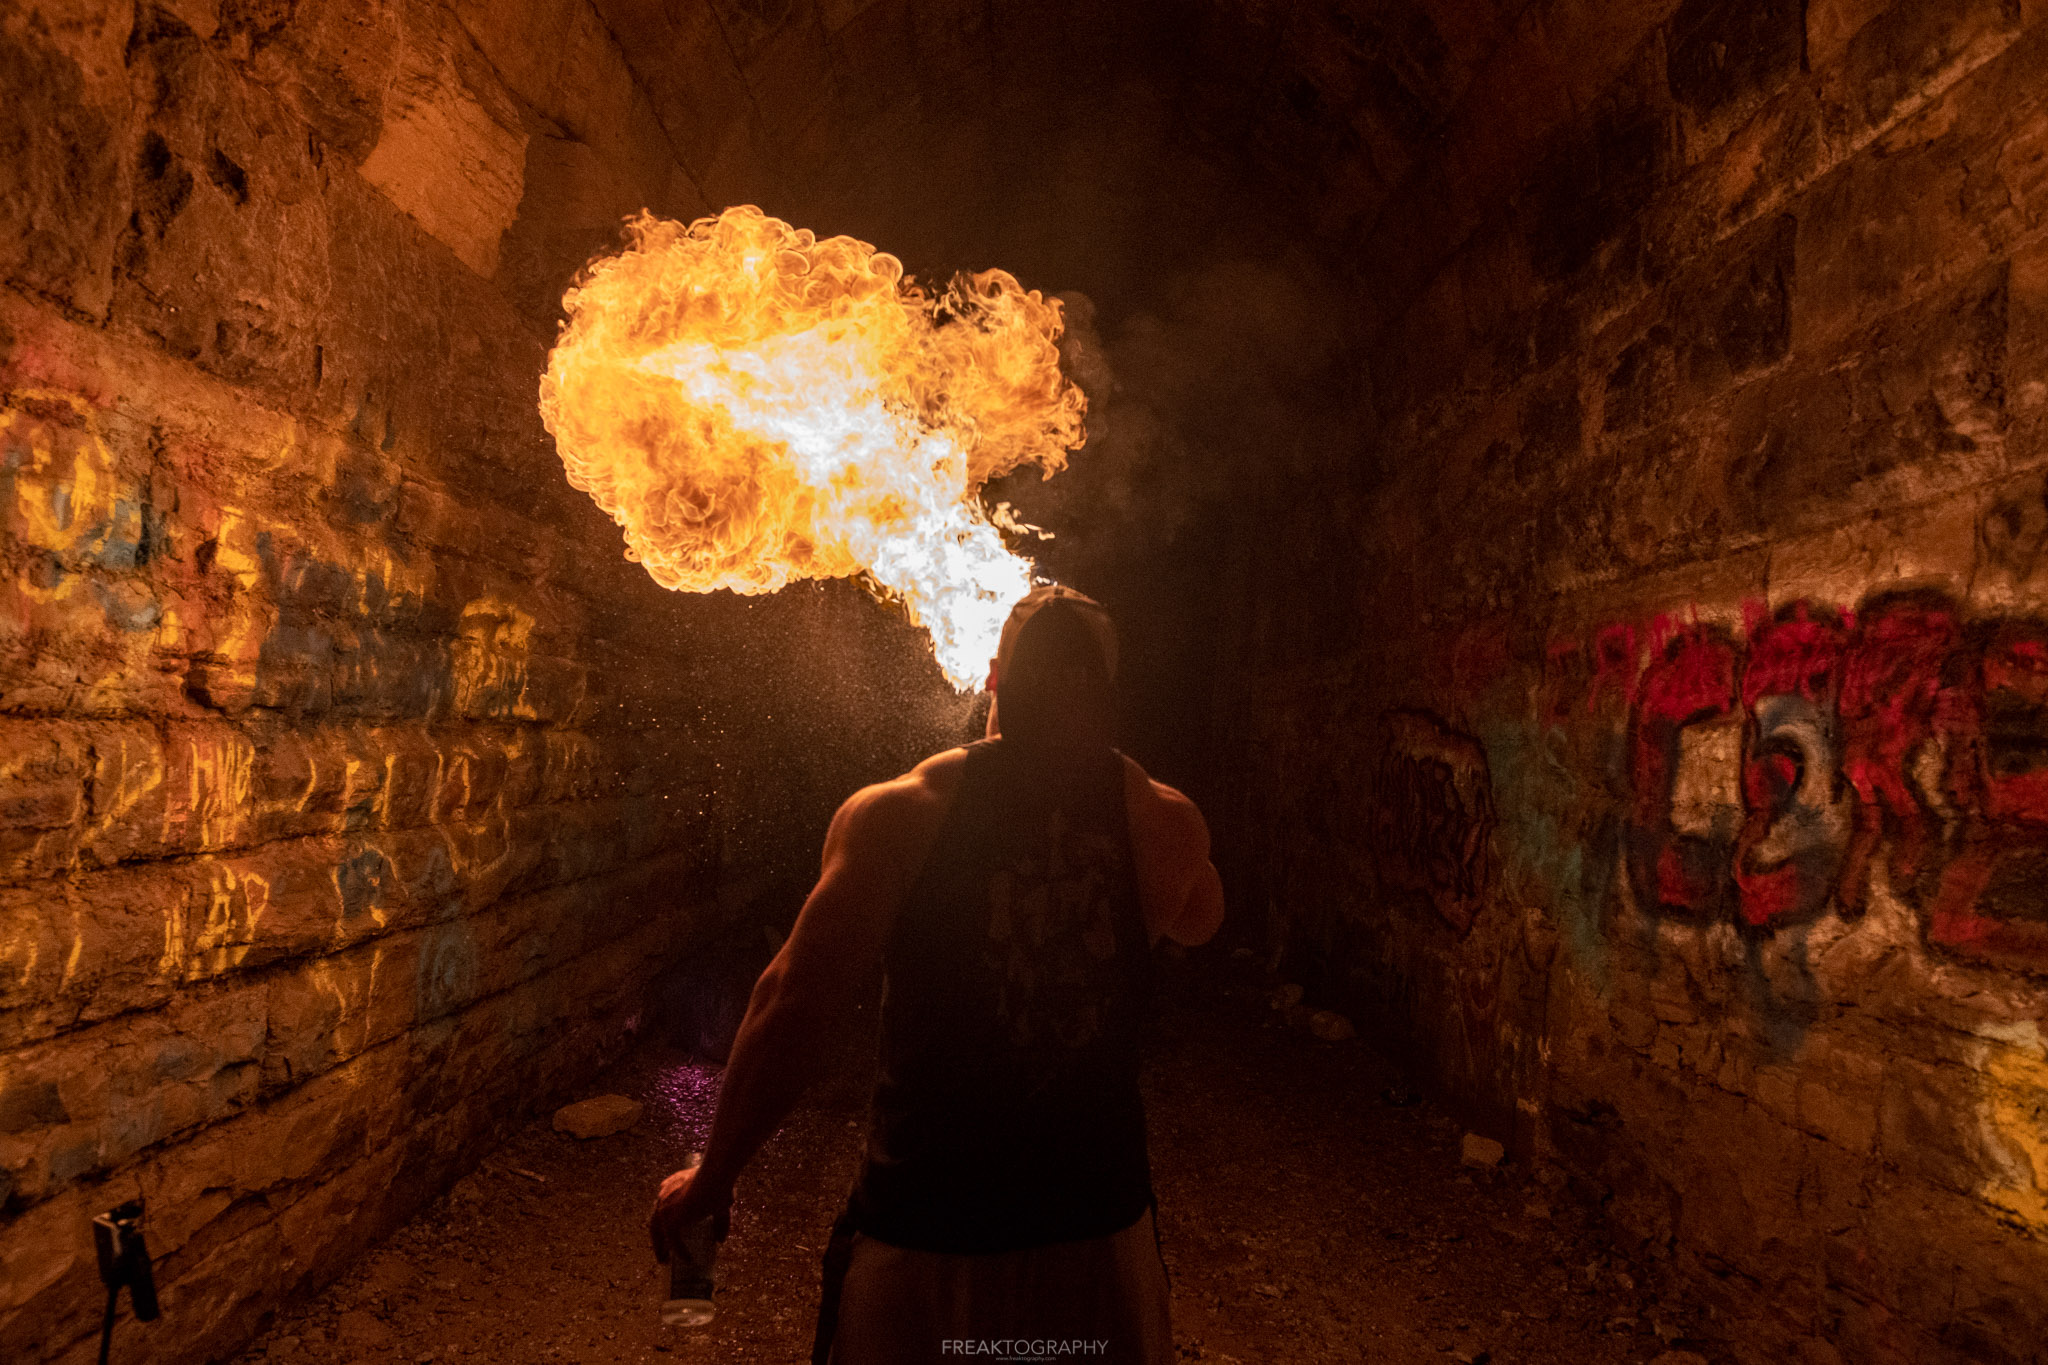
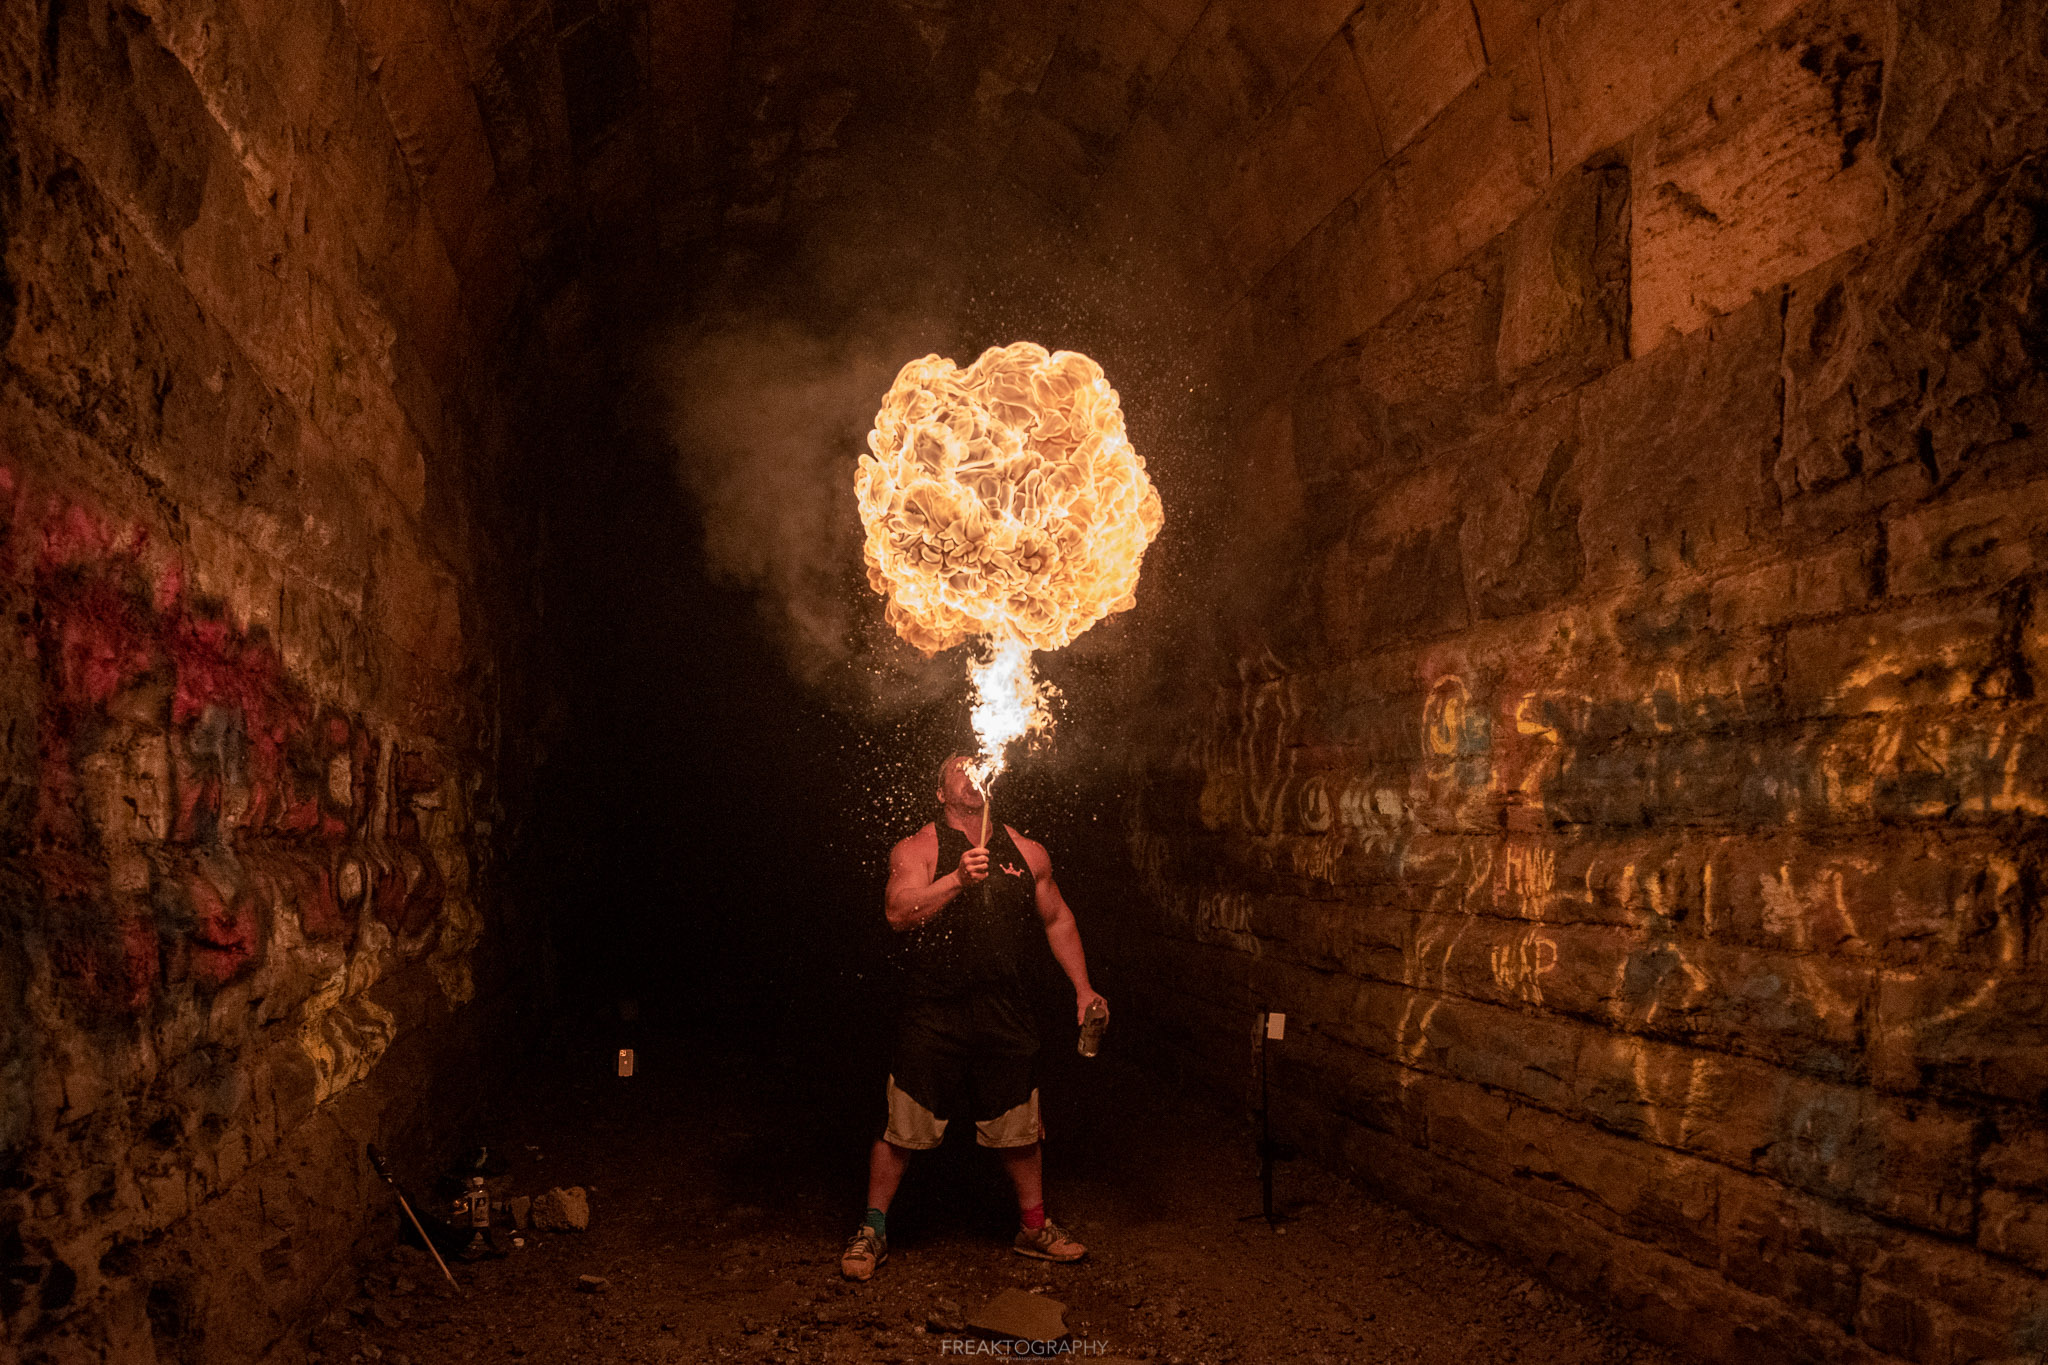
The light produced by the flame illuminates the background just enough to capture the details behind and around him.
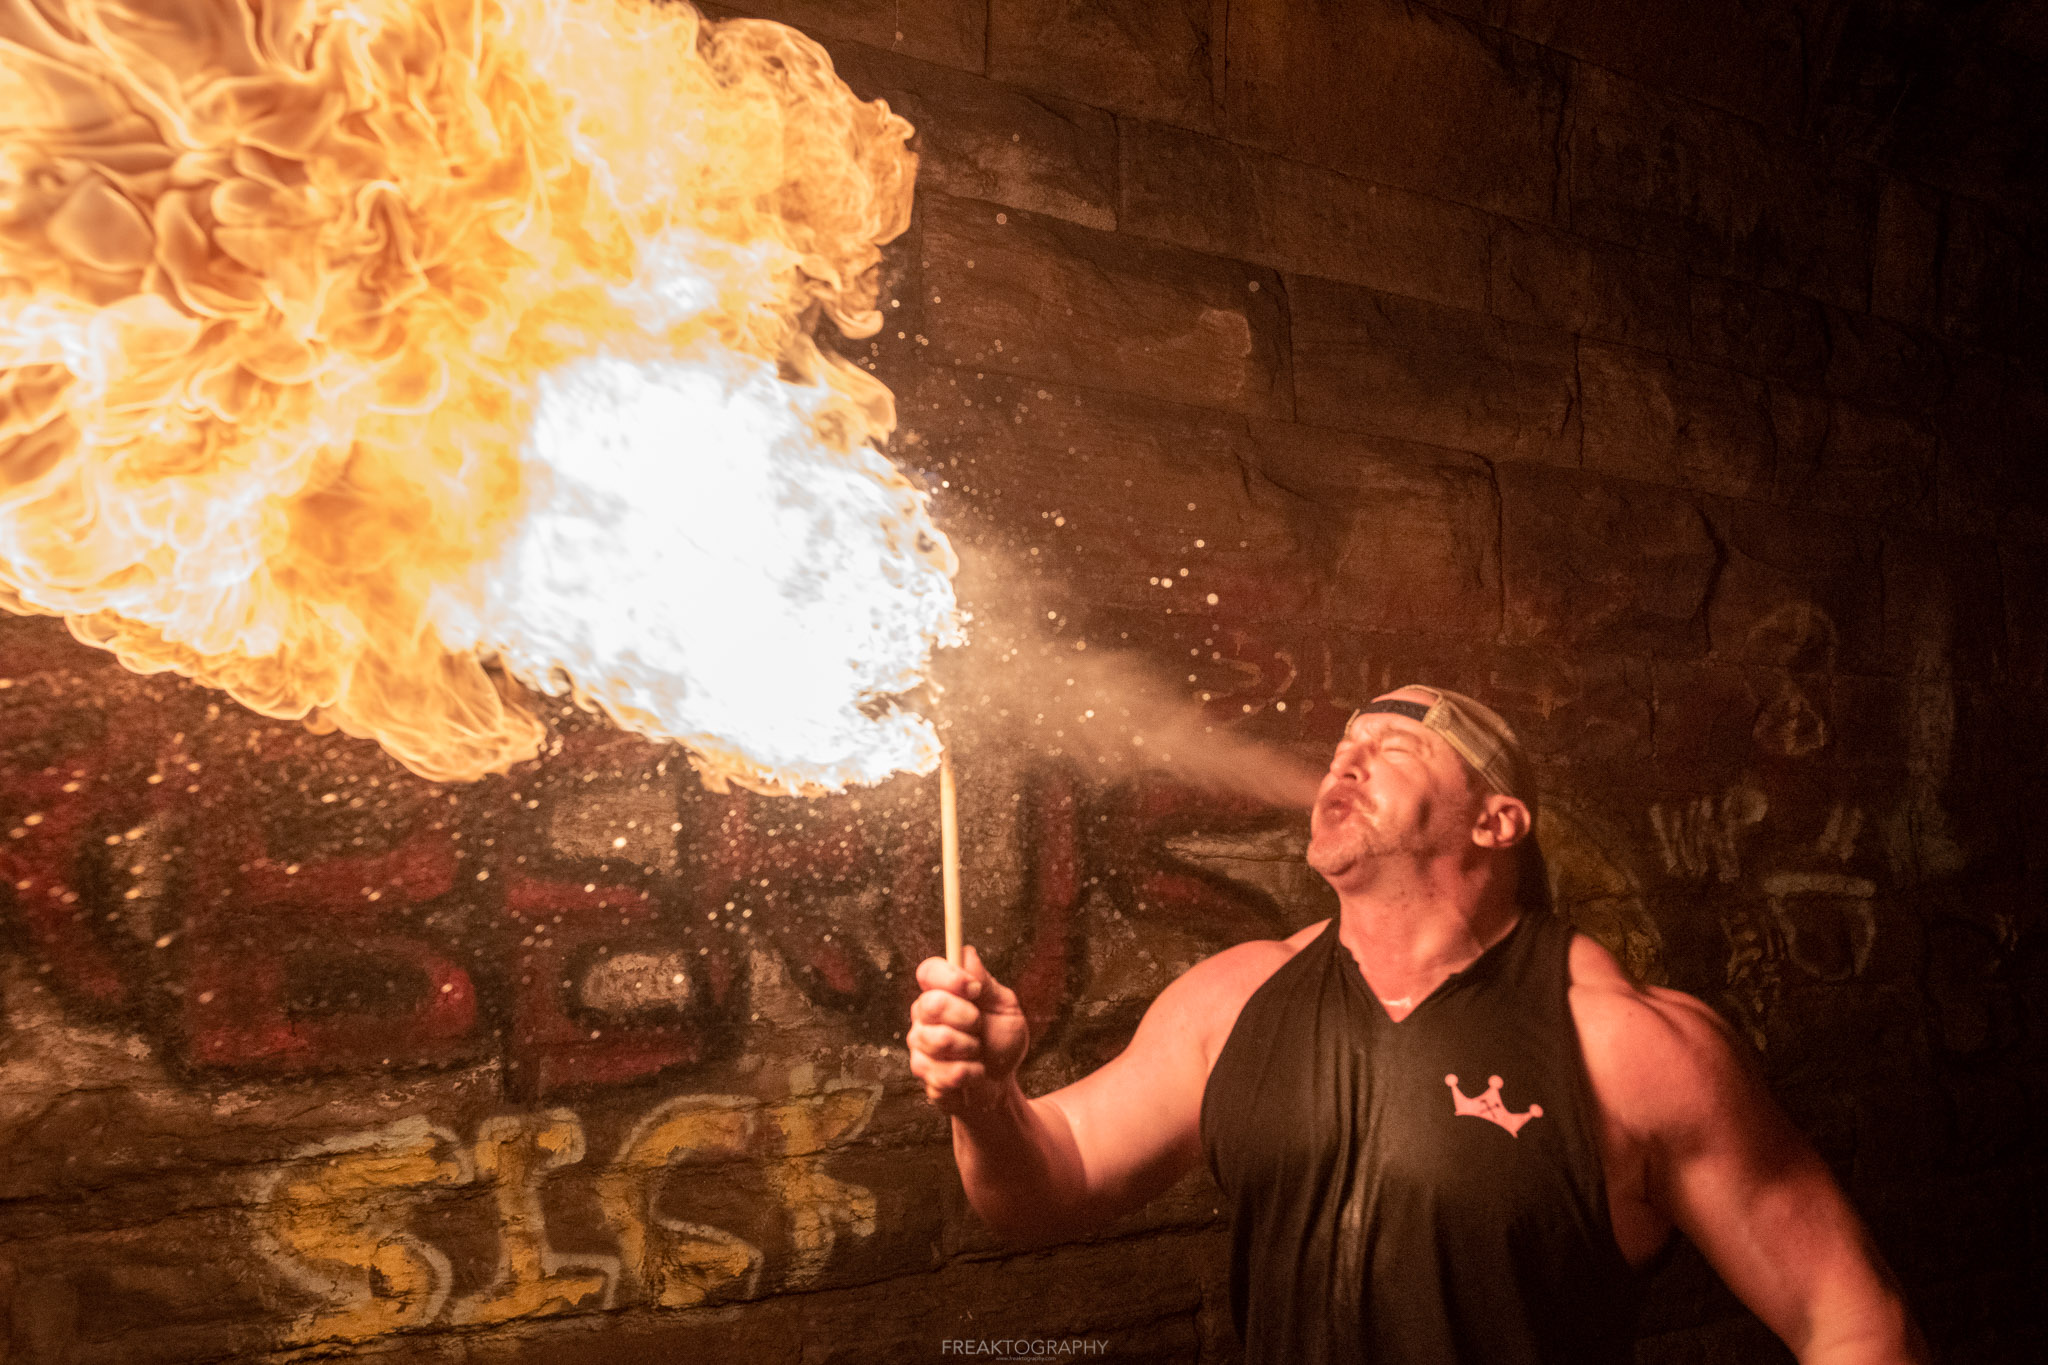
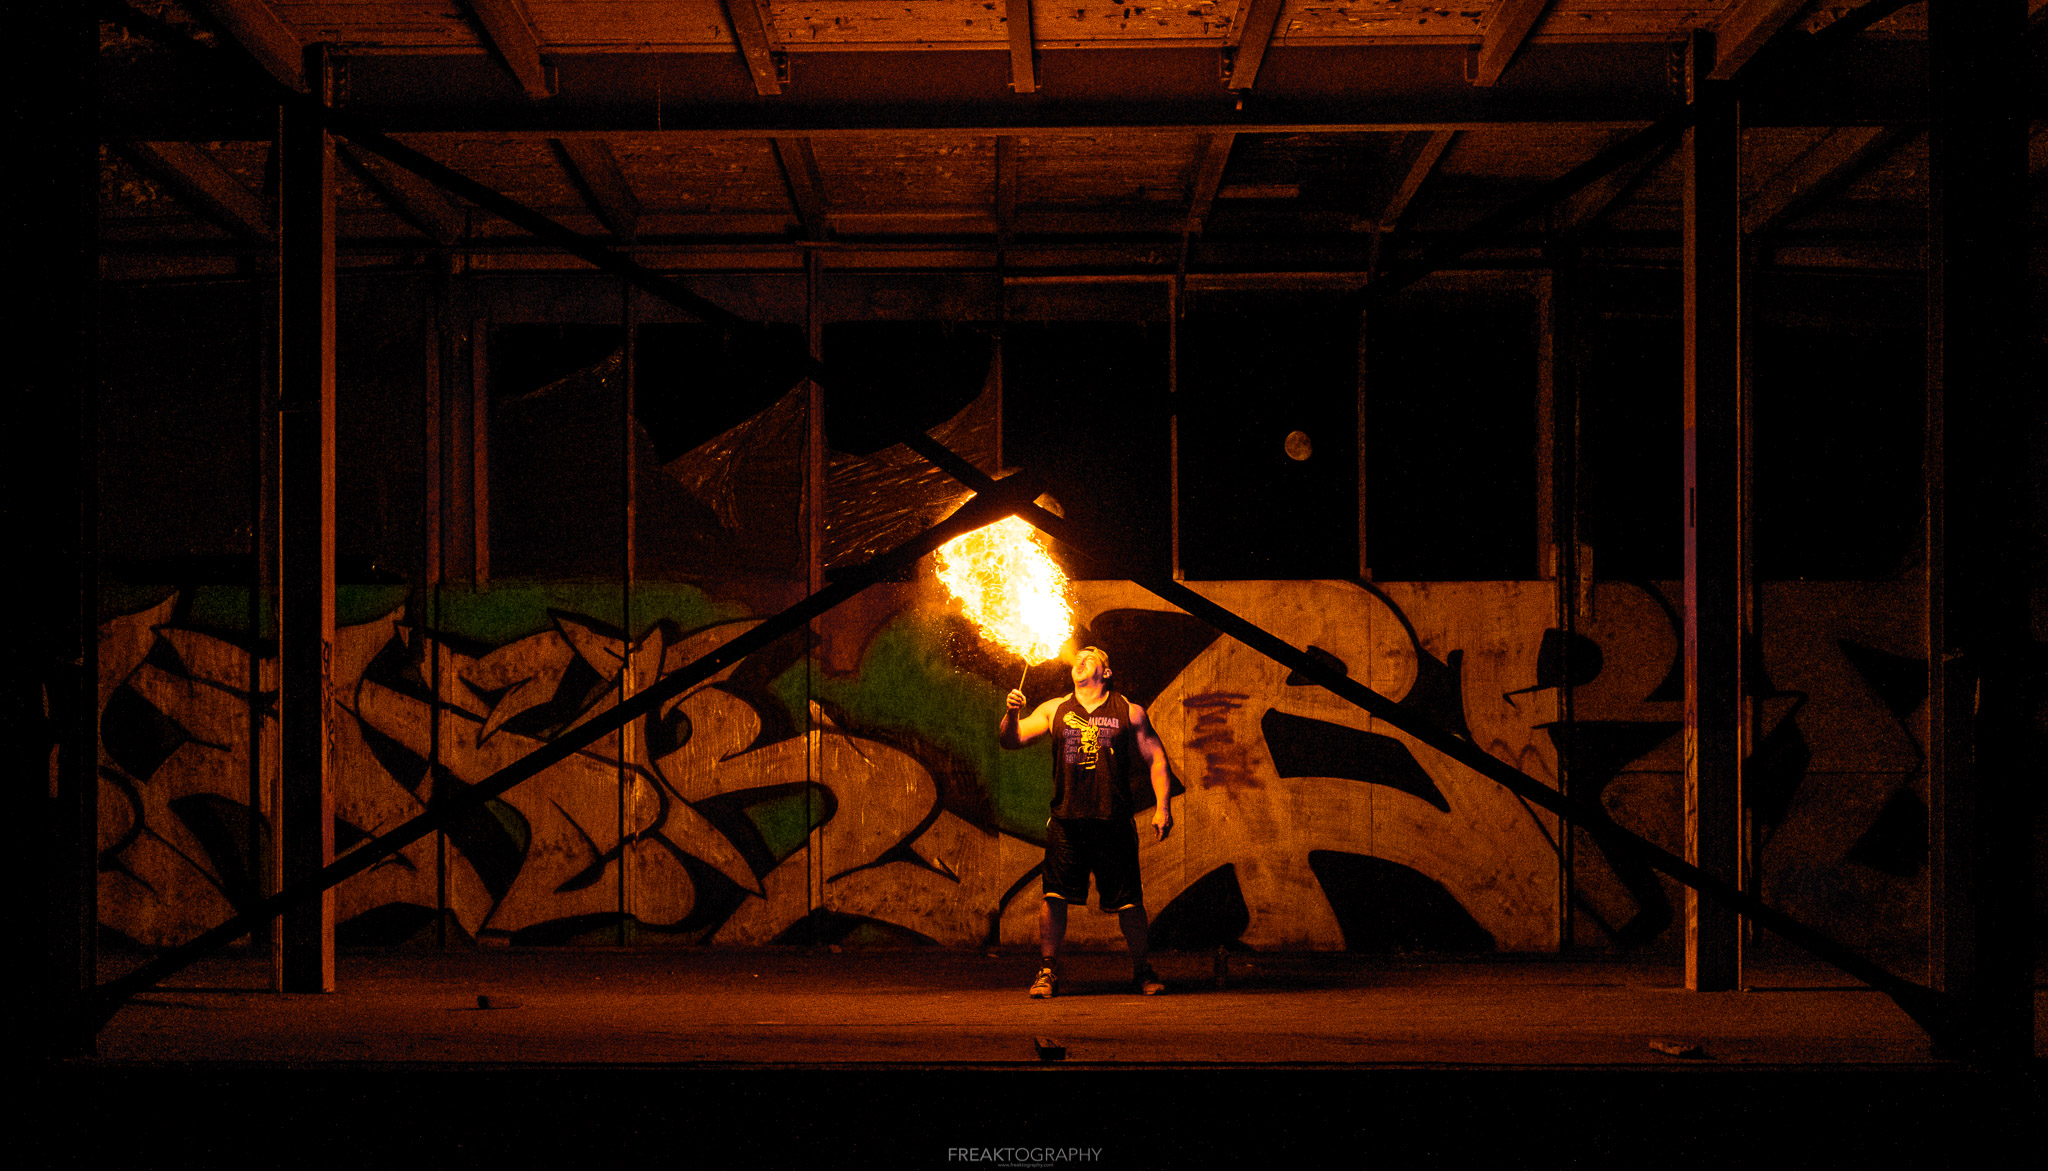
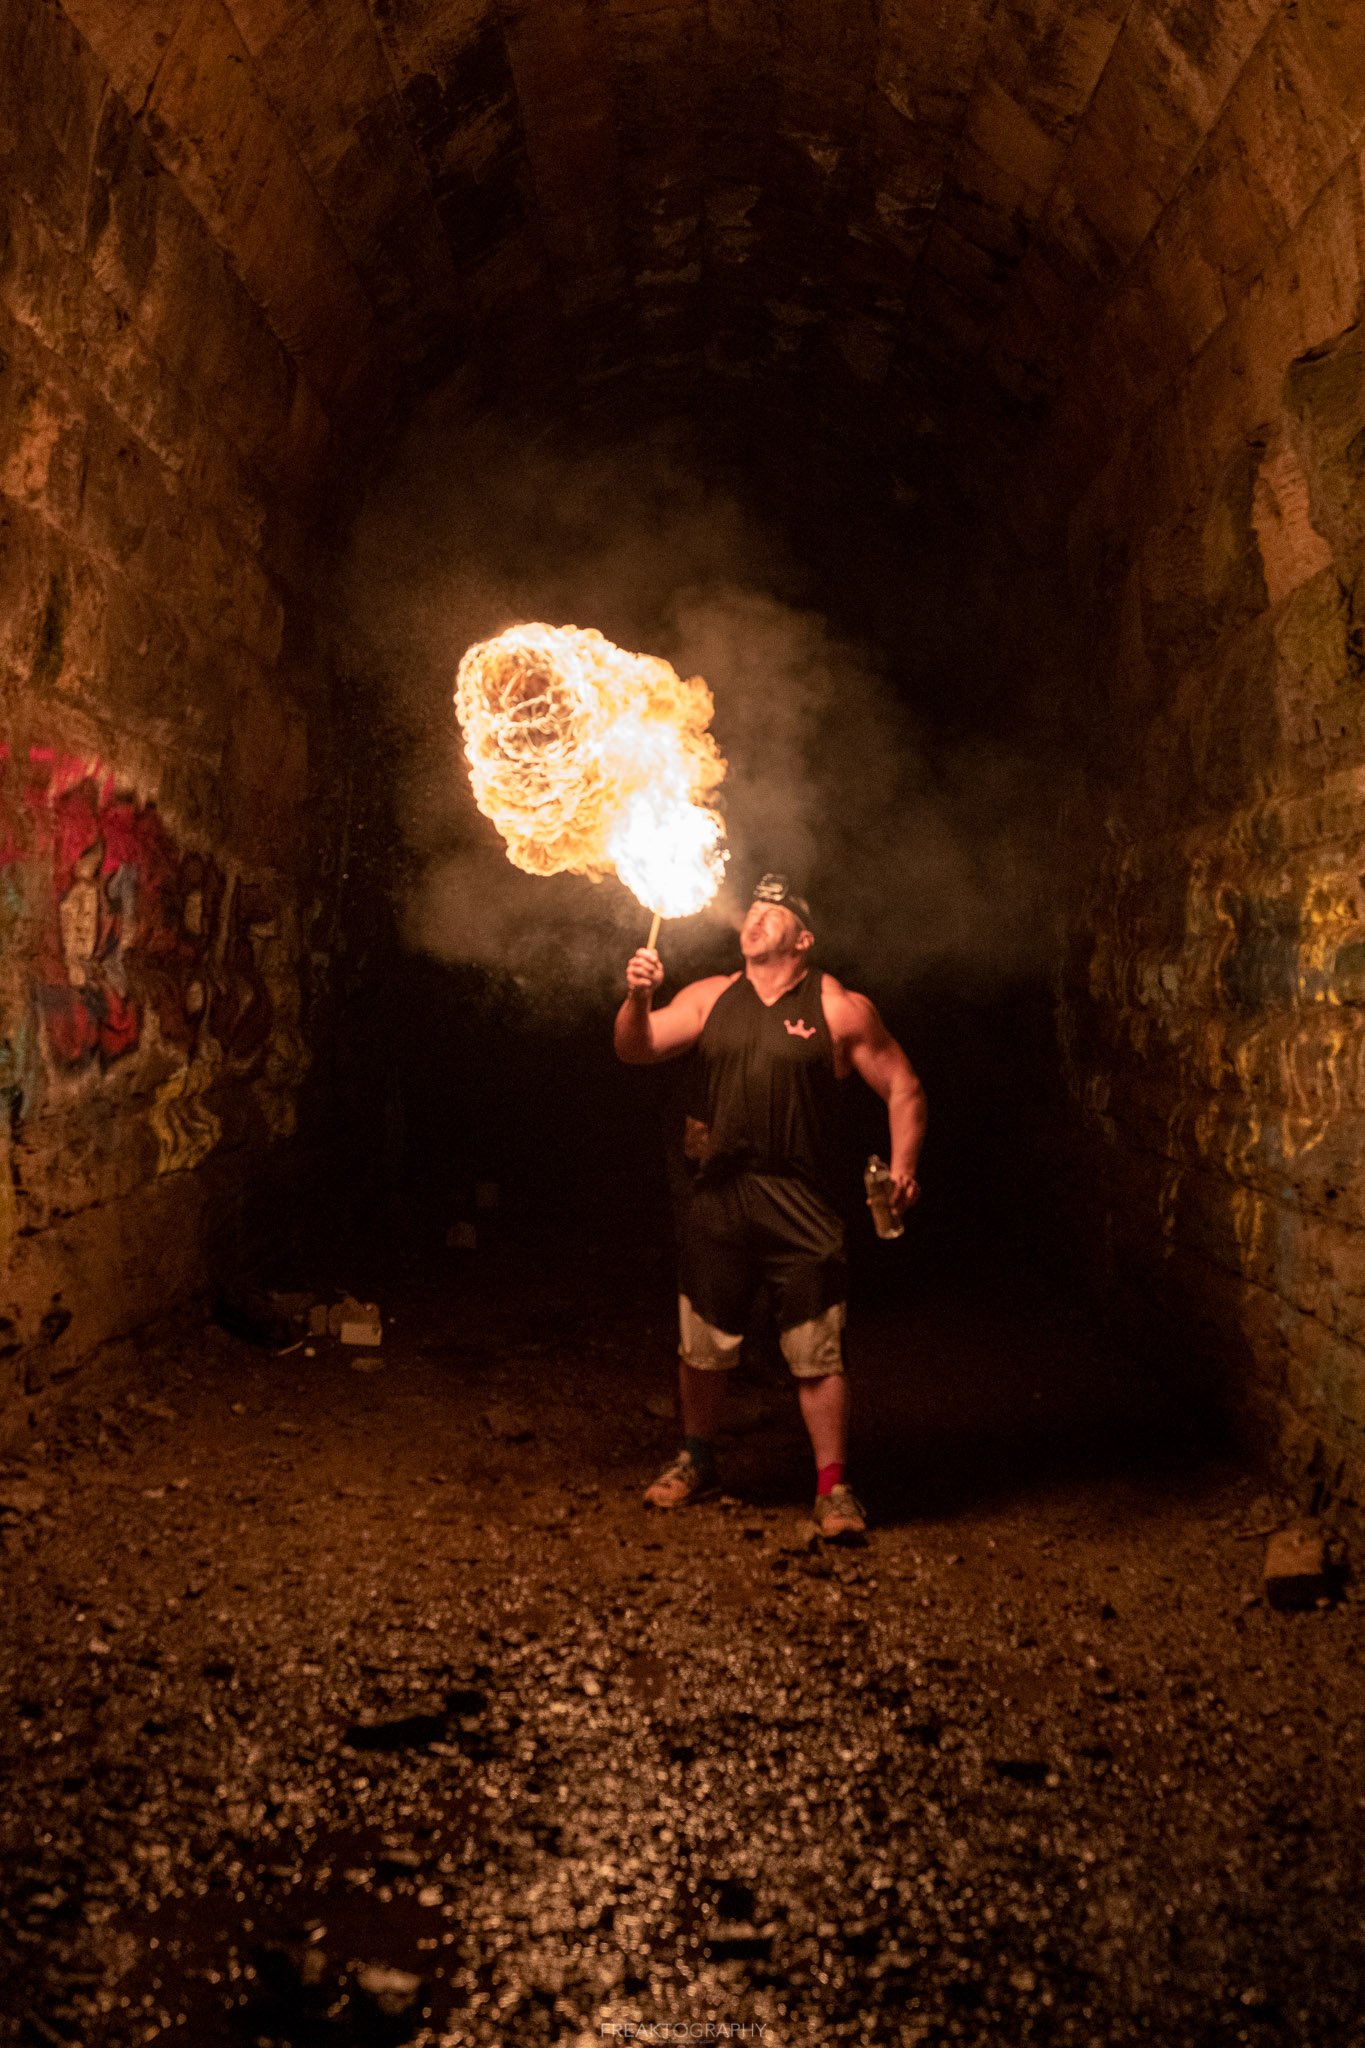
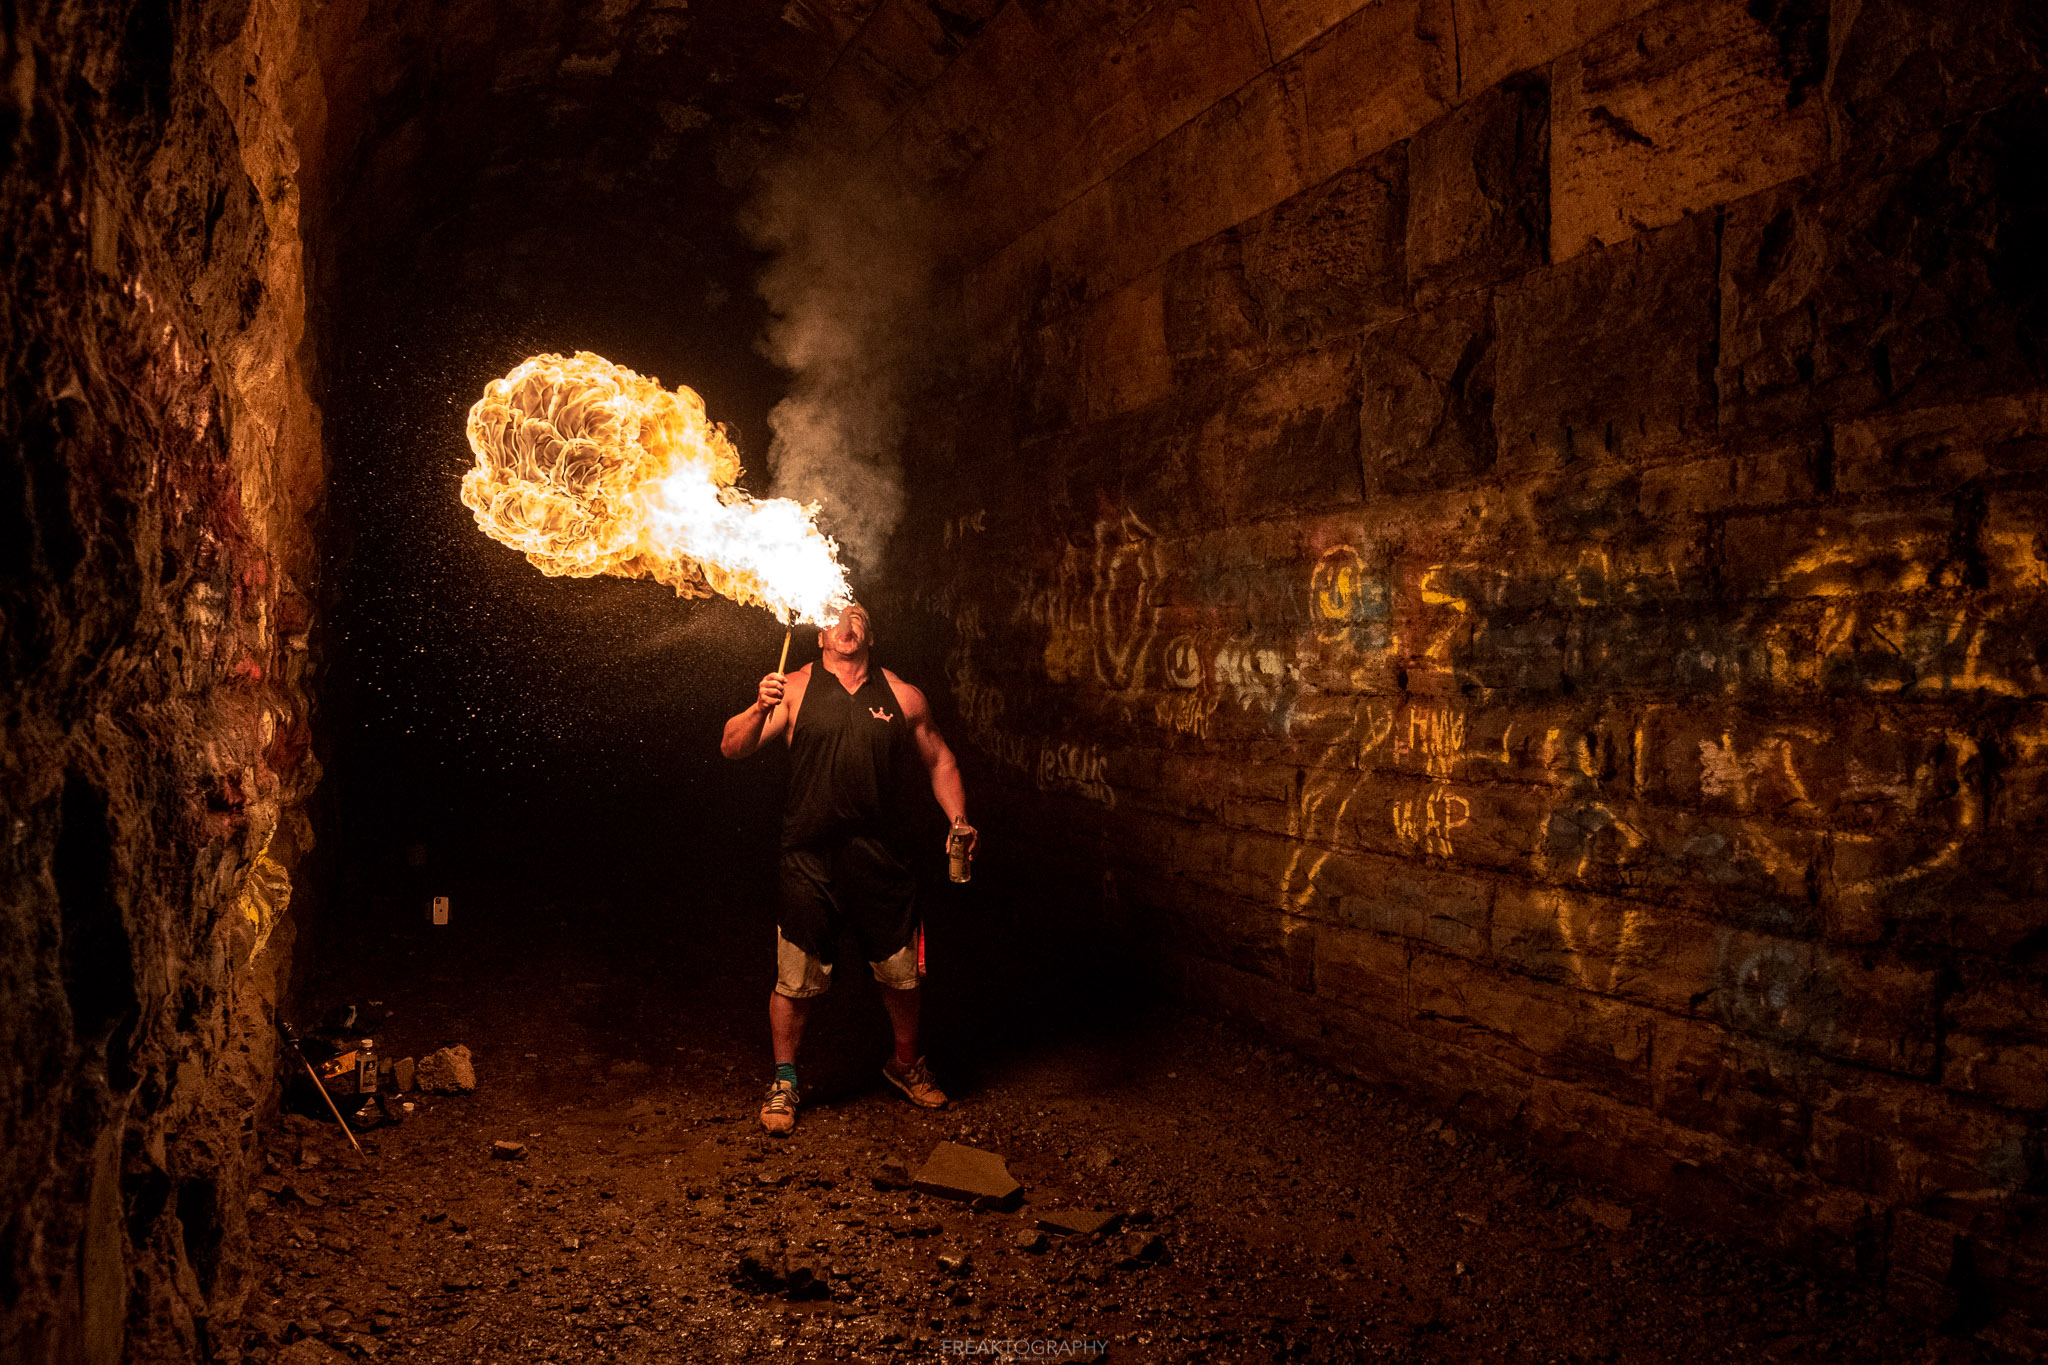
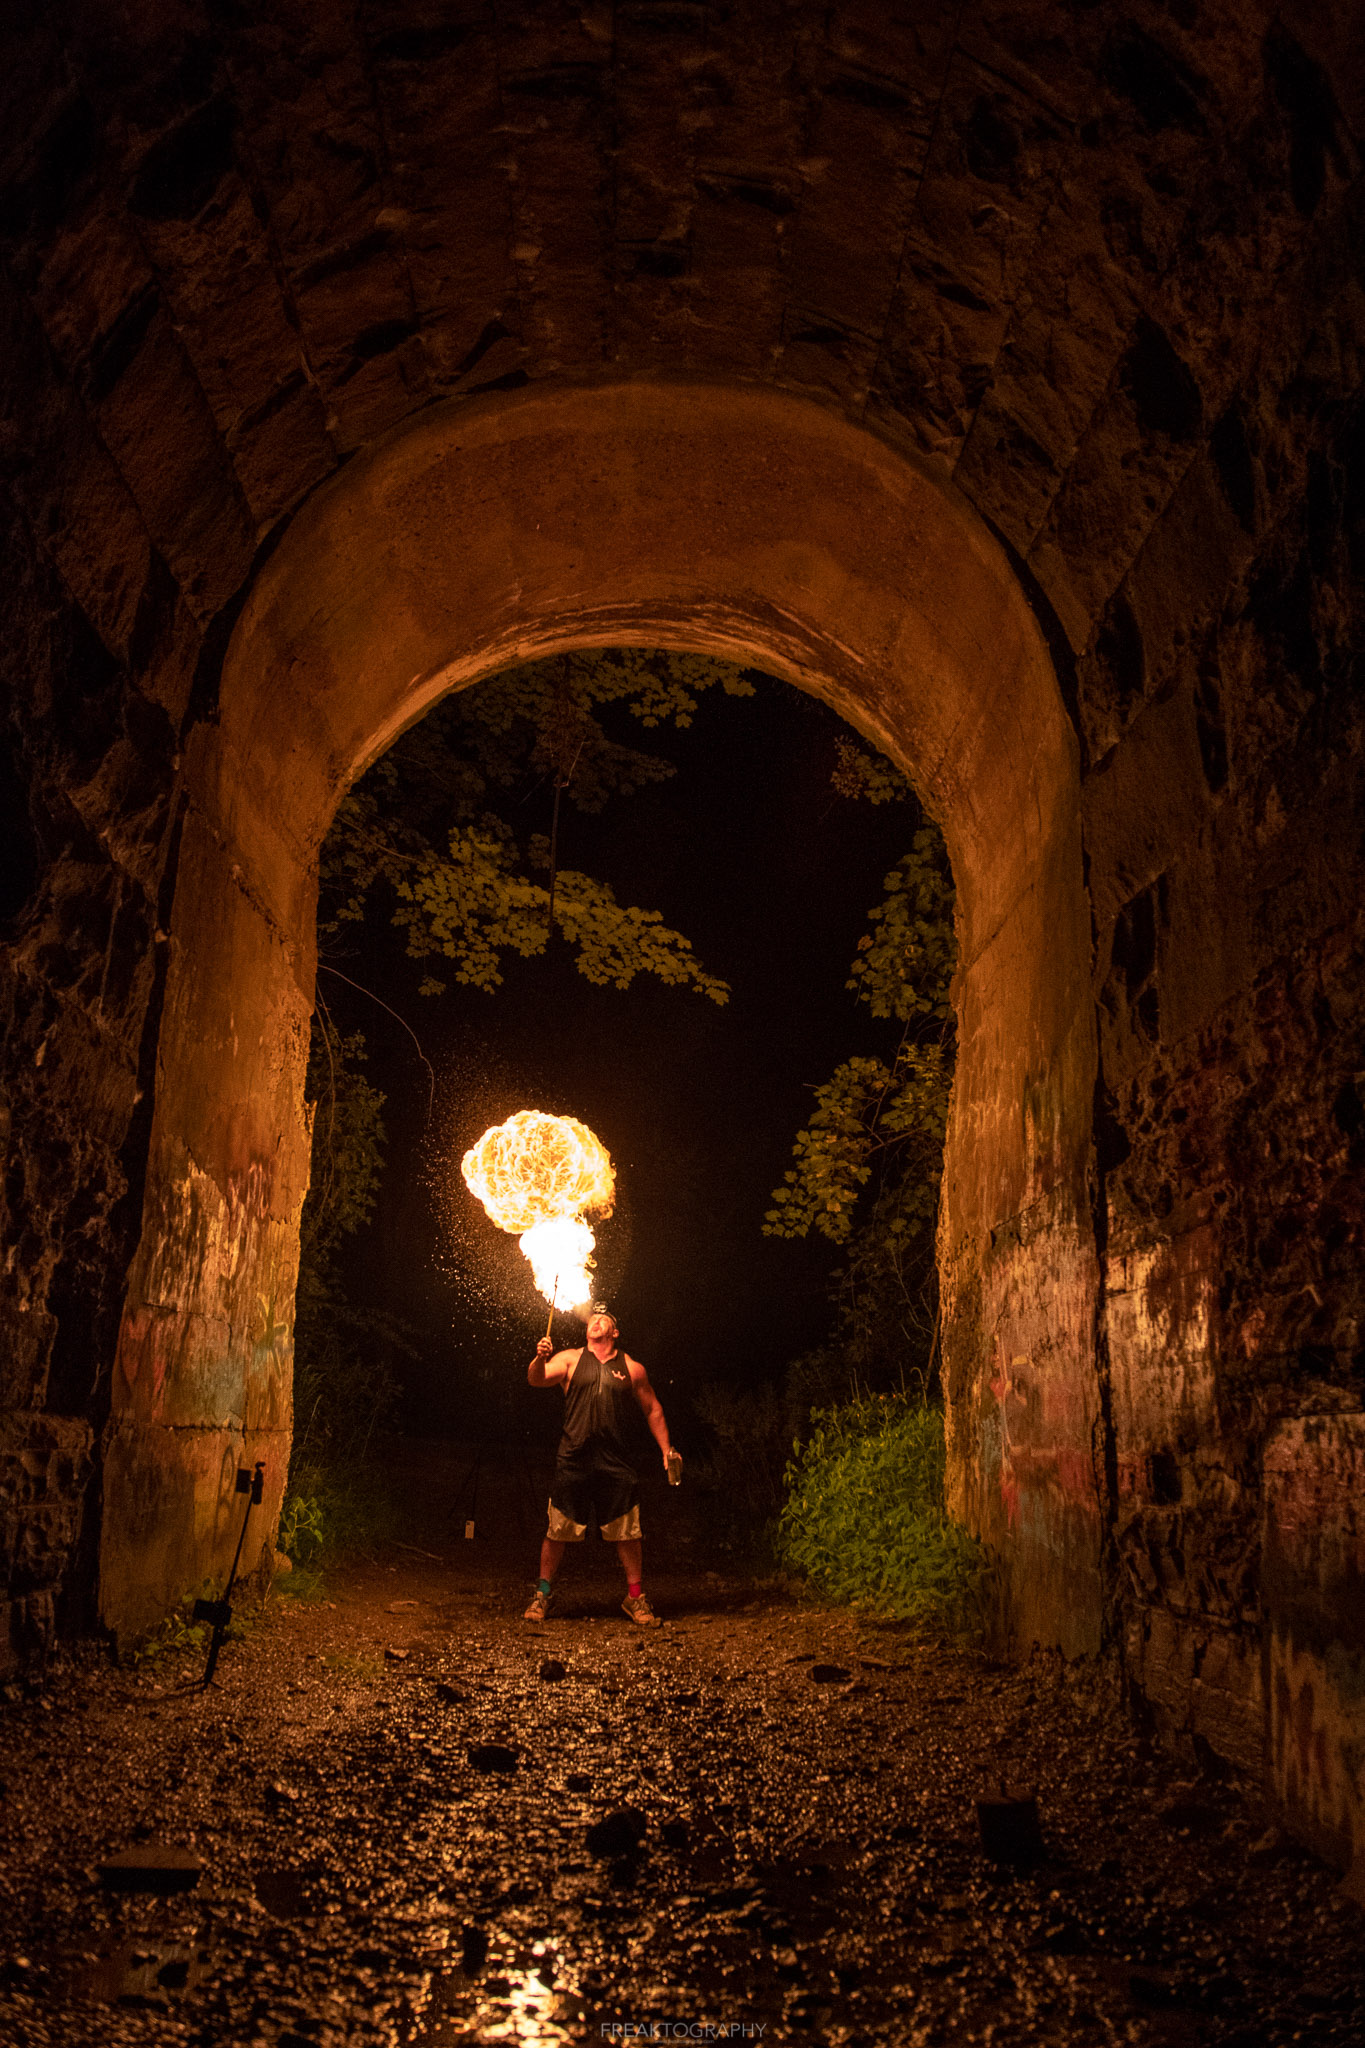
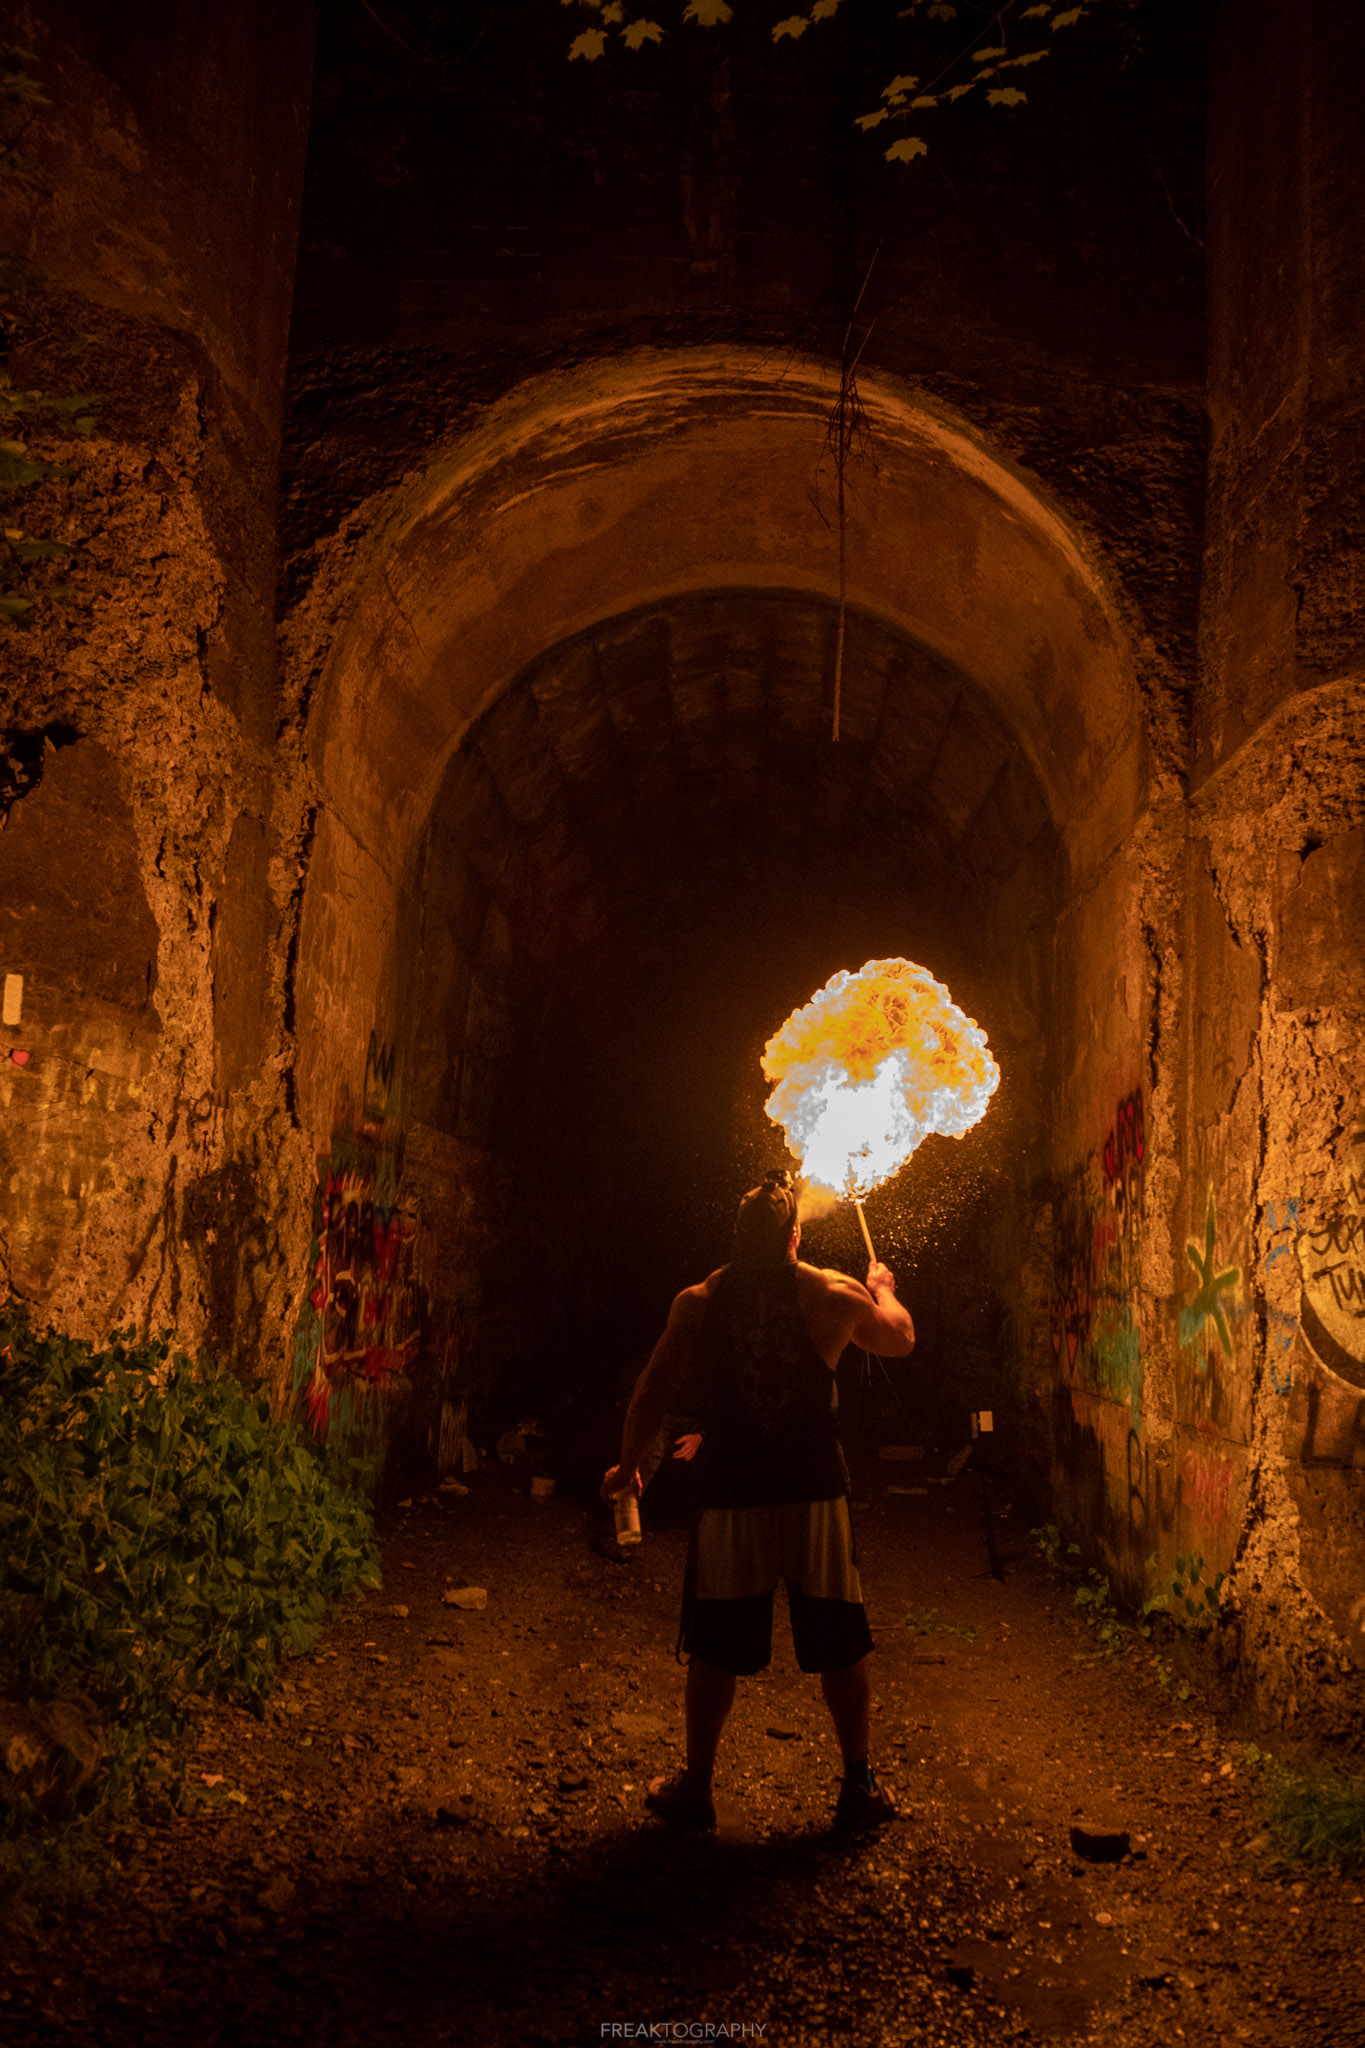
I set my aperture between f8 and f9 for most photos, if shooting a wider scene like in the tunnels I would open up a bit more to f5.
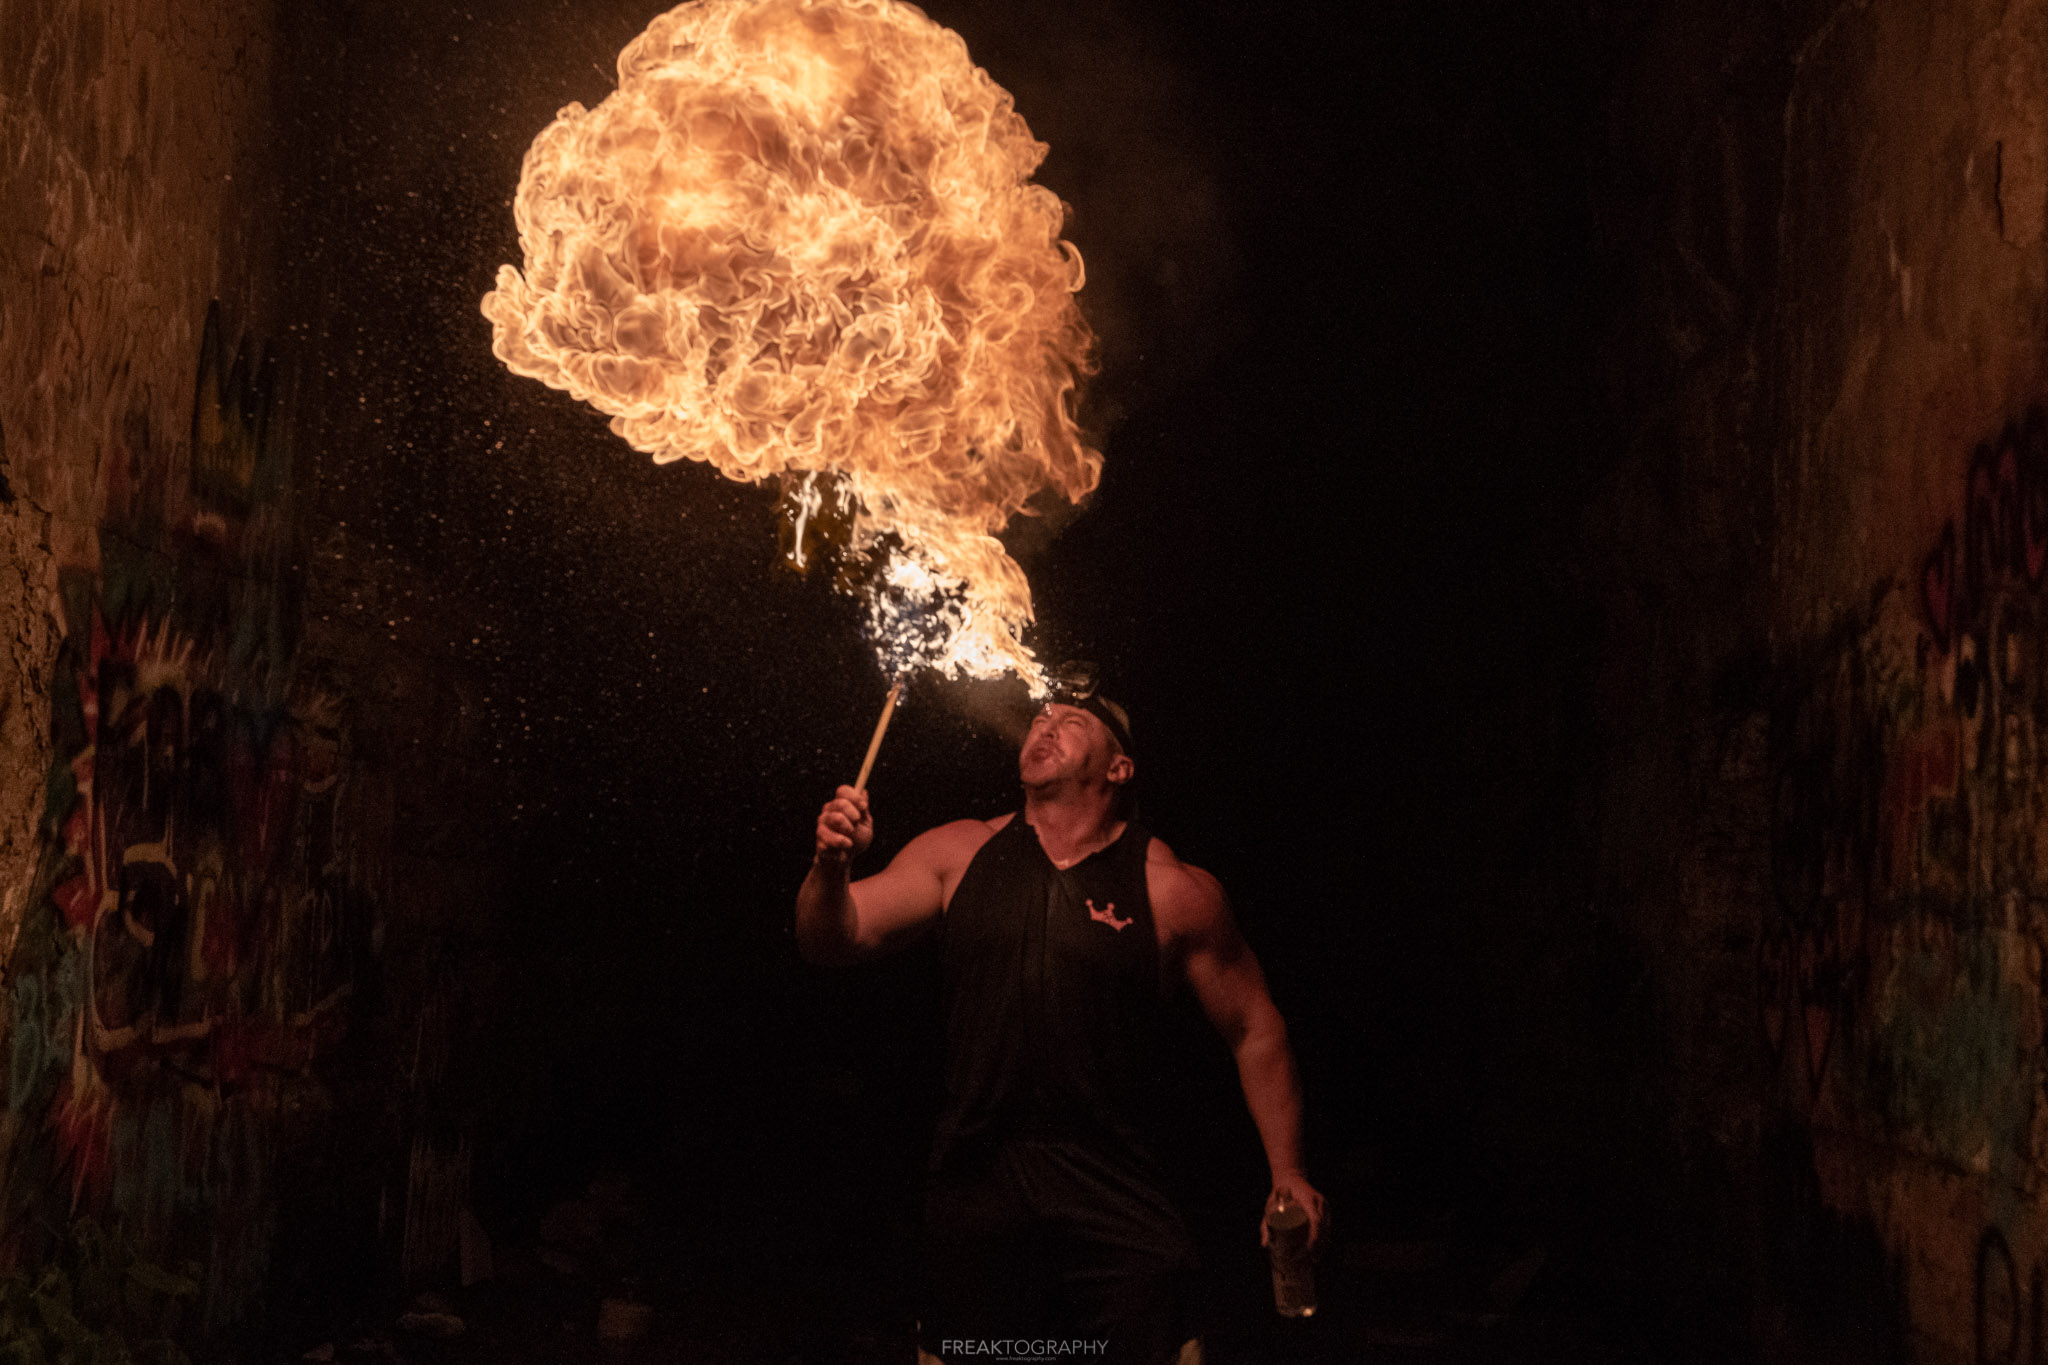
I capture all of my photos handheld to I could get up close and change positions, I told my subject to just keep blowing and I will move around him.
I may want to take another stab at this with a tripod, lock in my focus and rapid fire from the sae position, then change positions for the next blow.
The photos were taken with a Nikon D7500 and a Sigma 18-35 f1.8 Art Lens with no filter on the lens.
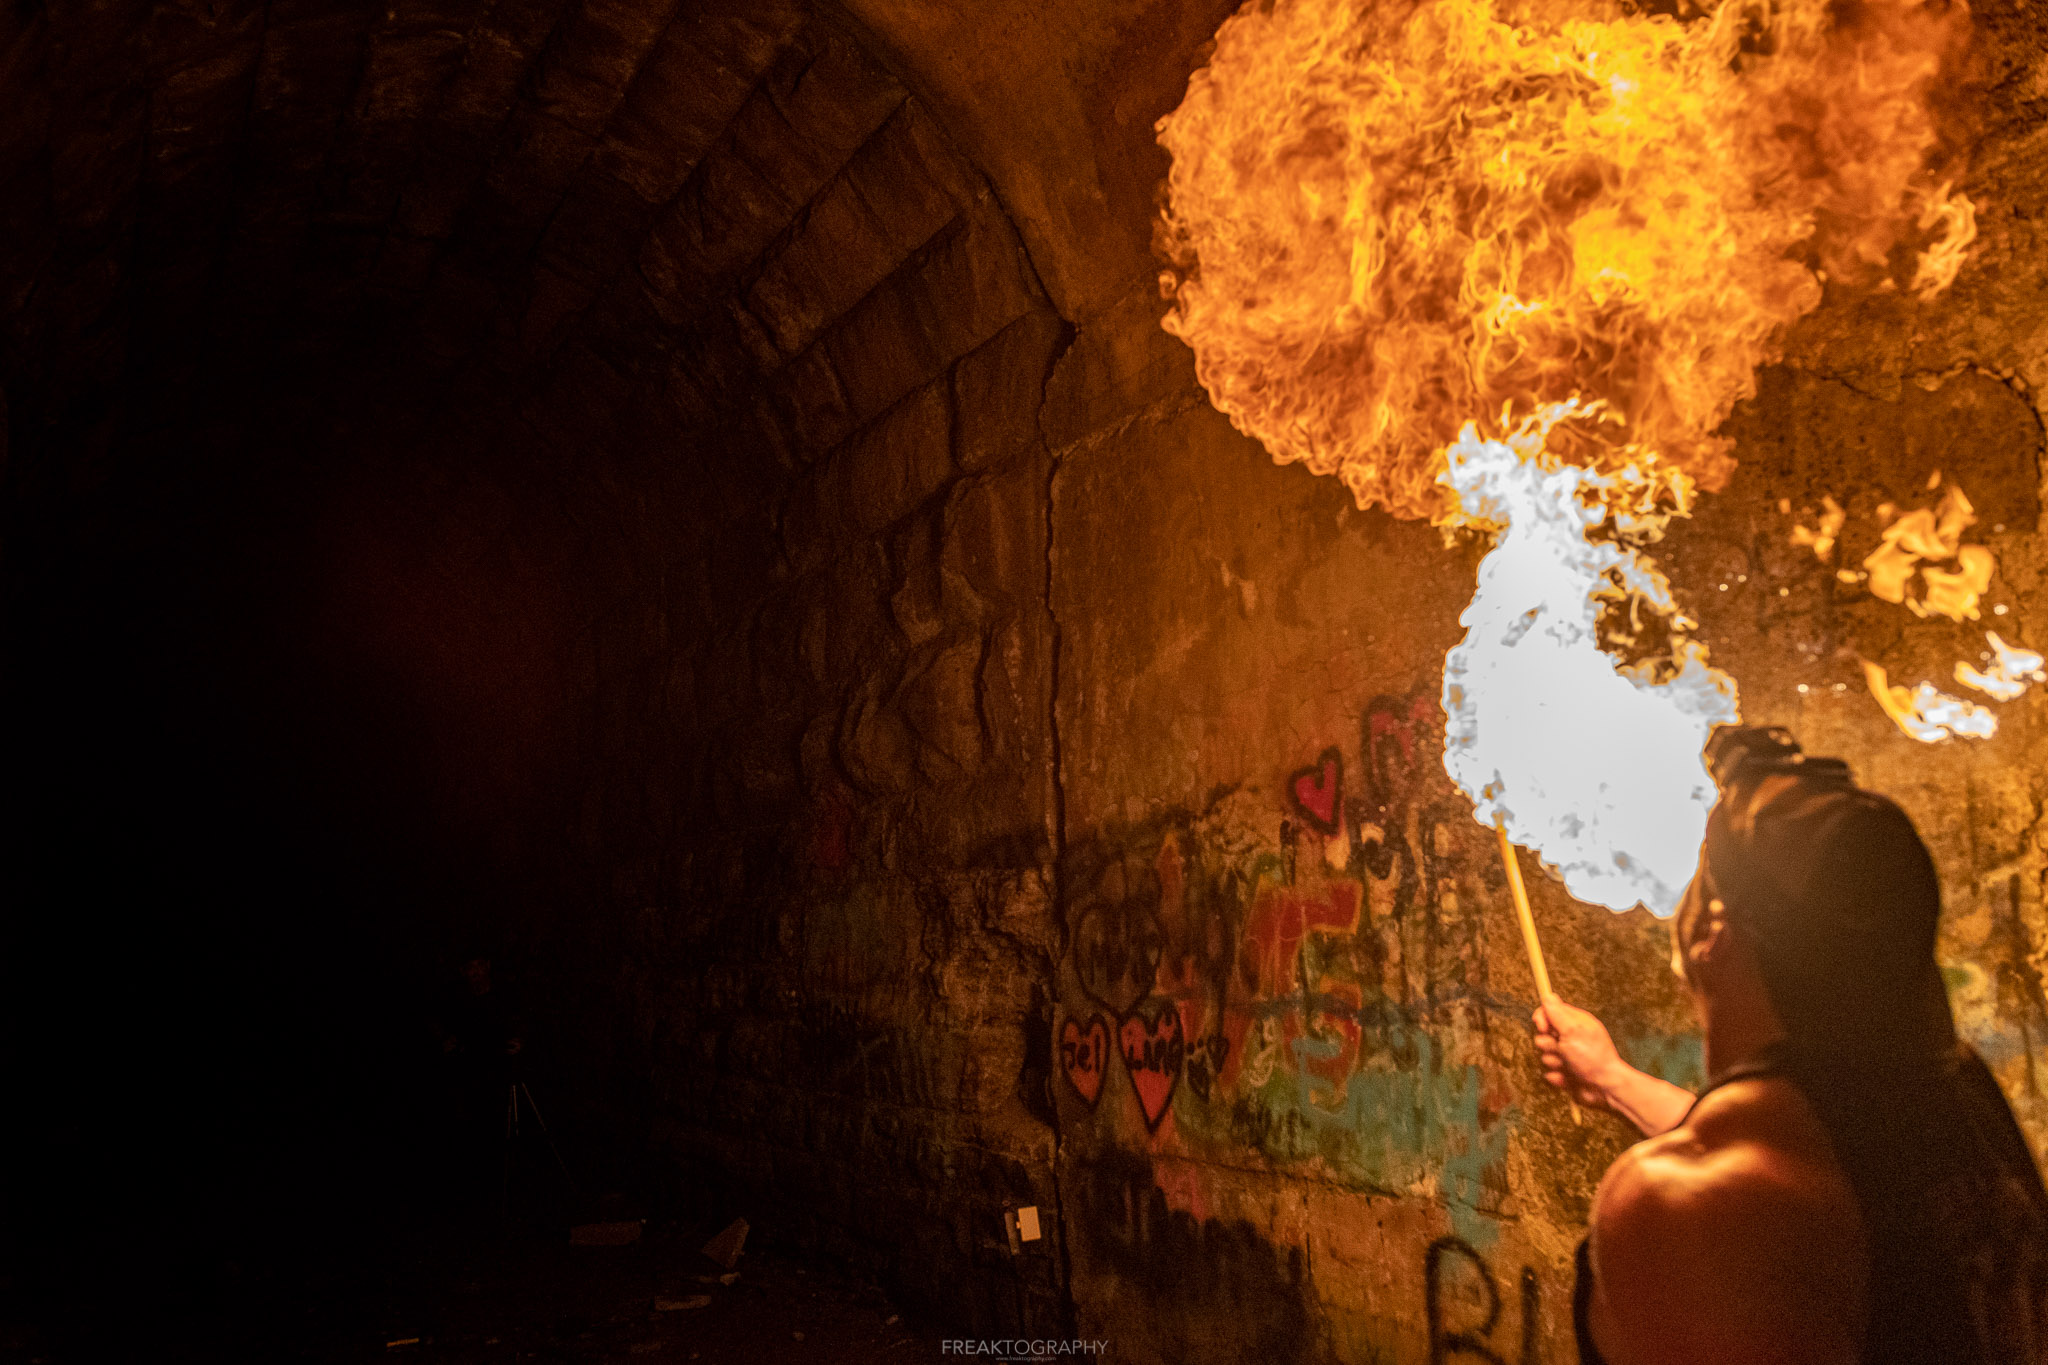
Fire Breathing Photography Safety Considerations
- Always have plenty of water on hand in the event of a mishap.
- Also bring a fire extinguisher just incase.
- Try not to shoot directly in front of the subject, while he typically blew the flame up, it also sprayed hot butane straight ahead. The hot butane could get in your eyes.